Learn how to compare two MySQL databases using MySQL Workbench. Identify schema differences, generate synchronization scripts, and keep your environments in sync.
When working on database-driven applications, it’s common to maintain multiple copies of a MySQL database — such as development, staging, and production. Over time, these environments may drift out of sync, making it essential to compare the database schemas to identify differences.
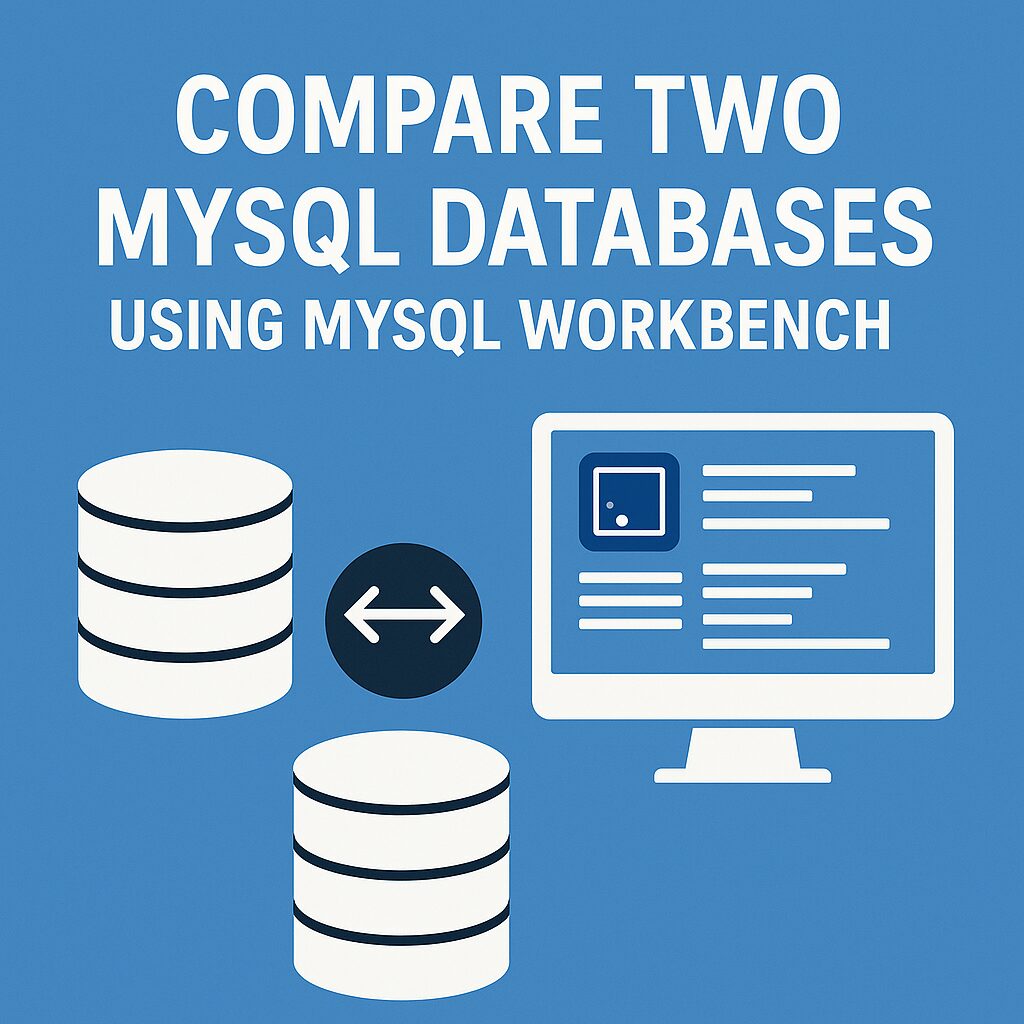
In this article, you’ll learn how to compare two MySQL databases using MySQL Workbench, and how to synchronize or export the differences between them.
Why Compare Databases?
Database comparison is especially useful for:
- Identifying schema differences between environments
- Detecting missing tables, columns, or indexes
- Preparing migration scripts
- Ensuring version control for database structures
Tools Required
To perform the comparison, you’ll need:
- Connection credentials for both databases (source and target)
- MySQL Workbench (preferably version 6.3 or later)
Steps to Compare Two MySQL Databases
Open MySQL Workbench
Launch the Workbench and make sure both databases (e.g., dev_db and prod_db) are accessible via configured connections.
Go to “Database” → “Compare Schemas”
From the top menu, go to:
Database → Compare Schemas
This opens a new window where you can choose the source and target schemas.
Select Source and Target Schemas
- Source: Select the original or current version of your database (e.g.,
dev_db)
- Target: Select the database you want to compare against (e.g.,
prod_db)
- Click “Next” to proceed.
Start Comparison
MySQL Workbench will analyze both databases and show the results in terms of:
- Tables only present in one database
- Tables that exist in both but have structural differences
- Differences in columns, indexes, constraints, routines, views, triggers, etc.
Review the Differences
You’ll be presented with a detailed comparison table showing:
- Objects to add, modify, or drop
- SQL scripts representing those changes
This is useful for developers and DBAs to audit what’s changed or to plan a synchronization.
Synchronize or Export Differences (Optional)
You can either:
- Synchronize directly from source to target using MySQL Workbench
- Or export the SQL script to apply changes manually after review
Warning: Always back up your databases before applying synchronization scripts to avoid accidental data loss.
Use Case Example
Let’s say you added a new table and modified a few column types in your development database. By using MySQL Workbench’s schema comparison, you can quickly identify those changes and generate a script to apply them to production without having to track each change manually.
Conclusion
MySQL Workbench provides a powerful built-in Schema Comparison Tool that helps you:
- Identify differences between two MySQL databases
- Review structural changes in tables, views, routines, and more
- Generate SQL scripts to synchronize schemas safely
This feature is invaluable for teams managing multiple environments or collaborating on large database projects.
For more information about MySQL Workbench, visit http://www.mysql.com/products/workbench/
MySQL Workbench is freely available at http://www.mysql.com/downloads/workbench/.