How to Use TinyMCE with Livewire and Sortable.js in a Dynamic Form Builder

Learn how to integrate TinyMCE with Livewire and Sortable.js in a dynamic form builder. Build interactive forms with drag-and-drop and rich text editing in Laravel.

When building a drag-and-drop form builder with Laravel Livewire, a common challenge is integrating rich text editors like TinyMCE while also supporting sortable components and repeaters.

This guide walks you through a working setup where:

  • Components can be added dynamically.
  • Fields can include TinyMCE editors.
  • Components can be dragged and reordered using Sortable.js.
  • TinyMCE properly initializes and syncs data back to Livewire.

Step 1: Create Your TinyMCE Field Partial

Inside your Blade view for form fields, create a partial for TinyMCE:

<div wire:ignore>
    <textarea
        id="{{ $editorId }}"
        class="tinymce"
        data-model="{{ $modelPath }}"
    >{{ is_string($value) ? $value : '' }}</textarea>
</div>
  • wire:ignore ensures Livewire doesn’t overwrite the editor.
  • data-model stores the Livewire binding path for syncing.

Step 2: Add TinyMCE + Sortable.js JavaScript

Include TinyMCE and Sortable.js in your layout:

<script src="https://cdn.tiny.cloud/1/no-api-key/tinymce/6/tinymce.min.js" referrerpolicy="origin"></script>
<script src="https://cdn.jsdelivr.net/npm/sortablejs@1.15.0/Sortable.min.js"></script>

Now initialize editors and handle drag-and-drop:

<script>
    function initTinyMCEEditors() {
        document.querySelectorAll('textarea.tinymce').forEach((el) => {
            if (!el.id || tinymce.get(el.id)) return;

            tinymce.init({
                selector: `#${el.id}`,
                menubar: false,
                plugins: 'link lists code image table',
                toolbar: 'undo redo | bold italic underline | alignleft aligncenter alignright | bullist numlist | link image code',
                setup: function (editor) {
                    editor.on('init', () => {
                        editor.setContent(el.value || '');
                    });
                    editor.on('Change KeyUp', () => {
                        const model = el.dataset.model;
                        if (model) {
                            Livewire.dispatch('input', { name: model, value: editor.getContent() });
                        }
                    });
                }
            });
        });
    }

    function destroyTinyMCEEditors() {
        document.querySelectorAll('textarea.tinymce').forEach((el) => {
            const editor = tinymce.get(el.id);
            if (editor) {
                editor.destroy();
            }
        });
    }

    function syncAllTinyMCEDataToLivewire() {
        document.querySelectorAll('textarea.tinymce').forEach((el) => {
            const editor = tinymce.get(el.id);
            if (editor) {
                const model = el.dataset.model;
                if (model) {
                    Livewire.dispatch('input', { name: model, value: editor.getContent() });
                }
            }
        });
    }

    document.addEventListener('DOMContentLoaded', function () {
        const el = document.getElementById('components-sortable');

        if (el) {
            new Sortable(el, {
                animation: 150,
                handle: '.drag-handle',
                onStart: destroyTinyMCEEditors,
                onEnd: () => {
                    setTimeout(() => {
                        Livewire.dispatch('reorderUpdated');
                        initTinyMCEEditors();
                    }, 100);
                }
            });
        }

        initTinyMCEEditors();
        Livewire.hook('message.processed', initTinyMCEEditors);
    });
</script>

Step 3: Sortable Container Blade Example

<ul id="components-sortable">
    @foreach ($components as $index => $component)
        <li class="component-item">
            <div class="drag-handle cursor-move">⠿</div>

            @include('form-fields', [
                'fields' => $component['fields'],
                'modelPath' => "components.{$index}.fields"
            ])
        </li>
    @endforeach
</ul>

Step 4: Sync TinyMCE Data Before Save

Since TinyMCE keeps data internally, Livewire won’t automatically have the latest content.

Fix this by syncing before save:

<button type="button" onclick="syncAllTinyMCEDataToLivewire(); Livewire.find('{{ $this->id }}').save()">Save</button>

And in your Livewire component:

protected $listeners = ['save-form' => 'save'];

public function save()
{
    // At this point, TinyMCE data is synced
}

Conclusion

Integrating TinyMCE with Livewire and Sortable.js in a dynamic form builder may seem complex at first, but once set up correctly, it opens up powerful possibilities for building highly interactive and user-friendly applications. By combining the real-time reactivity of Livewire, the drag-and-drop flexibility of Sortable.js, and the rich editing features of TinyMCE, you can create a seamless experience where users can easily manage, reorder, and edit dynamic content without page reloads.

This approach not only improves usability but also ensures that your forms remain scalable and maintainable as your project grows. With the right configuration and careful handling of event updates, you’ll have a robust solution ready for production.

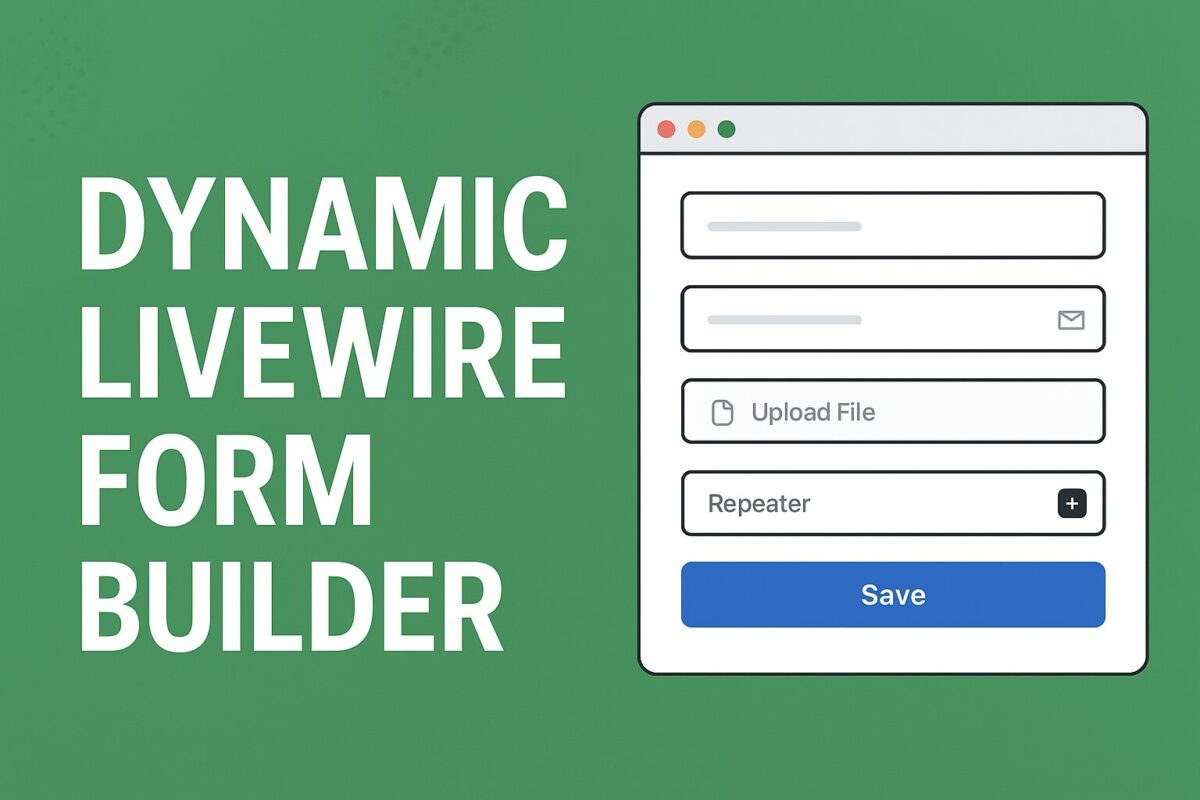
From Static to Dynamic: Creating a Powerful Form Builder with Livewire

Learn how to build a dynamic form builder in Laravel Livewire with repeaters, file uploads, and component-based fields. Step-by-step guide with code examples.

Building dynamic forms is a common requirement in modern applications. Instead of hardcoding fields, you might want users to add components (like text inputs, dropdowns, file uploads, or repeaters) that automatically render inside a master form. With Laravel Livewire, you can develop dynamic form builder in a clean and interactive way without writing tons of JavaScript.

Step 1: Create a Livewire Component

Run the artisan command to create your base form builder component with livewire:

php artisan make:livewire FormBuilder

This creates two files:

  • app/Http/Livewire/FormBuilder.php (backend logic)
  • resources/views/livewire/form-builder.blade.php (frontend view)

Step 2: Define Available Components

Inside app/Http/Livewire/FormBuilder.php, let’s define a list of available components. Each component has a name and a JSON configuration of its fields.

public $availableComponents = [
    [
        'name' => 'Text Input',
        'fields' => [
            ['type' => 'text', 'label' => 'Enter Text', 'value' => '']
        ]
    ],
    [
        'name' => 'Email',
        'fields' => [
            ['type' => 'email', 'label' => 'Enter Email', 'value' => '']
        ]
    ],
    [
        'name' => 'File Upload',
        'fields' => [
            ['type' => 'file', 'label' => 'Upload File', 'value' => '']
        ]
    ],
    [
        'name' => 'Repeater',
        'fields' => [
            ['type' => 'repeater', 'label' => 'Repeater Field', 'items' => []]
        ]
    ],
];

We’ll store user-selected components in:

public $formComponents = [];

Step 3: Add Components to the Form

When a user clicks a component, push it to the form array:

public function addComponent($index)
{
    $component = $this->availableComponents[$index];
    $this->formComponents[] = $component;
}

Step 4: Render Dynamic Fields

Render all selected components to form-builder.blade.php:

<div>
    <!-- Component Menu -->
    <h3>Available Components</h3>
    @foreach ($availableComponents as $i => $comp)
        <button wire:click="addComponent({{ $i }})">
            {{ $comp['name'] }}
        </button>
    @endforeach

    <hr>

    <!-- Dynamic Form -->
    <form wire:submit.prevent="save">
        @foreach ($formComponents as $cIndex => $component)
            <div class="component">
                <h4>{{ $component['name'] }}</h4>

                @foreach ($component['fields'] as $fIndex => $field)
                    @if ($field['type'] === 'text')
                        <input type="text"
                               wire:model="formComponents.{{ $cIndex }}.fields.{{ $fIndex }}.value"
                               placeholder="{{ $field['label'] }}">
                    @elseif ($field['type'] === 'email')
                        <input type="email"
                               wire:model="formComponents.{{ $cIndex }}.fields.{{ $fIndex }}.value"
                               placeholder="{{ $field['label'] }}">
                    @elseif ($field['type'] === 'file')
                        <input type="file"
                               wire:model="formComponents.{{ $cIndex }}.fields.{{ $fIndex }}.value">
                    @elseif ($field['type'] === 'repeater')
                        <button type="button"
                                wire:click="addRepeaterItem({{ $cIndex }}, {{ $fIndex }})">
                            ➕ Add Row
                        </button>

                        @foreach ($field['items'] as $rIndex => $item)
                            <input type="text"
                                   wire:model="formComponents.{{ $cIndex }}.fields.{{ $fIndex }}.items.{{ $rIndex }}.value"
                                   placeholder="Repeater Item {{ $rIndex + 1 }}">
                        @endforeach
                    @endif
                @endforeach
            </div>
        @endforeach

        <button type="submit">Save Form</button>
    </form>
</div>

Step 5: Handle Repeaters in Form

If clicked component is repeater, push it to the form array as follows:

public function addRepeaterItem($cIndex, $fIndex)
{
    $this->formComponents[$cIndex]['fields'][$fIndex]['items'][] = ['value' => ''];
}

Step 6: Save the Form Data

Finally, handle form saving:

public function save()
{
    // Just dump the data for now
    dd($this->formComponents);

    // In real apps, store in DB as JSON
}

Conclusion

Dynamic form builders don’t have to be complicated. With Laravel Livewire, you can build fully interactive forms that support repeaters, file uploads, and dynamic components without writing heavy JavaScript.

This approach keeps your codebase clean, your forms flexible, and your users happy. Once you have the basics working, it’s easy to extend the builder with drag-and-drop sorting, conditional fields, or rich text editors.

Whether you’re building an admin panel, a survey tool, or a custom CMS, this Livewire-powered dynamic form structure gives you a strong foundation to adapt to almost any use case.