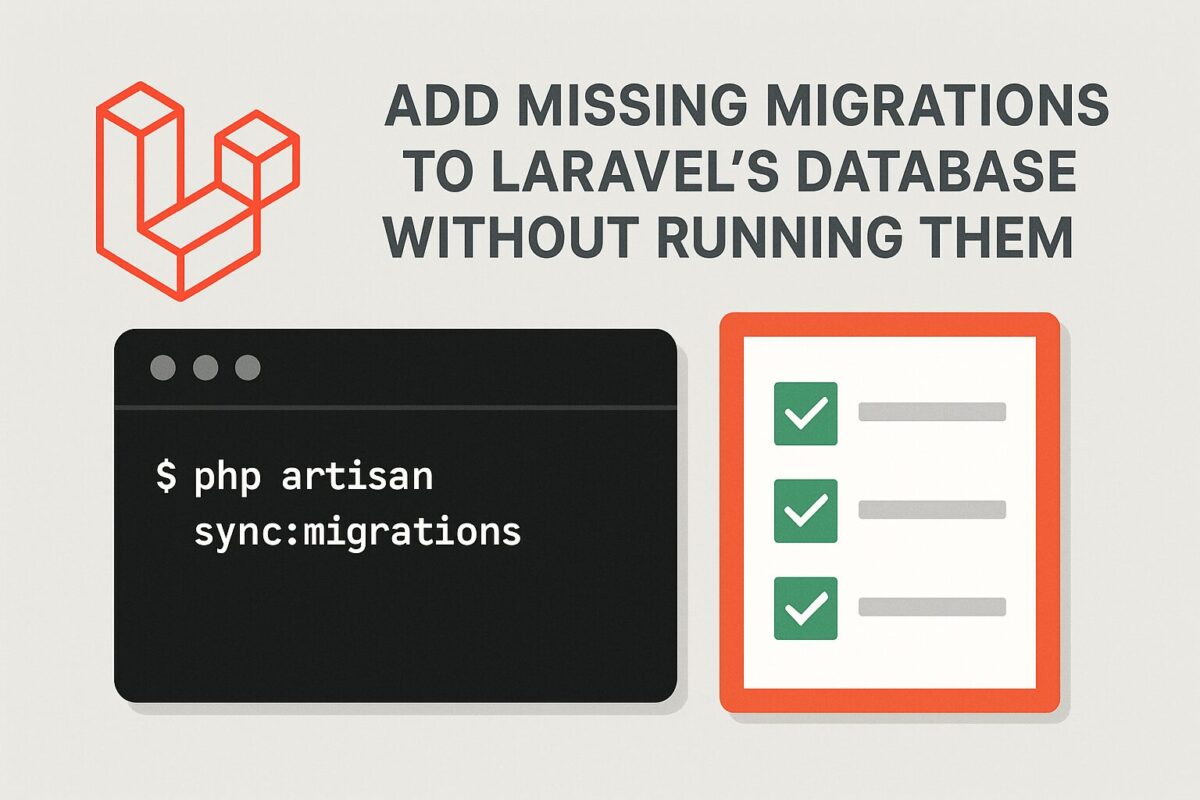
Accessing PostgreSQL via SSH Putty tunnel

Learn how to securely access a remote PostgreSQL database through an SSH tunnel using PuTTY on Windows. Step-by-step configuration guide included.

To close the port 5432 for any traffic or don’t want to configure PostgreSQL to listen to any remote traffic, use SSH Tunneling to make a remote connection to the PostgreSQL instance at AWS.

Follow these steps to connect PostgreSQL using SSH Tunneling at AWS:

  1. Open PuTTY. Setup server session in Putty.
  2. Go to Connection > SSH > Tunnels
  3. Enter 8000 in the Source Port field.
  4. Enter 127.0.0.1:5432 in the Destination field.
  5. Click the “Add” button.
  6. Go back to Session, and save, then click “Open” to connect.
  7. This opens a terminal window. After connection leaves that alone.
  8. Open pgAdmin and add a connection.
  9. Enter localhost in the Host field and 8000  in the Port field.
  10. Specify a Name for the connection, and the username and password. Click OK.

What is it doing? PuTTY is intercepting communications sent from pgAdmin to localhost:8000. The information is transferred across the internet via SSH, on port 22. When it arrives there, the SSH server sends the information on to PostgreSQL via port 5432. As far as PostgreSQL knows, the traffic came in locally, on the correct port.

Configure MySQL 5.6 LONGBLOB for Large Binary Data

Learn how to configure MySQL 5.6 to efficiently store large binary data using the LONGBLOB data type. Ideal for handling images, videos, and other big files.

The reason for this issue is a change in MySQL 5.6.20 as one could read in the change log:

As a result of the redo log BLOB write limit introduced for MySQL 5.6, the innodb_log_file_size setting should be 10 times larger than the largest BLOB data size found in the rows of your tables plus the length of other variable length fields (VARCHAR, VARBINARY, and TEXT type fields). No action is required if your innodb_log_file_size setting is already sufficiently large or your tables contain no BLOB data.

Set or increase the value of the innodb_log_file_size option in my.ini below the [mysqld] section. Its default value is 48M. Setting it to

[mysqld]
innodb_log_file_size=256M

Be careful when changing the value of innodb_log_file_size. Follow these steps to do this safely:

  • Shut the server down cleanly and normally.
  • Shutting down MySQL may not be as simple as just service mysql stop!
  • Following things should be done to shut down mysql server normally and cleanly:
    1. Double check the instance you are going to shutdown!!
    2. Stop Replication
    3. Flush the dirty pages
    4. Check the long running transactions
    5. Dump and reload the buffer pool
  • Move away (don’t delete) the log files, which are named ib_logfile0, ib_logfile1, and so on.
  • Check the error log to ensure there was no problem shutting down.
  • Then restart the server and watch the error log output carefully.
    • There should see InnoDB print messages saying that the log files don’t exist. It will create new ones and then start.
  • Verify that InnoDB is working. If it’s working, then the old log files can be deleted.

Access shell with SSH on cPanel server from Linux

Discover an effective way to set PostgreSQL schemas using PHP PDO when the SET search_path approach fails. Learn best practices for schema-based architecture.

Some of the important server related problems will be solved only using shell access to the server. To access the cPanel server shell using SSH, there must be an SSH client installed on PC. Most of the Linux distros include SSH client software by default. If it is not installed, then it can be easily installed with following commands,

For Ubuntu: apt-get install openssh-client
For CentOS: yum install openssh-clients

After installation, follow these steps to access the cPanel shell with SSH from Linux:

  1. Login to cPanel and go to Security > SSH/Shell Access to generate SSH key pair.
  2. Click Manage SSH Keys > Generate a New Key. You should use a password to protect the key. You will be asked the password each time you use the key.
  3. In Public Keys section click ‘Manage Authorization’ and ‘Authorize’
  4. In Private Keys section click, Vew/Download then download the key (id_dsa or id_rsa) to your PC.
  5. Save it to ~/.ssh directory on your Linux machine under a meaningful name to not overwrite your existing keys for example id_dsa.myjavahost
  6. Now make sure permissions are correct on the key (one-time task) and connect:
    mypc:~$ chmod 600 .ssh/id_dsa
    mypc:~$ ssh -p1033 -i .ssh/id_dsa yourusername@yourservername
    Enter passphrase for key '.ssh/id_dsa':
  1. Provide the password for the key, set up in step #2

You should be logged in by now.

Fix: Windows 10 Setup Hangs on Checking for Updates

Troubleshooting guide to fix the issue where Windows 10 setup gets stuck on ‘Checking for Updates’. Step-by-step solutions to help you complete the installation.

Upgrading or installing Windows 10 should be a smooth process, but sometimes the setup gets stuck on the “Checking for Updates” screen. This frustrating issue can prevent you from completing the installation.

This guide will walk you through several proven solutions to resolve the issue and successfully install Windows 10.

Why Does This Happen?

  • Slow or unstable internet connection
  • Corrupted installation media
  • Interference from third-party software or antivirus
  • Microsoft update server delays
  • Outdated or incompatible drivers

Solution 1: Disconnect From the Internet

One of the easiest fixes is to disable your internet connection before starting the setup.

Steps:

  • Turn off Wi-Fi or unplug the Ethernet cable.
  • Start Windows 10 setup.
  • When prompted, choose “I don’t have internet”.
  • Continue installation. Update Windows after setup completes.

Solution 2: Use Media Creation Tool Properly

Make sure you’re using the latest Media Creation Tool to avoid outdated setup files.

Instructions:

  • Download from the Microsoft website.
  • Choose “Create installation media”.
  • Use a USB drive (minimum 8GB).
  • Boot from USB and start setup with internet disabled.

Solution 3: Run Setup in Clean Boot Mode

Clean Boot ensures no third-party app interferes with setup.

How to Clean Boot:

  • Press Win + R, type msconfig, press Enter.
  • Go to Services tab, check “Hide all Microsoft services”, click Disable all.
  • In the Startup tab, click Open Task Manager and disable startup apps.
  • Reboot your PC and run setup.

Solution 4: Delete Windows Update Temporary Files

Corrupted update cache may block setup from progressing.

  • Press Win + R, type services.msc, and stop Windows Update service.
  • Navigate to C:\Windows\SoftwareDistribution.
  • Delete all contents of the folder.
  • Restart Windows Update service and retry setup.

Solution 5: Use an Updated ISO File

Using an ISO with integrated updates avoids the need for checking online during setup.

  • Download the latest ISO from UUP Dump or Microsoft.
  • Right-click and choose Mount.
  • Run setup.exe and follow prompts (with internet disconnected).

Bonus: Wait It Out

If none of the methods work and you’re not in a rush, sometimes the setup completes after 1–2 hours. It’s rare, but worth noting before you force-close the installer.

Final Thoughts

The “Checking for Updates” hang during Windows 10 setup is a common issue but easily fixable. The most reliable workaround is to disconnect from the internet before installing. After the setup finishes, reconnect and update Windows normally.

Need more help? Leave a comment below or reach out via our contact form!

Fix: Unable to Use Package Manager Due to Exclusive Lock Error

Learn how to resolve the ‘exclusive lock’ error when using a package manager like apt on Linux systems. Step-by-step fixes for Ubuntu and Debian-based distros.

After start, Synaptic Manager in Ubuntu sometimes gives error

Unable to get exclusive lock. This usually means that another package management application(like apt-get or aptitude) is already running. Please close that application first.

In this post, we will learn about the causes and solutions for this error.

There are multiple causes for this error. As the message says, it means that package manager is already running.

After Boot

Cause

By default, Ubuntu runs a check after reboot automatically — not immediately, but some time within. So, during this time if you try to run the update command, you will get this error.

Solution

For Ubuntu automatic system checks, you have to wait for it to complete and then run your update command.

You can check, if any system check is running or not using the following command,

ps aux | grep dpkg | grep -v grep

If it shows any text then it means system is still updating, just wait for it to completed.

Software Updater is Running

Cause

Sometimes after boot, system software updater popup comes with many system updates. You can cancel this update and it will close. But, if you accept the updates, it will start updating the system.

If this updater is running and you try to run the update command, you will get same error as above.

Solution

Generally, it is not advised to pause the updater. Once an update has started, allow it to run its course. So, wait for some time till it completes and then run your update command.

Otherwise, you can pause the updater to run update command from terminal and restart the updater later after your update command completes.