
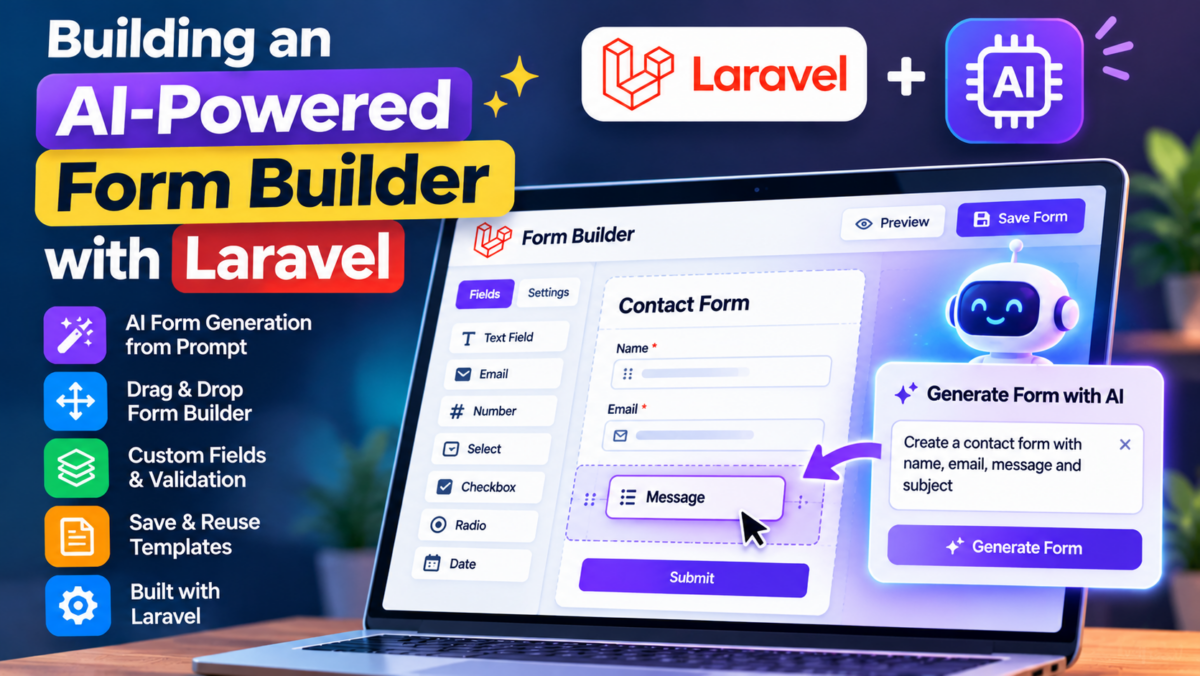
Building a custom form builder is a common requirement in enterprise applications, customer surveys, and workflow automation. However, traditional form builders require users to manually drag and drop dozens of fields, specify field names, and tediously configure validation constraints.
By integrating Artificial Intelligence into a Laravel application, you can empower users to describe their form in plain English (e.g., “Create a conference speaker submission form with bio, talk title, abstract, and dietary requirements”) and have an LLM automatically generate structured form fields, input types, and validation rules. This tutorial guides you through building an AI-powered form builder with Laravel, configuring an AI client for structured output, creating form controllers, rendering dynamic forms with Blade, and storing submissions securely.
Installing AI Client and Laravel Dependencies
To build an AI-powered form builder, we need an HTTP client capable of requesting structured JSON completions from modern LLMs (such as OpenAI, Anthropic, or locally-hosted models via Ollama).
In your Laravel project, install the official OpenAI PHP client (or rely on Laravel’s built-in Http facade):
composer require openai-php/clientPublish your configuration or register the client in your environment. Add your AI API credentials in your .env file:
AI_PROVIDER=openai
OPENAI_API_KEY=sk-proj-your-api-key-here
OPENAI_MODEL=gpt-4o-mini
Next, ensure database migrations for storing dynamic forms and form submissions are ready.
Configuring AI Settings in Laravel
Store your AI service configuration in config/services.php:
'openai' => [
    'api_key' => env('OPENAI_API_KEY'),
    'model' => env('OPENAI_MODEL', 'gpt-4o-mini'),
],
Bind the AI client in app/Providers/AppServiceProvider.php:
namespace App\Providers;

use Illuminate\Support\ServiceProvider;
use OpenAI;
use OpenAI\Client;

class AppServiceProvider extends ServiceProvider
{
    public function register(): void
    {
        $this->app->singleton(Client::class, function () {
            return OpenAI::client(config('services.openai.api_key'));
        });
    }
}
This makes the OpenAI\Client easily injectable into controllers and services.
Creating a Custom Form Builder Controller with AI-Powered Functions
Create models and migrations for forms and user submissions:
php artisan make:model Form -m
php artisan make:model FormSubmission -m
In the create_forms_table migration:
Schema::create('forms', function (Blueprint $table) {
    $table->id();
    $table->string('title');
    $table->text('description')->nullable();
    $table->json('schema'); // [{name, label, type, required, options}, ...]
    $table->timestamps();
});
Create a dedicated service app/Services/AiFormGeneratorService.php that requests structured JSON from the model:
namespace App\Services;

use OpenAI\Client;

class AiFormGeneratorService
{
    public function __construct(protected Client $client) {}

    public function generateSchema(string $prompt): array
    {
        $response = $this->client->chat()->create([
            'model' => config('services.openai.model', 'gpt-4o-mini'),
            'response_format' => ['type' => 'json_object'],
            'messages' => [
                [
                    'role' => 'system',
                    'content' => 'You are a form design assistant. Generate a form specification based on user requirements. Output JSON with format: {"title": "...", "description": "...", "fields": [{"name": "...", "label": "...", "type": "text|textarea|email|number|select", "required": true|false, "options": ["..."]}]}',
                ],
                [
                    'role' => 'user',
                    'content' => $prompt,
                ],
            ],
            'temperature' => 0.2,
        ]);

        $raw = $response->choices[0]->message->content;
        return json_decode($raw, true) ?? [];
    }
}
Now create app/Http/Controllers/FormBuilderController.php:
namespace App\Http\Controllers;

use App\Models\Form;
use App\Services\AiFormGeneratorService;
use Illuminate\Http\JsonResponse;
use Illuminate\Http\Request;
use Illuminate\View\View;

class FormBuilderController extends Controller
{
    public function __construct(protected AiFormGeneratorService $formGenerator) {}

    public function create(): View
    {
        return view('forms.builder');
    }

    public function generate(Request $request): JsonResponse
    {
        $request->validate([
            'prompt' => ['required', 'string', 'max:1000'],
        ]);

        $schema = $this->formGenerator->generateSchema($request->input('prompt'));

        if (empty($schema['fields'])) {
            return response()->json(['error' => 'Unable to generate form from prompt.'], 422);
        }

        $form = Form::create([
            'title' => $schema['title'] ?? 'Untitled Form',
            'description' => $schema['description'] ?? null,
            'schema' => $schema['fields'],
        ]);

        return response()->json([
            'form_id' => $form->id,
            'title' => $form->title,
            'fields' => $form->schema,
            'url' => route('forms.show', $form),
        ]);
    }
}
Building the Form Builder Interface Using Laravel Blade Templates
Create a clean, responsive interface in resources/views/forms/builder.blade.php:
@extends('layouts.app')
@section('content')
<div class="max-w-4xl mx-auto py-10 px-4">
<h1 class="text-3xl font-bold text-slate-800 mb-6">AI Form Builder</h1>
<div class="bg-white p-6 rounded-xl shadow-sm border border-slate-200 mb-8">
<label for="prompt" class="block text-sm font-medium text-slate-700 mb-2">
Describe the form you want to create:
</label>
<textarea id="prompt" rows="3" class="w-full border-slate-300 rounded-lg shadow-sm focus:ring-indigo-500 focus:border-indigo-500" placeholder="e.g., A registration form for a workshop with full name, email, dietary preference, and skill level."></textarea>
<div class="mt-4 flex justify-end">
<button id="generate-btn" type="button" class="px-5 py-2.5 bg-indigo-600 text-white font-medium rounded-lg hover:bg-indigo-700 transition">
Generate Form with AI
</button>
</div>
</div>
<div id="preview-container" class="hidden bg-white p-6 rounded-xl shadow-sm border border-slate-200">
<h2 id="preview-title" class="text-2xl font-bold text-slate-800 mb-4"></h2>
<div id="fields-preview" class="space-y-4"></div>
<div class="mt-6 flex justify-between items-center pt-4 border-t border-slate-100">
<a id="view-form-link" href="#" class="text-indigo-600 font-medium hover:underline" target="_blank">Open Live Form →</a>
</div>
</div>
</div>
@endsectionIntegrating Natural Language Processing for Dynamic Field Generation
The AI prompt engineering in AiFormGeneratorService ensures that the LLM normalizes user input into valid HTML5 field types (email, number, select, textarea).
When a user submits:
“We need a vendor application with company name, contact person, business registration number, annual revenue, and service category selection.”
The AI interprets the intent and outputs standard attributes:
{
  "title": "Vendor Application",
  "fields": [
    { "name": "company_name", "label": "Company Name", "type": "text", "required": true },
    { "name": "contact_person", "label": "Contact Person", "type": "text", "required": true },
    { "name": "registration_number", "label": "Business Registration Number", "type": "text", "required": true },
    { "name": "annual_revenue", "label": "Annual Revenue ($)", "type": "number", "required": false },
    { "name": "category", "label": "Service Category", "type": "select", "required": true, "options": ["Consulting", "Hardware", "Software", "Logistics"] }
  ]
}
Validating User Input and Saving Data to the Database
When rendering and processing the generated form, validate submitted values dynamically against the stored JSON schema.
In app/Http/Controllers/FormSubmissionController.php:
namespace App\Http\Controllers;

use App\Models\Form;
use App\Models\FormSubmission;
use Illuminate\Http\RedirectResponse;
use Illuminate\Http\Request;
use Illuminate\View\View;

class FormSubmissionController extends Controller
{
    public function show(Form $form): View
    {
        return view('forms.show', compact('form'));
    }

    public function submit(Request $request, Form $form): RedirectResponse
    {
        $rules = [];

        foreach ($form->schema as $field) {
            $fieldRules = [];

            if (! empty($field['required'])) {
                $fieldRules[] = 'required';
            } else {
                $fieldRules[] = 'nullable';
            }

            if ($field['type'] === 'email') {
                $fieldRules[] = 'email';
            } elseif ($field['type'] === 'number') {
                $fieldRules[] = 'numeric';
            }

            $rules[$field['name']] = $fieldRules;
        }

        $validated = $request->validate($rules);

        FormSubmission::create([
            'form_id' => $form->id,
            'payload' => $validated,
        ]);

        return back()->with('success', 'Form submitted successfully!');
    }
}
In resources/views/forms/show.blade.php:
@extends('layouts.app')

@section('content')
<div class="max-w-2xl mx-auto py-10 px-4">
    <div class="bg-white p-8 rounded-xl shadow-sm border border-slate-200">
        <h1 class="text-2xl font-bold text-slate-800 mb-2">{{ $form->title }}</h1>
        @if($form->description)
            <p class="text-slate-600 mb-6">{{ $form->description }}</p>
        @endif

        @if(session('success'))
            <div class="p-4 mb-6 bg-emerald-50 text-emerald-700 rounded-lg text-sm">
                {{ session('success') }}
            </div>
        @endif

        <form action="{{ route('forms.submit', $form) }}" method="POST" class="space-y-4">
            @csrf
            @foreach($form->schema as $field)
                <div>
                    <label class="block text-sm font-medium text-slate-700 mb-1">
                        {{ $field['label'] }} @if(!empty($field['required'])) <span class="text-red-500">*</span> @endif
                    </label>

                    @if($field['type'] === 'textarea')
                        <textarea name="{{ $field['name'] }}" class="w-full border-slate-300 rounded-lg shadow-sm" rows="3"></textarea>
                    @elseif($field['type'] === 'select')
                        <select name="{{ $field['name'] }}" class="w-full border-slate-300 rounded-lg shadow-sm">
                            <option value="">Select an option</option>
                            @foreach($field['options'] ?? [] as $opt)
                                <option value="{{ $opt }}">{{ $opt }}</option>
                            @endforeach
                        </select>
                    @else
                        <input type="{{ $field['type'] }}" name="{{ $field['name'] }}" class="w-full border-slate-300 rounded-lg shadow-sm">
                    @endif

                    @error($field['name'])
                        <p class="text-red-500 text-xs mt-1">{{ $message }}</p>
                    @enderror
                </div>
            @endforeach

            <div class="pt-4">
                <button type="submit" class="w-full px-5 py-2.5 bg-indigo-600 text-white font-medium rounded-lg hover:bg-indigo-700 transition">
                    Submit Response
                </button>
            </div>
        </form>
    </div>
</div>
@endsection
Displaying Generated Forms on the Frontend Using JavaScript
Connect the generation endpoint to the Blade builder view using standard fetch:
document.getElementById('generate-btn')?.addEventListener('click', async () => {
    const prompt = document.getElementById('prompt').value.trim();
    if (!prompt) return;

    const btn = document.getElementById('generate-btn');
    btn.disabled = true;
    btn.innerText = 'Generating...';

    try {
        const response = await fetch('/forms/generate', {
            method: 'POST',
            headers: {
                'Content-Type': 'application/json',
                'X-CSRF-TOKEN': document.querySelector('meta[name="csrf-token"]').getAttribute('content')
            },
            body: JSON.stringify({ prompt })
        });

        const data = await response.json();
        if (response.ok) {
            document.getElementById('preview-title').innerText = data.title;
            const preview = document.getElementById('fields-preview');
            preview.innerHTML = data.fields.map(f => `
                <div class="p-3 bg-slate-50 border border-slate-200 rounded-lg">
                    <span class="font-semibold text-slate-800">${f.label}</span>
                    <span class="text-xs px-2 py-0.5 ml-2 bg-indigo-100 text-indigo-700 rounded-full uppercase">${f.type}</span>
                </div>
            `).join('');

            document.getElementById('view-form-link').href = data.url;
            document.getElementById('preview-container').classList.remove('hidden');
        }
    } finally {
        btn.disabled = false;
        btn.innerText = 'Generate Form with AI';
    }
});
Deploying and Testing the Custom Form Builder Application
Write an automated feature test to verify form generation and validation:
namespace Tests\Feature;

use App\Models\Form;
use App\Services\AiFormGeneratorService;
use Mockery;
use Tests\TestCase;

class FormBuilderTest extends TestCase
{
    public function test_ai_form_generator_stores_schema_and_renders_fields(): void
    {
        $mock = Mockery::mock(AiFormGeneratorService::class);
        $mock->shouldReceive('generateSchema')->once()->andReturn([
            'title' => 'Feedback Form',
            'fields' => [
                ['name' => 'comment', 'label' => 'Your Comment', 'type' => 'textarea', 'required' => true],
            ],
        ]);

        $this->app->instance(AiFormGeneratorService::class, $mock);

        $response = $this->postJson('/forms/generate', [
            'prompt' => 'Create a feedback form',
        ]);

        $response->assertOk()
            ->assertJsonPath('title', 'Feedback Form');

        $this->assertDatabaseHas('forms', ['title' => 'Feedback Form']);
    }
}
By leveraging OpenAI’s structured JSON output with Laravel’s Eloquent and Blade, you create a dynamic, modern AI form builder that saves hours of manual form creation.
Frequently Asked Questions
How do I install the Kiro AI SDK and Laravel dependencies for a custom form builder application?
To begin, ensure you have a fresh Laravel project set up using Composer. Then, run composer require kirori/kiroi-sdk to install the Kiro AI SDK package.
What is the purpose of installing the Laravel spatie/laravel-schema package in this tutorial?
The spatie/laravel-schema package provides a convenient way to define database schema using a fluent API, which we will use later in our form builder application.
How do I configure my Kiro AI API keys in Laravel?
To configure your Kiro AI API keys, update the config/services.php file with your actual API credentials. Replace <YOUR_API_KEY> and <YOUR_SECRET_KEY> placeholders with your actual API credentials.
What is the significance of using an AI-powered form builder versus a traditional one?
Using an AI-powered form builder allows for more flexibility and adaptability in generating forms based on user input and integrating natural language processing capabilities.
Can I use this tutorial to build a custom form builder with any framework other than Laravel?
This tutorial is specific to building a custom form builder with Laravel, but the principles of using Kiro AI’s SDK can be applied to other frameworks as well.