Discover an effective way to set PostgreSQL schemas using PHP PDO when the SET search_path approach fails. Learn best practices for schema-based architecture.
Some of the important server related problems will be solved only using shell access to the server. To access the cPanel server shell using SSH, there must be an SSH client installed on PC. Most of the Linux distros include SSH client software by default. If it is not installed, then it can be easily installed with following commands,
For Ubuntu:apt-get install openssh-client For CentOS:yum install openssh-clients
After installation, follow these steps to access the cPanel shell with SSH from Linux:
Login to cPanel and go to Security > SSH/Shell Access to generate SSH key pair.
Click Manage SSH Keys > Generate a New Key. You should use a password to protect the key. You will be asked the password each time you use the key.
In Public Keys section click ‘Manage Authorization’ and ‘Authorize’
In Private Keys section click, Vew/Download then download the key (id_dsa or id_rsa) to your PC.
Save it to ~/.ssh directory on your Linux machine under a meaningful name to not overwrite your existing keys for example id_dsa.myjavahost
Now make sure permissions are correct on the key (one-time task) and connect: mypc:~$ chmod 600 .ssh/id_dsa mypc:~$ ssh -p1033 -i .ssh/id_dsa yourusername@yourservername Enter passphrase for key '.ssh/id_dsa':
Provide the password for the key, set up in step #2
Troubleshooting guide to fix the issue where Windows 10 setup gets stuck on ‘Checking for Updates’. Step-by-step solutions to help you complete the installation.
Upgrading or installing Windows 10 should be a smooth process, but sometimes the setup gets stuck on the “Checking for Updates” screen. This frustrating issue can prevent you from completing the installation.
This guide will walk you through several proven solutions to resolve the issue and successfully install Windows 10.
Why Does This Happen?
Slow or unstable internet connection
Corrupted installation media
Interference from third-party software or antivirus
Microsoft update server delays
Outdated or incompatible drivers
Solution 1: Disconnect From the Internet
One of the easiest fixes is to disable your internet connection before starting the setup.
Steps:
Turn off Wi-Fi or unplug the Ethernet cable.
Start Windows 10 setup.
When prompted, choose “I don’t have internet”.
Continue installation. Update Windows after setup completes.
Solution 2: Use Media Creation Tool Properly
Make sure you’re using the latest Media Creation Tool to avoid outdated setup files.
Boot from USB and start setup with internet disabled.
Solution 3: Run Setup in Clean Boot Mode
Clean Boot ensures no third-party app interferes with setup.
How to Clean Boot:
Press Win + R, type msconfig, press Enter.
Go to Services tab, check “Hide all Microsoft services”, click Disable all.
In the Startup tab, click Open Task Manager and disable startup apps.
Reboot your PC and run setup.
Solution 4: Delete Windows Update Temporary Files
Corrupted update cache may block setup from progressing.
Press Win + R, type services.msc, and stop Windows Update service.
Navigate to C:\Windows\SoftwareDistribution.
Delete all contents of the folder.
Restart Windows Update service and retry setup.
Solution 5: Use an Updated ISO File
Using an ISO with integrated updates avoids the need for checking online during setup.
Download the latest ISO from UUP Dump or Microsoft.
Right-click and choose Mount.
Run setup.exe and follow prompts (with internet disconnected).
Bonus: Wait It Out
If none of the methods work and you’re not in a rush, sometimes the setup completes after 1–2 hours. It’s rare, but worth noting before you force-close the installer.
Final Thoughts
The “Checking for Updates” hang during Windows 10 setup is a common issue but easily fixable. The most reliable workaround is to disconnect from the internet before installing. After the setup finishes, reconnect and update Windows normally.
Need more help? Leave a comment below or reach out via our contact form!
Learn how to resolve the ‘exclusive lock’ error when using a package manager like apt on Ubuntu. Step-by-step fixes for Ubuntu and Debian-based distros.
After start, Synaptic Package Manager in Ubuntu sometimes gives error
Unable to get exclusive lock. This usually means that another package management application(like apt-get or aptitude) is already running. Please close that application first.
In this post, we will learn about the causes and solutions for this error.
There are multiple causes for this error. As the message says, it means that Ubuntu package manager is already running.
After Boot
Cause
By default, Ubuntu runs a check after reboot automatically — not immediately, but some time within. So, during this time if you try to run the update command, you will get this error.
Solution
For Ubuntu automatic system checks, you have to wait for it to complete and then run your update command.
You can check, if any system check is running or not using the following command,
ps aux | grep dpkg | grep -v grep
If it shows any text then it means system is still updating, just wait for it to completed.
Software Updater is Running
Cause
Sometimes after boot, system software updater popup comes with many system updates. You can cancel this update and it will close. But, if you accept the updates, it will start updating the system.
If this updater is running and you try to run the update command, you will get same error as above.
Solution
Generally, it is not advised to pause the updater. Once an update has started, allow it to run its course. So, wait for some time till it completes and then run your update command.
Otherwise, you can pause the updater to run update command from terminal and restart the updater later after your update command completes.
Troubleshooting guide to fix the 404 error when accessing phpMyAdmin on localhost. Learn common causes and step-by-step solutions for Apache and Nginx servers.
To run phpmyadmin without getting 404 error, configure apache.conf for phpmyadmin.
gksu gedit /etc/apache2/apache2.conf
Then add the following line to the end of the file.
Include /etc/phpmyadmin/apache.conf
And restart apache
/etc/init.d/apache2 restart
Please read this section in Ubuntu wiki describes the 404 error problem for phpmyadmin.
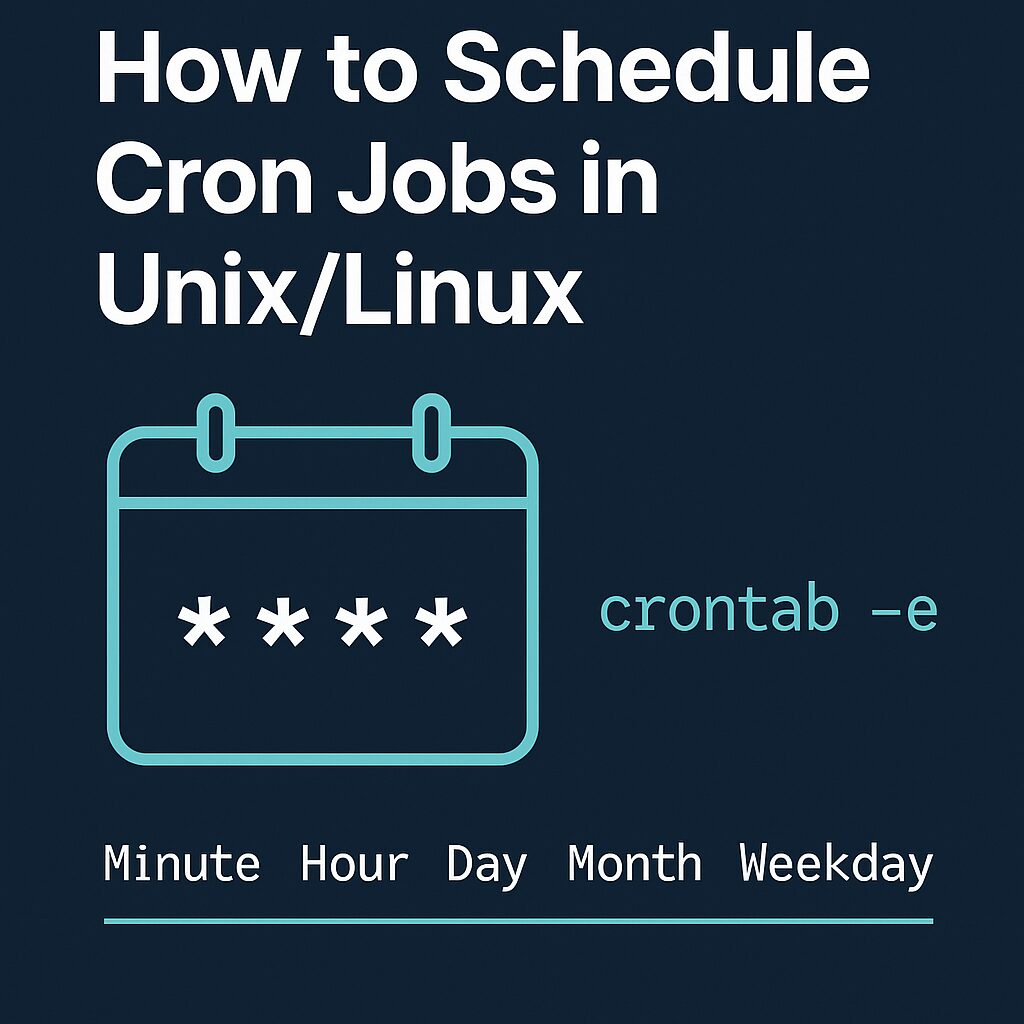
Learn to schedule tasks using cronjob in Unix. This guide explains how to manage cronjob tasks in unix with practical examples.
Cron jobs are essential tools in Unix/Linux systems for automating repetitive tasks. Whether you’re backing up files, syncing data, or running maintenance scripts, cron jobs make sure your tasks run consistently and on time without manual intervention.
In this article, we’ll walk through how to add jobs to the cron scheduler (crontab) and understand its syntax so you can schedule tasks efficiently.
What is a Cron Job in Unix?
A cron job is a scheduled command or script that runs automatically at specified intervals. The cron daemon (crond) handles these jobs in the background on Unix-like operating systems.
Viewing and Editing Crontabation files
Each user has their own crontab file. To view or edit your crontab:
crontab -e
This command opens your crontab in the default system editor (like vi or nano), allowing you to add or modify jobs.
To view your current scheduled jobs:
crontab -l
To remove all scheduled cron jobs:
crontab -r
Unix Cron jobs Syntax Breakdown
A typical cron job line looks like this:
* * * * * command to be executed
- - - - -
| | | | |
| | | | ----- Day of week (0 - 7) (Sunday=0 or 7)
| | | ------- Month (1 - 12)
| | --------- Day of month (1 - 31)
| ----------- Hour (0 - 23)
------------- Minute (0 - 59)
Each * represents a time or date field. And each field can be configured based on the following table.
Field
Value Range
Description
Minute
0–59
Minute of the hour
Hour
0–23
Hour of the day
Day
1–31
Day of the month
Month
1–12
Month of the year
Weekday
0–7 (0 or 7 = Sunday)
Day of the week
Example: Run backup cron job script
If you wished to have a script named /root/backup.sh run every day at 3 am, your crontab entry would look like as follows. First, install your cronjob by running the following command:
# crontab -e
Append the following entry:
0 3 * * * /root/backup.sh
Save and close the file.
More examples
To run /path/to/command five minutes after midnight, every day, enter:
5 0 * * * /path/to/command
Run /path/to/script.sh at 2:15 pm on the first of every month, enter:
15 14 1 * * /path/to/script.sh
To run any PHP script /scripts/phpscript.php at 10 pm on weekdays, enter:
0 22 * * 1-5 /scripts/phpscript.php
Run /root/scripts/perl/perlscript.pl at 23 minutes after midnight, 2am, 4am …, everyday, enter:
23 0-23/2 * * * /root/scripts/perl/perlscript.pl
Run /path/to/unixcommand at 5 after 4 every Sunday, enter:
5 4 * * sun /path/to/unixcommand
You can schedule any command using the cron jobs. For running any script using cron job, make sure your script has executable permissions.
If your script uses environment variables or specific paths, be sure to define them inside the script or call the appropriate environment setup.
Redirecting Output
To log output or errors, you can use the following command and save the logs in file:
2>&1 redirects errors (stderr) to the same log file without displaying it to the console.
System-Wide Cron Jobs
System-wide cron files can be added to:
Hourly, daily, weekly, monthly: /etc/cron.hourly/, /etc/cron.daily/, etc.
/etc/crontab
/etc/cron.d/
Conclusion
Cron jobs are powerful for scheduling recurring tasks in Unix/Linux environments. By mastering crontab syntax and scheduling structure, you can automate system maintenance, backups, and custom scripts with ease.
Make sure to test your scripts before scheduling them and check logs regularly to confirm successful execution.