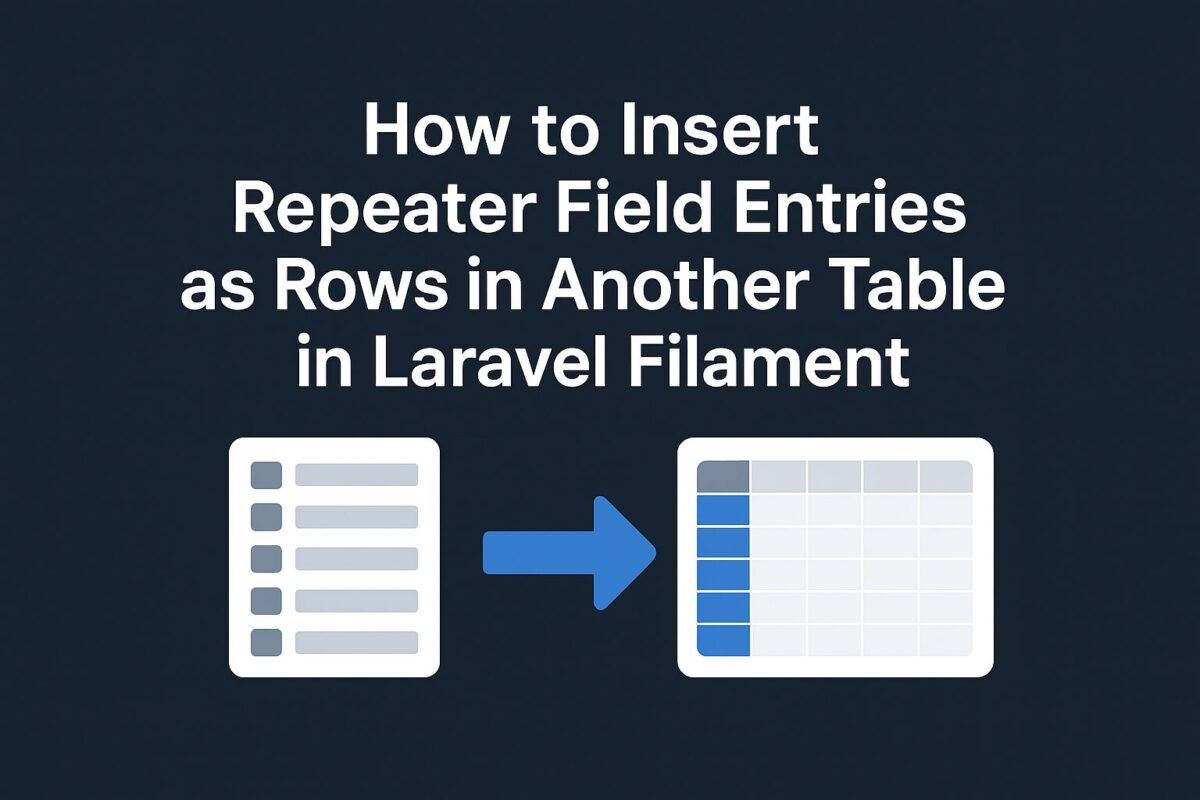
Laravel order by relation column with example

Explore examples demonstrating the use of Laravel’s orderBy method with relationship columns across various versions.

In this post, we focus on examples to use Laravel order by relation column. There are many different ways to achieve it.

Below are some examples that demonstrate the usage of Laravel‘s orderBy method with relationship columns. These examples can be applied in Laravel versions 5, 6, 7, 8, 9, and 10.

Example 1: Ordering by a BelongsTo Relationship Column

Consider the scenario where you have a "User" model that belongs to a "Role" model. You can use the orderBy method to sort the users based on the role name in ascending order.

$users = User::with(['role' => function ($q) {
    $q->orderBy('name');
}])->get();

You can use the same code for descending order by adding 'desc' argument to orderBy method as follows,

$users = User::with(['role' => function ($q) {
    $q->orderBy('name', 'desc');
}])->get();

For above example to work properly, you have to define belongsTo relationship of "Role" model inside the "User" model as follows,

public function role(): BelongsTo
{
    return $this->belongsTo(Role::class, 'role_id', 'id');
}

Example 2: Using inner join with relation table

For above scenario, where “User” model that belongs to “Role” model, you can use join method to perform user sorting based on role name as follows,

$users = User::select('*')
                 ->join('roles', 'users.role_id', '=', 'roles.id')
                 ->orderBy('roles.name', 'asc');

As above example, you need to replace the second argument of orderBy method to 'desc' for sort records in descending order. There is no need of any relationship required for this query.

Example 3: Using sortBy() and sortByDesc() methods

You can use sortBy() and sortByDesc() methods to order the records for the same scenario as follows,

$users = User::get()->sortBy(function($query){
    return $query->role->name;
})->all();

In above example, it first get the users collection from the database and then sort them by the provided relation column. For these methods, you have to define belongsTo relationship in "User" model.

You can use sortByDesc() method same as above.

Example 4: Using subquery and whereColumn method

You can also use subqueries to sort records. For the above scenario, you can use subqueries as follows,

$users = User::select('*')
    ->orderBy(Role::select('name')
        ->whereColumn('roles.id', 'users.role_id')
    );

In above example, we have we used subquery from roles table using whereColumn method to get the name of the role of each row of users table. After getting the role name, we used orderBy method to achieve the sorted records.

For sorting records in descending order, you can use the above example with orderByDesc method.

You can use this example, without defining belongsTo relationship in model.

These are some useful examples to order records based on relationship model in Laravel.

Using Laravel to upload a file

Learn how to handle file uploads in Laravel, including validations and best practices.

Uploading a file in any programming is a challenge. In this post, we focus on uploading a file and some validations to use with file upload using Laravel.

To upload a file using Laravel, you can follow these steps:

Create a new form in your Laravel view with an input field for the file:

<form method="POST" action="{{ route('file.upload') }}" enctype="multipart/form-data">
    @csrf

    <input type="file" name="file">

    <button type="submit">Upload</button>
</form>

In above code, we have added file.upload route as an action of the form. So, we need to define this route in routes/web.php file. This route should point to the controller method that will handle the file upload.

The following code will define a new route in your routes/web.php file:

Route::post('/file/upload', [App\Http\Controllers\FileController::class, 'upload'])->name('file.upload');

Above code has defined a route, which points to the upload method of the FileController. So, create a new controller FileController and method upload inside that to handle the file upload as follows:

class FileController
{
    public function upload(Request $request)
    {
        // Validate the uploaded file
        $request->validate([
            'file' => 'required|file|max:1024', // limit file size to 1 MB
        ]);

        // Store the uploaded file in the storage/app/public directory
        $path = $request->file('file')->store('public');

        // Generate a URL for the uploaded file
        $url = Storage::url($path);

        // Redirect back with a success message
        return back()->with('success', 'File uploaded successfully: ' . $url);
    }
}

In the upload() method, we first validate that the uploaded file meets our requirements. So, we have added some validations for our file. These validations are as follows:

required:

The field under this validation must be present in the input data and must not empty. A field is “empty” if it meets one of the following criteria:

  • The value is null.
  • The value is an empty string.
  • The value is an empty array or empty Countable object.
  • The value is an uploaded file with no path.

file:

The field under this validation must be a successfully uploaded file.

max:1024:

The field under this validation must be less than or equal to a 1024 bytes. Here, 1024 is value of file size. You can change it according to your requirements.

We then use the store() method on the uploaded file to store it in the storage/app/public directory. This directory is publicly accessible, so we can generate a URL for the file using the url() method on the Storage facade. Finally, we redirect back to the form with a success message that includes the URL of the uploaded file.

You can now test the file upload functionality by navigating to the form and selecting a file to upload. If the file meets the validation requirements, it will be uploaded and a success message will be displayed. You can then access the uploaded file at the generated URL.

Advanced Error Handling in PHP (Part 2)

Explore advanced techniques for error handling in PHP including exceptions, custom error handlers, and best practices in Part 2 of this series.

Now that we know, how to log errors in any system developed in PHP, we can move to our next section for keeping track of these logged errors. If you haven’t read how to log errors, read part 1 of error handling in PHP.

To keep track of these logged errors, we need to create a script to read those log files in a systematic way. Refer to the below code to read log files,

public function errorLogs($filePath = 'error.log') {

        $fileContent = file($filePath);

        $errorsArray = array();
        if(sizeof($fileContent) == 0) {
            return false;
        }

        foreach($fileContent as $row) {
            $errors = explode(":  ", $row);

            if(empty($errors[1])) continue;
            $errorsArray[] = $errors;
        }

        return array_reverse($errorsArray, true);
}

Explanation:

$fileContent = file($filePath);

This line of code will read the file line by line from the provided file path.

if(sizeof($fileContent) == 0) {
    return false;
}

After reading the file, if the size of the file content is 0 then, the function will return false. So, the purpose of this function is to stop the execution of the function if the provided file is empty and returns false.

foreach($fileContent as $row) {
      $errors = explode(":  ", $row);

      if(empty($errors[1])) continue;
      $errorsArray[] = $errors;
}

This part of the function will loop through the log contents row by row. For each row, it will explode the line with ‘:’ to separate the date and actual error details.

If the error details are empty for any row, it will skip that row. Otherwise, it will collect the errors in another array.

return array_reverse($errorsArray, true);

The last line of the function will reverse the error data and returned the reversed result. So, that we can see the latest errors first.

This way we can create a simple function to display the list of errors in a tabular format from the error log files we generated for each of the modules in the application system.

Beginner’s Guide to Error Handling in PHP – Part 1

Learn the basics of error handling in PHP. Understand types of errors, how to display them, and the use of error_reporting() and ini_set() functions.

Error handling is an important part of any developer as it provides vital flaws about the program developed by the developer. So, it becomes very crucial to learn the techniques to manage it.

As a developer, we have been told that you should not show errors on the production server because of the security risk due to the path displayed by the PHP errors displayed on the screen. So, we add the following code for the production server,

ini_set('error_reporting', 0);
error_reporting(0);

ini_set('display_errors', FALSE);

But, without error logs, developers cannot able to know actual problems or flaws in the system. So, rather than hiding errors, developers should store them in the log files. We can achieve this using the following code,

ini_set('error_reporting', E_ALL);
error_reporting(E_ALL);
ini_set('log_errors', TRUE);
ini_set('html_errors', FALSE);
ini_set('error_log', LOG_PATH.'error.log');
ini_set('display_errors', FALSE);

This way, we can manage error logs and hide errors on the production server. We can manage separate log files for the different modules of the project.

How to Change File Upload Size in Ubuntu via php.ini

Learn how to increase the file upload limit on Ubuntu by editing the php.ini file. Follow this easy guide to update post_max_size and upload_max_filesize.

On Ubuntu server, maximal file size upload limit in php scripts is set to 2Mb as default.  There may be different filesize updated later in php.ini which is not sufficient to upload large database backup in phpMyAdmin.

In order to change that, two things are important,

  • Current upload_max_filesize value
  • Current location of php.ini file

To find current upload_max_filesize value, create a file called ‘pinfo.php’ at your webserver root folder with following content:

phpinfo();

Now, open recently created file in browser via http://localhost/pinfo.php (replace localhost with the servername if necessary) and look for the line

upload_max_filesize 2M

which will show you the actual maximum file size.

To change the upload_max_filesize value, open php.ini file from the location provided in information displayed from pinfo.php file. If php.ini file location is/etc/php5/apache2/php.ini, then open a ssh connection to your server and edit the file /etc/php5/apache2/php.ini as follows

sudo nano /etc/php5/apache2/php.ini

search for “upload_max_filesize” with Ctrl-W and change “2M” to “20M”. Save the file with Ctrl-O and exit with Ctrl-X. Restart the apache server with

sudo /etc/init.d/apache2 restart

and visit again http://localhost/info.php to check if the maximum file size was changed.

There is another way to change upload_max_filesize value for specific project or website only.

If you enabled mod_rewrite you can also put this to your .htaccess file:

php_value upload_max_filesize = 16G
php_value post_max_size = 16G

So, upload_max_filesize value in php.ini file can be changed using .htaccess for project specific and from php.ini file itself for whole server specific.