In Part 1, we built a complete Product Booking System with Cart using Laravel Livewire, where users could:
- Select a product
- Choose a booking date
- Select quantity
- Add multiple products to cart
- Merge identical cart entries
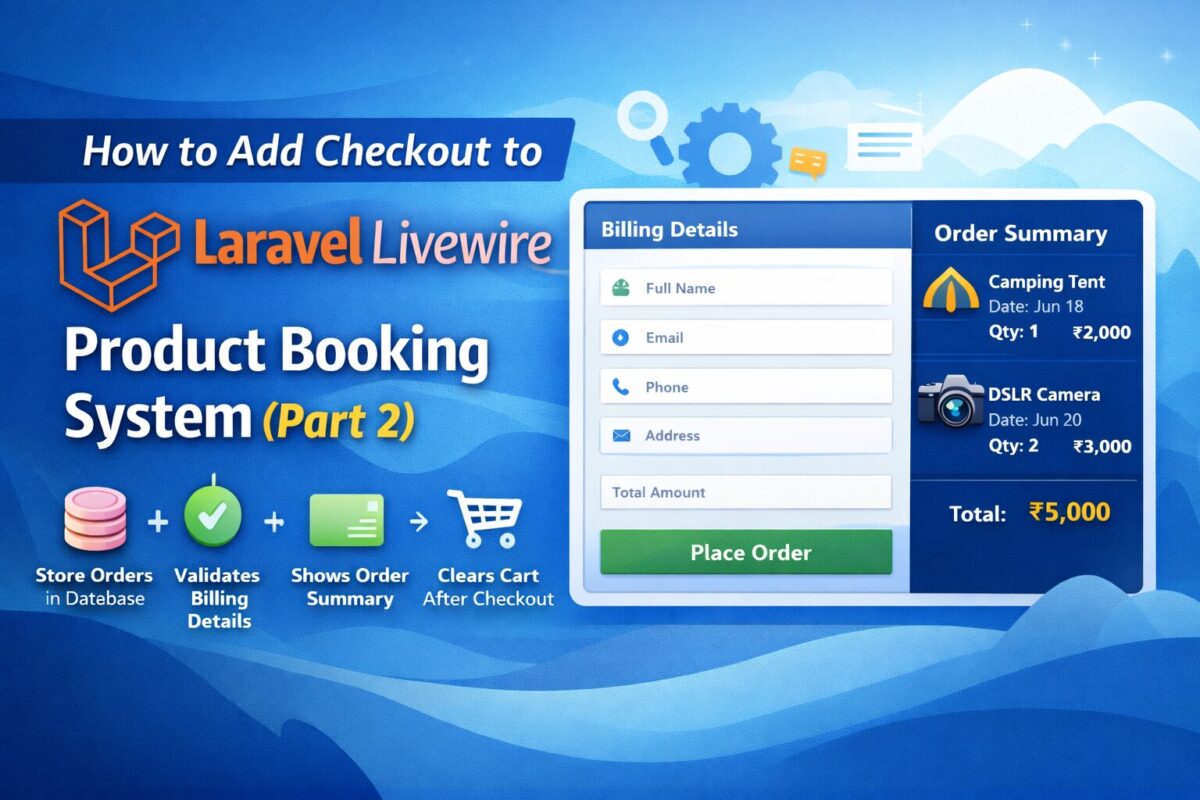
Now in Part 2, we will extend that system and add Laravel Livewire Checkout Form to make it fully working, where:
✔ User enters billing details
✔ Cart items are validated
✔ Orders are saved in database
✔ Cart clears after successful checkout
✔ Ready for payment integration
Let’s build it step-by-step.
Step 1: Create Order Tables
When a user places an order, we must store:
- Who placed the order
- Their contact details
- The total order amount
Instead of saving everything in one table, we follow proper e-commerce structure and create 2 tables as follows:
orders: To store contact details and order related informationorder_items: To store multiple order items for the order
This keeps your database clean and scalable.
Use the following migration command to create orders table:
php artisan make:migration create_orders_tableIt will create a migration file xxxx_xx_xx_xxxxxx_create_orders_table.php inside database/migrations folder. Open this file and add the following code:
Schema::create('orders', function (Blueprint $table) {
    $table->id();
    $table->string('name');
    $table->string('email');
    $table->string('phone');
    $table->text('address');
    $table->decimal('total_amount', 10, 2);
    $table->timestamps();
});
Similarly, use the same artisan command to create order_items table as follows,
php artisan make:migration create_order_items_tableAnd copy the following code to the generated migration file xxxx_xx_xx_xxxxxx_create_order_items_table.php:
Schema::create('order_items', function (Blueprint $table) {
    $table->id();
    $table->foreignId('order_id')->constrained()->cascadeOnDelete();
    $table->foreignId('product_id');
    $table->date('booking_date');
    $table->integer('quantity');
    $table->decimal('price', 10, 2);
    $table->decimal('total', 10, 2);
    $table->timestamps();
});
After both migrations, run the below migrate command to execute created migrations:
php artisan migrateStep 2: Create Checkout Livewire Component
Create a checkout form livewire component using the following artisan command:
php artisan make:livewire CheckoutFormIt will create 2 files for product booking,
- Class File:
app/Livewire/CheckoutForm.php - Blade File:
resources/views/livewire/checkout-form.blade.php
Livewire Component Logic
Open app/Livewire/ file and copy the following component login in it.CheckoutForm.php
namespace App\Livewire;

use App\Models\Order;
use App\Models\OrderItem;
use App\Services\CartService;
use Livewire\Component;

class CheckoutForm extends Component
{
    public $name, $email, $phone, $address;

    protected $rules = [
        'name'    => 'required|string|min:3',
        'email'   => 'required|email',
        'phone'   => 'required',
        'address' => 'required|min:10',
    ];

    public function placeOrder()
    {
        $this->validate();

        $cart = CartService::all();

        if (empty($cart)) {
            session()->flash('error', 'Cart is empty!');
            return;
        }

        $total = array_sum(array_column($cart, 'total'));

        $order = Order::create([
            'name'         => $this->name,
            'email'        => $this->email,
            'phone'        => $this->phone,
            'address'      => $this->address,
            'total_amount' => $total,
        ]);

        foreach ($cart as $item) {
            OrderItem::create([
                'order_id'     => $order->id,
                'product_id'   => $item['product_id'],
                'booking_date' => $item['date'],
                'quantity'     => $item['quantity'],
                'price'        => $item['price'],
                'total'        => $item['total'],
            ]);
        }

        CartService::clear();

        return redirect()->route('order.success');
    }

    public function render()
    {
        return view('livewire.checkout-form', [
            'cart' => CartService::all()
        ]);
    }
}
Blade View with Message
Add the following code to the resources/views/livewire/checkout-form.blade.php.
<div class="row">

    <div class="col-md-7">
        <h4>Billing Details</h4>

        <input type="text" wire:model="name" placeholder="Full Name" class="form-control mb-2">
        <input type="email" wire:model="email" placeholder="Email" class="form-control mb-2">
        <input type="text" wire:model="phone" placeholder="Phone" class="form-control mb-2">
        <textarea wire:model="address" placeholder="Address" class="form-control mb-3"></textarea>

        <button wire:click="placeOrder" class="btn btn-success w-100">
            Place Order
        </button>
    </div>

    <div class="col-md-5">
        <h4>Order Summary</h4>

        @foreach($cart as $item)
            <div class="border-bottom mb-2 pb-2">
                {{ $item['name'] }} <br>
                Date: {{ $item['date'] }} <br>
                Qty: {{ $item['quantity'] }} <br>
                ₹{{ $item['total'] }}
            </div>
        @endforeach

        <h5 class="mt-3">
            Total: ₹{{ array_sum(array_column($cart, 'total')) }}
        </h5>
    </div>

</div>
It contains user details form with Place Order button to complete the order and Cart Summary with all items and total amount to be payed.
Apply CSS according to your project requirements and you can also add more fields to the checkout form.
Step 3: Add Checkout Route
Add a route to routes/web.php file as follows and point to checkout view.
Route::get('/checkout', function () {
    return view('checkout');
})->name('checkout');
Route is point to checkout view. So, create resources/views/checkout.blade.php file and copy the following content to it:
@extends('layouts.app')@section('content')
<div class="container py-5">
    <livewire:checkout-form />
</div>
@endsection
Checkout form livewire component is attached in above view file.
What Happens Now?
When user clicks Place Order the following process is being done inside CheckoutForm.php
- It validates billing data and creates order record.
- It retrieves cart items from session and save them to order items table.
- It clears the cart and redirects the user to success page.
You now have a fully working product booking checkout system in Laravel Livewire.
Optional Enhancements
To make this production-ready, you can add:
- Integrate Stripe / Razorpay payment gateway for actual payment
- Send email confirmation to admin as well as user
- Generate invoice on place order or after payment complete or after mark order completed from admin panel.
- Create order panel using filament to list all orders
- Order status management