In object‑oriented programming, accessors (also known as getters) and mutators (also known as setters) are public methods whose only job is to retrieve or update the value of a class member variable.
Why not use public variables directly?
While it’s technically easier to declare member variables as public, using getters and setters brings major advantages in terms of:
Encapsulation: Data and the methods that operate on it are bundled, and implementation details remain hidden from external code. This separation makes the internal workings of a class changeable without breaking external usage.
Data validation: Setters allow you to enforce rules before updating a value—for instance, preventing setting a value outside an acceptable range.
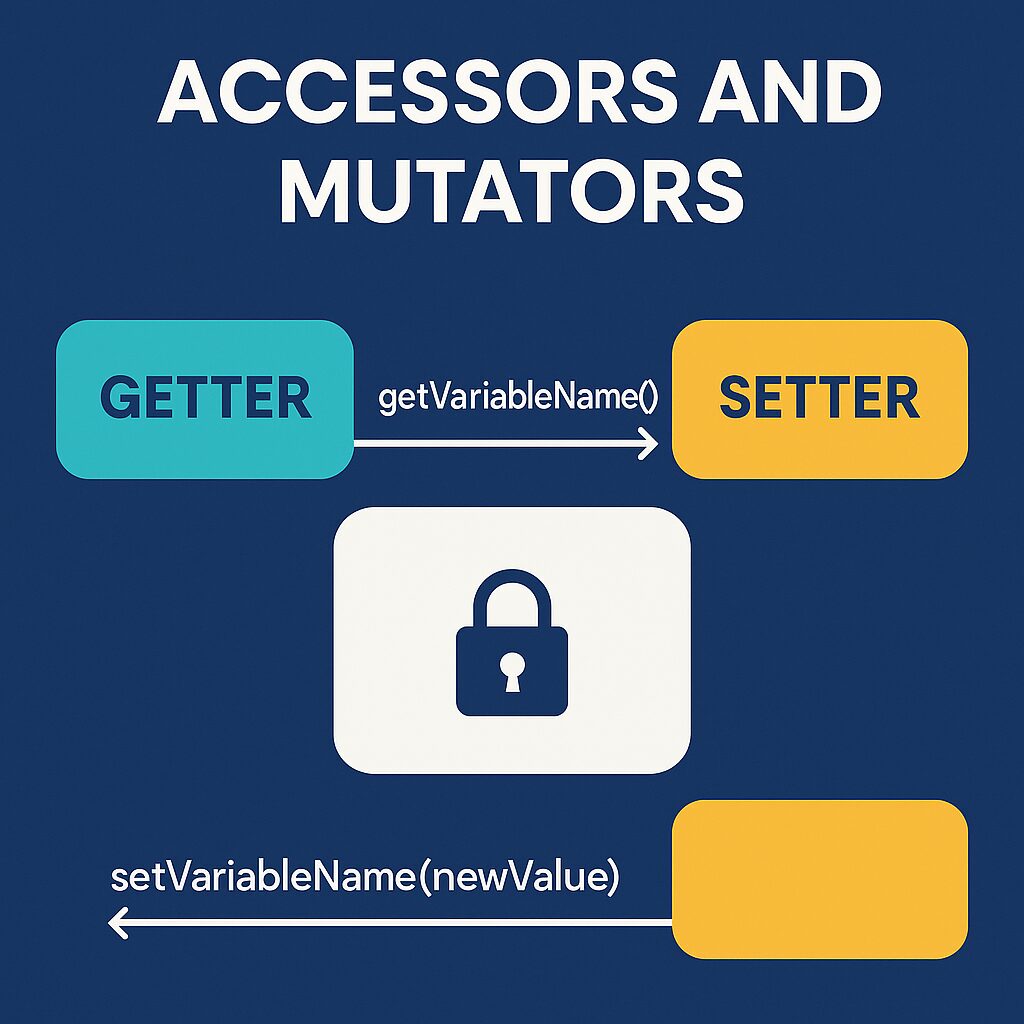
Naming Conventions
Getter: getVariableName() — returns the value of a private variable.
Setter: setVariableName(newValue) — modifies the value, optionally with validation logic.
Examples
This example shows how getters and setters can be used in Java.
public class Account {
    private int balance;

    public int getBalance() {
        return balance;
    }

    public void setBalance(int newBalance) {
        if (newBalance >= 0) {
            balance = newBalance;
        }
    }
}
Similarly, this example shows usage og getters and setters using Python.
class Person:
    def __init__(self, name):
        self.__name = name

    @property
    def name(self):
        return self.__name

    @name.setter
    def name(self, new_name):
        if new_name:
            self.__name = new_name
In this Python example, the @property decorator defines an accessor, while the @name.setter decorator defines a mutator.
Same accessors and mutators can be defined in other languages as well like PHP, Ruby, C#, etc.
Why Use Accessors/Mutators?
Better Encapsulation: Clients of your class interact through methods, not direct access to data.
Safe Updates: Setters can catch invalid data before it gets saved (e.g., negative numbers, abusive inputs).
Maintain Interface Stability: You can refactor or change internal data structures later without affecting external callers.
Customization & Control: Getters can return derived values, or trigger lazy computation; Setters can log events, enforce thread safety, etc.
Community Insight
In everyday developer conversations—such as on forums or Stack Overflow—it’s common to see that “accessor” = getter and “mutator” = setter. Many fall back to the more familiar terms “getters and setters,” and treat them interchangeably.
Conclusion
Accessors and mutators are foundational to good object‑oriented design. They help you build robust, maintainable, and secure classes. Instead of exposing variables directly, these methods provide controlled interaction with internal data, enforcing rules, maintaining invariants, and preserving encapsulation.