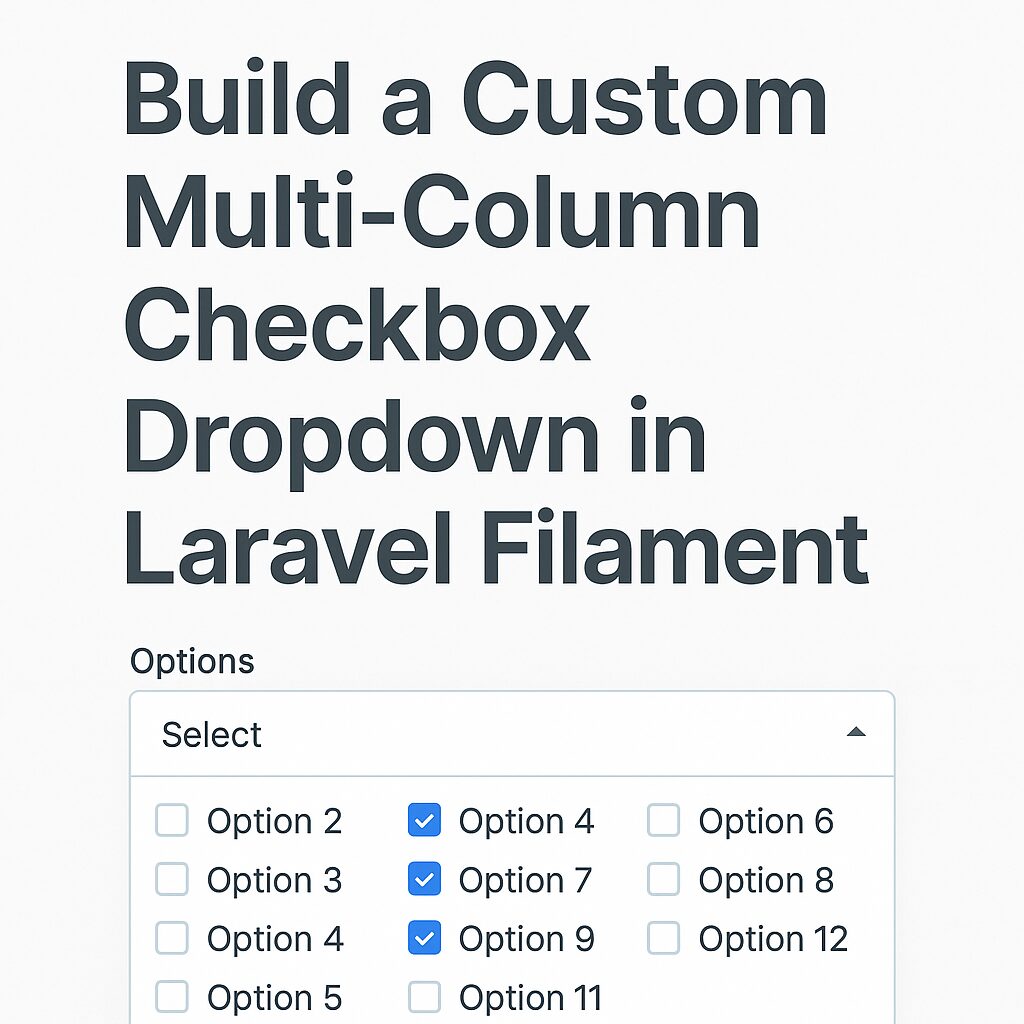
How to Redirect HTTP to HTTPS Using .htaccess

Secure your website by redirecting all HTTP traffic to HTTPS using a simple .htaccess rule. Follow this guide for a safe and SEO-friendly setup.

Chrome and Firefox have started showing insecure warnings to the visitors on websites without SSL certificates. Therefore, using an SSL-encrypted connection for safety, accessibility or PCI compliance reasons is necessary. For SSL-encryption, buy SSL certificates and install them to your websites.

But, installing SSL certificates will not show secure, you should also redirect all your HTTP traffic to HTTPS. In order to force your web traffic to use HTTPS, edit the codes in the .htaccess file. Before we move onto redirecting HTTP to HTTPS, here’s how you can edit .htaccess file. If you already know skip to Redirection steps.

Editing .htaccess File

There are instructions/directives in the .htaccess file that tell the server how to act in certain scenarios and directly affects how your website functions. Common directives in .htaccess file:

  • Redirects
  • Rewriting URLs

Ways to edit an .htaccess file:

  1. Edit the file on your computer and upload it to the server using FTP.
  2. Use “Edit” mode in FTP program that allows you to edit a file remotely.
  3. Use a text editor and SSH to edit the file.
  4. Use the File Manager in cPanel to edit the file.

Editing .htaccess in cPanel File Manager

Note: Backup your website in case something goes wrong.

  1. Login to cPanel
  2. Files > File Manager > Document Root for:
  3. Now select the domain name you want to access
  4. Check “Show Hidden Files (dotfiles)”
  5. Click “Go”
  6. After a new tab or window opens, look for the .htaccess file.
  7. Right click on the .htaccess file and click on “Code Edit” on the menu.
  8. A dialogue box may pop up asking about encoding. Click “Edit” button to continue.
  9. Edit the file
  10. “Save Changes” when done.
  11. Test your website to make sure it is done correctly. In case, there is an error, restore to the previous version and try again.
  12. Once you are done, click “Close” to close the window.

Redirecting HTTP to HTTPS

1. Redirect All Web Traffic

If you have existing code in your .htaccess, add the following:

RewriteEngine On RewriteCond %{SERVER_PORT} 80 RewriteRule ^(.*)$ https://www.yourdomain.com/$1 [R,L]

2. Redirect Only a Specific Domain

For redirecting a specific domain to use HTTPS, add the following:

RewriteEngine On RewriteCond %{HTTP_HOST} ^yourdomain\.com [NC]RewriteCond %{SERVER_PORT} 80 RewriteRule ^(.*)$ https://www.yourdomain.com/$1 [R,L]

3. Redirect Only a Specific Folder

Redirecting to HTTPS on a specific folder, add the following:

RewriteEngine On RewriteCond %{SERVER_PORT} 80 RewriteCond %{REQUEST_URI} folder RewriteRule ^(.*)$ https://www.yourdomain.com/folder/$1 [R,L]

Note: Replace “yourdomain” with your actual domain name wherever required. Also, in case of the folder, replace /folder with the actual folder name.

Think it was useful? Share this article to help them come on HTTPS

How to Autostart GlassFish on Ubuntu Boot

Learn how to configure GlassFish to start automatically on system boot in Ubuntu. Step-by-step guide using systemd service scripts.

To make the Glassfish Server auto start with startup, we need to setting up an init script, which helps us to manage all Glassfish Server startup events easily. And also make Glassfish start up automatically whenever Ubuntu is rebooting.

This script file is glassfish to be created at /etc/init.d/. For managing all Glassfish Server startup events, it ships with the asadmin tool. Use this tool in the startup script as follows,

  1. Create or edit glassfish file sudo nano /etc/init.d/glassfish
  2. Paste the following lines in the file #!/bin/sh #to prevent some possible problems export AS_JAVA=/usr/lib/jvm/jdk1.8.0 GLASSFISHPATH=/home/glassfish/bin case “$1” in start) echo “starting glassfish from $GLASSFISHPATH” sudo -u glassfish $GLASSFISHPATH/asadmin start-domain domain1 ;; restart) $0 stop $0 start ;; stop) echo “stopping glassfish from $GLASSFISHPATH” sudo -u glassfish $GLASSFISHPATH/asadmin stop-domain domain1 ;; *) echo $”usage: $0 {start|stop|restart}” exit 3 ;; esac :

Now, glassfish startup script is created. We need to add this file in startup to make Glassfish Server autostart during Ubuntu startup. Follow these steps,

  1. Make the startup script file executable sudo chmod a+x /etc/init.d/glassfish
  2. Add this file to Ubuntu startup boot sudo update-rc.d glassfish defaults

That’s it. Now, restart Ubuntu and check if it really autostart the Glassfish Server.

You can also manage Glassfish Server startup events as follows,

  • Start the server /etc/init.d/glassfish start
  • Stop the server /etc/init.d/glassfish stop
  • Restart the server /etc/init.d/glassfish restart  

Auto-Start Tomcat on Ubuntu Boot Using systemd

Learn how to configure Apache Tomcat to start automatically on system boot in Ubuntu using systemd service units. A complete step-by-step guide.

Apache Tomcat is not configured with autostart by default in Ubuntu. So, custom init script is required to configure Tomcat for autostart on startup.

Create the init script in /etc/init.d/tomcat8 with the contents as per below.

Init script contents:

#!/bin/bash

### BEGIN INIT INFO
# Provides:        tomcat8
# Required-Start:  $network
# Required-Stop:   $network
# Default-Start:   2 3 4 5
# Default-Stop:    0 1 6
# Short-Description: Start/Stop Tomcat server
### END INIT INFO

PATH=/sbin:/bin:/usr/sbin:/usr/bin

start() {
 sh {tomcat_root}/bin/startup.sh
}

stop() {
 sh {tomcat_root}/bin/shutdown.sh
}

case $1 in
  start|stop) $1;;
  restart) stop; start;;
  *) echo "Run as $0 <start|stop|restart>"; exit 1;;
esac

Note: Please change {tomcat_root} with your Tomcat installation folder path.

Change its permissions and add the correct symlinks automatically:

chmod 755 /etc/init.d/tomcat8
update-rc.d tomcat8 defaults

And from now on it will be automatically started and shut down upon entering the appropriate run levels.

It could be also controlled with just use following commands like Apache

service tomcat8 <stop|start|restart>

Using above process any server script can be created and configured to start on startup.

Accessing PostgreSQL via SSH Putty tunnel

Learn how to securely access a remote PostgreSQL database through an SSH tunnel using PuTTY on Windows. Step-by-step configuration guide included.

To close the port 5432 for any traffic or don’t want to configure PostgreSQL to listen to any remote traffic, use SSH Tunneling to make a remote connection to the PostgreSQL instance at AWS.

Follow these steps to connect PostgreSQL using SSH Tunneling at AWS:

  1. Open PuTTY. Setup server session in Putty.
  2. Go to Connection > SSH > Tunnels
  3. Enter 8000 in the Source Port field.
  4. Enter 127.0.0.1:5432 in the Destination field.
  5. Click the “Add” button.
  6. Go back to Session, and save, then click “Open” to connect.
  7. This opens a terminal window. After connection leaves that alone.
  8. Open pgAdmin and add a connection.
  9. Enter localhost in the Host field and 8000  in the Port field.
  10. Specify a Name for the connection, and the username and password. Click OK.

What is it doing? PuTTY is intercepting communications sent from pgAdmin to localhost:8000. The information is transferred across the internet via SSH, on port 22. When it arrives there, the SSH server sends the information on to PostgreSQL via port 5432. As far as PostgreSQL knows, the traffic came in locally, on the correct port.

Configure MySQL 5.6 LONGBLOB for Large Binary Data

Learn how to configure MySQL 5.6 to efficiently store large binary data using the LONGBLOB data type. Ideal for handling images, videos, and other big files.

The reason for this issue is a change in MySQL 5.6.20 as one could read in the change log:

As a result of the redo log BLOB write limit introduced for MySQL 5.6, the innodb_log_file_size setting should be 10 times larger than the largest BLOB data size found in the rows of your tables plus the length of other variable length fields (VARCHAR, VARBINARY, and TEXT type fields). No action is required if your innodb_log_file_size setting is already sufficiently large or your tables contain no BLOB data.

Set or increase the value of the innodb_log_file_size option in my.ini below the [mysqld] section. Its default value is 48M. Setting it to

[mysqld]
innodb_log_file_size=256M

Be careful when changing the value of innodb_log_file_size. Follow these steps to do this safely:

  • Shut the server down cleanly and normally.
  • Shutting down MySQL may not be as simple as just service mysql stop!
  • Following things should be done to shut down mysql server normally and cleanly:
    1. Double check the instance you are going to shutdown!!
    2. Stop Replication
    3. Flush the dirty pages
    4. Check the long running transactions
    5. Dump and reload the buffer pool
  • Move away (don’t delete) the log files, which are named ib_logfile0, ib_logfile1, and so on.
  • Check the error log to ensure there was no problem shutting down.
  • Then restart the server and watch the error log output carefully.
    • There should see InnoDB print messages saying that the log files don’t exist. It will create new ones and then start.
  • Verify that InnoDB is working. If it’s working, then the old log files can be deleted.