
As a web developer working on large-scale applications with Laravel, you’ve likely encountered performance bottlenecks due to time-consuming tasks blocking your application’s main thread. This can lead to slower page loads, timeouts, and frustrated users. A common solution is to offload these tasks to the background using job queues.
By the end of this tutorial, you’ll build a robust database-driven queue system for Laravel that efficiently handles long-running jobs without compromising your application’s responsiveness. Specifically, you’ll learn how to create a custom job class with its handling logic and configure the queue worker to automatically process these jobs in the background. With this setup, tasks like sending emails, processing large files, or performing expensive database queries will be executed asynchronously, freeing up your application to serve users more quickly.
What is Laravel’s Database Queue Driver?
Laravel’s Database Queue Driver allows you to run your application’s background jobs in a database-driven manner instead of relying on external services like RabbitMQ or Amazon SQS. This approach decouples your job processing from external dependencies and can be beneficial for local development, testing, or environments where external services are not feasible.
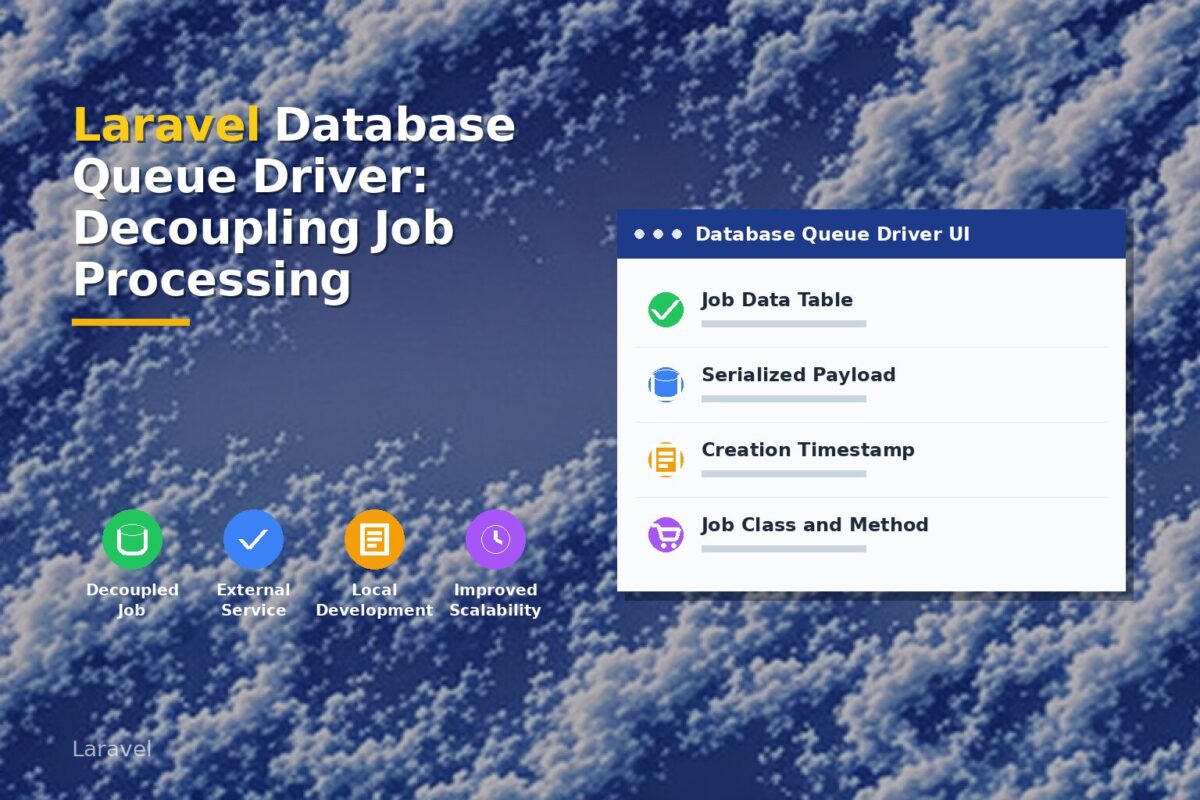
The driver stores job data in the jobs table within your application’s database. When a job is created, Laravel will store its serialized payload along with metadata like the creation timestamp and the job instance’s class name and method to call.
Here’s an example of what this might look like in a Job model:
// app/Jobs/MyBackgroundTask.php

namespace App\Jobs;

use Illuminate\Bus\Queueable;
use Illuminate\Contracts\Queue\ShouldQueue;
use Illuminate\Foundation\Bus\Dispatchable;
use Illuminate\Queue\InteractsWithQueue;
use Illuminate\Queue\SerializesModels;

class MyBackgroundTask implements ShouldQueue
{
    use Dispatchable, InteractsWithQueue, Queueable, SerializesModels;

    // job handling logic here...
}
In this example, when MyBackgroundTask is dispatched, it will be stored in the database with its serialized payload and metadata. When a queue worker is started (which we’ll discuss later), it will pick up these jobs from the database and execute them.
The Database Queue Driver provides a simple yet powerful way to manage your application’s background tasks without relying on external services.
Prerequisites: Installing Laravel Queue and Required Packages
Before you can start working with Laravel’s database queue driver, you need to install the required packages and set up your project accordingly.
First, make sure you have a fresh Laravel installation. If not, you can easily create one using Composer:
composer create-project --prefer-dist laravel/laravel project-nameNext, navigate into your project directory and open it in your code editor or IDE.
Laravel’s queue system relies on the queue package, which is installed by default with a fresh installation. However, if you’re upgrading an existing project, make sure to install it manually:
composer require laravel/queueAdditionally, you’ll need the database driver for the queue, which is already included in the queue package. If you want to use other drivers like Redis or Amazon SQS, be sure to install their respective packages as well.
If you’re using a Laravel version older than 8.x, you might still have an older version of the queue package installed. Run the following command to update it:
composer update laravel/queueOnce the installation is complete, you should be ready to move on to setting up your queue connection in the .env file and the Config\queue.php configuration file.
Setting Up the Queue Connection in .env and Config/queue.php
To start using the database queue driver, we need to set up a connection in both our environment configuration (.env) file and Laravel’s queue configuration file (config/queue.php).
First, let’s update our .env file with the necessary credentials for our database. The following example assumes you’re using MySQL:
DB_CONNECTION=mysql
DB_HOST=127.0.0.1
DB_PORT=3306
DB_DATABASE=mydatabase
DB_USERNAME=root
DB_PASSWORD=
Next, we need to configure Laravel’s queue connection in config/queue.php. This is where we tell Laravel which driver to use for the queue and provide any additional configuration settings:
'connections' => [
    'default' => [
        'driver' => 'database',
        'connection' => null,
        'table' => 'jobs',
        'queue' => 'default',
        'retry_after' => 90,
    ],
],
Note that we’ve set the driver to 'database', indicating that we’re using the database queue driver. The connection setting should match one of the connections defined in your config/database.php file. The table and queue settings are used by Laravel’s built-in mechanism for storing jobs in the database; you can adjust these as needed to fit your application’s requirements.
By completing this step, we’ve set up the foundation for using the database queue driver with our Laravel application.
Creating a Job Class to be Processed by the Queue
Now that our queue connection is set up and configured, it’s time to create a job class that will be processed by the queue. In Laravel, jobs are classes that represent some action we want to perform in the background. They’re typically stored in the app/Jobs directory.
Let’s create a simple job called SendReminderEmailJob. This job will send an email to a user with a reminder about their upcoming appointment:
// app/Jobs/SendReminderEmailJob.php

namespace App\Jobs;

use Illuminate\Bus\Queueable;
use Illuminate\Contracts\Queue\ShouldQueue;
use Illuminate\Foundation\Bus\Dispatchable;
use Illuminate\Queue\InteractsWithQueue;
use Illuminate\Support\Facades\Mail;
use Illuminate\Support\Carbon;

class SendReminderEmailJob implements ShouldQueue
{
    use Dispatchable, InteractableWithQueue, Queueable;

    public $user; // the user to send the email to

    public function __construct($user)
    {
        $this->user = $user;
    }

    public function handle()
    {
        Mail::send('emails.reminder', [
            'name' => $this->user->name,
            'appointment_time' => Carbon::parse($this->user->appointment_time),
        ], function ($message) use ($this->user) {
            $message->to($this->user->email);
        });
    }
}
This job class uses Laravel’s Mail facade to send an email. The handle method is where we put the logic for what should happen when the job is processed.
Note that this job doesn’t do any actual work, it just sends an email; in a real-world scenario, jobs could be used for much more complex tasks like processing payments or sending reports.
Defining the Job Handling Logic with handle Method
In the previous step, you created a new job class with the necessary dependencies injected through the constructor. Now it’s time to define the logic that will be executed when this job is processed by the queue.
The key method in any Laravel job is the handle method. This is where you write the code that will be executed when the job is processed by the queue. The handle method does not return anything, and it’s a good practice to keep its execution as short as possible since it should only contain the essential logic for the task.
Let’s take an example of a simple job that sends an email notification:
// app/Jobs/SendEmailNotification.php

namespace App\Jobs;

use Illuminate\Support\Facades\Mail;
use Illuminate\Queue\InteractsWithQueue;
use Illuminate\Contracts\Queue\ShouldBeUnique;

class SendEmailNotification implements ShouldBeUnique
{
    use InteractsWithQueue;

    private $toAddress;
    private $subject;
    private $body;

    public function __construct(string $toAddress, string $subject, string $body)
    {
        $this->toAddress = $toAddress;
        $this->subject = $subject;
        $this->body = $body;
    }

    public function handle()
    {
        Mail::send('emails.notification', ['body' => $this->body], function ($message) use ($this) {
            $message->from('your-email@example.com', 'Your Name');
            $message->to($this->toAddress, $this->subject);
        });
    }
}
In this example, the handle method uses the Mail facade to send an email notification. The email template is stored in the emails.notification blade file.
With the job class created and the handle method defined, you’re now ready to configure the queue worker for automatic job processing.
Configuring the Queue Worker for Automatic Job Processing
Now that you have a job class set up and configured, it’s time to make Laravel process these jobs automatically using the queue worker.
First, open your terminal and navigate into your project directory. Run the following command to start the queue worker:
php artisan queue:workBy default, this will run in daemon mode, meaning it’ll keep running until you manually stop it or restart your server. You can customize the behavior of the queue worker by adding options, such as specifying a queue name or telling it to run in the background.
To make things more automated, let’s set up the queue worker to start automatically whenever our application starts. Open your app/Providers/AppServiceProvider.php file and add the following code to the boot method:
use Illuminate\Support\Facades\Queue;

public function boot()
{
    Queue::listen(function ($job) {
        // Do nothing for now, just getting set up
    });
}
This sets up a listener for the queue. When a new job is added to the queue, Laravel will automatically attempt to process it using this code.
To get things started, navigate back to your terminal and run php artisan queue:work again. You should see the queue worker pick up any pending jobs and start processing them.
Monitoring and Troubleshooting the Database Queue
As your application grows, it’s essential to monitor and troubleshoot the queue to ensure it’s processing jobs efficiently and without errors.
Monitoring the Queue
You can use Laravel’s built-in tools to monitor the queue status:
php artisan queue:failedThis command will display a list of failed jobs. You can also clear these jobs using queue:clear or queue:flush.
To view the job that is currently being processed, you can run:
php artisan queue:work --daemon --tries=1This will start the queue worker in daemon mode and attempt to process one job at a time. If any jobs fail during processing, they’ll be retried.
Troubleshooting the Queue
When troubleshooting issues with your queue, it’s essential to check the queue:failed table for errors:
php artisan tinker
Schema::disableForeignKeyConstraints();
DB::table('queue_failures')->get();
This will display a list of failed jobs. You can then investigate the error by checking the job’s payload and error message.
If you’re experiencing issues with your queue worker, try increasing the maxtempts value in config/queue.php. This will allow the worker to retry failed jobs more times before giving up.
Remember, monitoring and troubleshooting are crucial steps in maintaining a healthy and efficient queue. By following these tips, you’ll be well-equipped to handle any issues that arise.
Frequently Asked Questions
What is Laravel’s Database Queue Driver and how does it work?
Laravel’s Database Queue Driver stores job data in the jobs table within your application’s database, decoupling job processing from external dependencies.
How do I set up a queue connection for the database driver in my Laravel project?
You need to set up a queue connection in the .env file and the Config\queue.php configuration file. In the .env file, add the following line: QUEUE_CONNECTION=database. Then, in the Config\queue.php file, make sure the database driver is configured correctly.
What’s the difference between using Laravel’s Database Queue Driver and an external service like RabbitMQ?
The main difference is that the Database Queue Driver stores job data in your application’s database, whereas external services like RabbitMQ store job data on their own servers. The Database Queue Driver can be beneficial for local development or environments where external services are not feasible.
I’m getting an error saying ‘Cannot serialize or unserialize connected\ PDO instance’. What does this mean?
This error occurs when you’re trying to serialize a connected PDO instance, which is not possible. To fix this issue, make sure to close the database connection before serializing any objects that use it.
Can I use Laravel’s Database Queue Driver with other queue drivers like Redis or Amazon SQS?
Yes, you can use multiple queue drivers in your project. However, you need to install their respective packages and configure them correctly in the Config\queue.php file.