Learn how to build a dynamic form builder in Laravel Livewire with repeaters, file uploads, and component-based fields. Step-by-step guide with code examples.
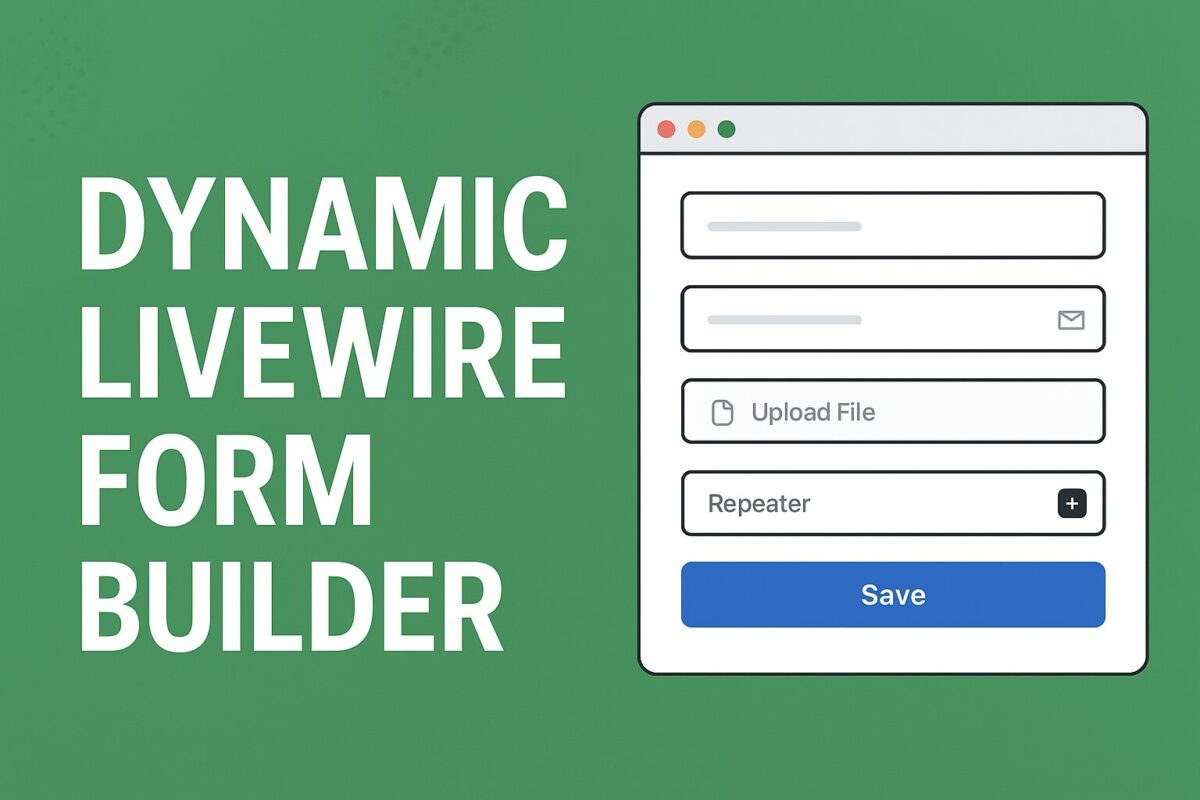
From Static to Dynamic: Creating a Powerful Form Builder with Livewire
Learn how to build a dynamic form builder in Laravel Livewire with repeaters, file uploads, and component-based fields. Step-by-step guide with code examples.