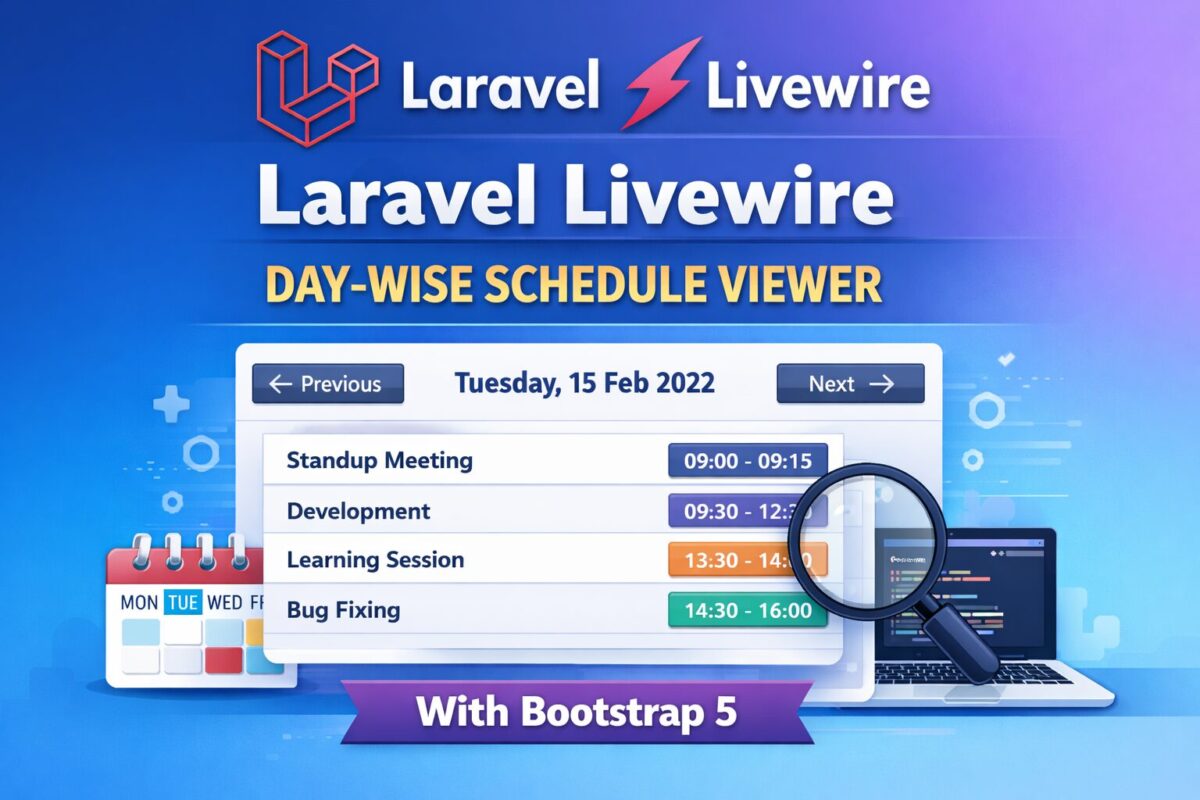
Managing schedules by day is a common requirement in admin dashboards, booking systems, internal tools, and SaaS applications. In this tutorial, you’ll learn how to build a day-wise schedule viewer using Laravel Livewire, styled with Bootstrap 5, and powered by weekday-based database records.
This guide covers everything from database migration and seeding to Livewire navigation logic and UX improvements.
What You’ll Learn in This Tutorial
- How to store weekday-based schedules in Laravel
- Build a Livewire component to show schedules dynamically
- Navigate schedules using Previous / Next buttons
- Disable invalid navigation (like going before today)
- Seed realistic day-wise data (max 6 events per day)
- Create a Bootstrap 5 UI without JavaScript
Tech stack used
- Laravel 10+
- Livewire 3
- Bootstrap 5
- Carbon (Date handling)
- MySQL / MariaDB
Database Migration
Before creating the model, seeder, and Livewire component, we need a database table to store weekday-based schedules.
Each record represents one event for a specific weekday (Monday–Sunday).
Create Migration
To create a migration file, run the following command,
php artisan make:migration create_weekday_schedules_tableIt will create a migration file named xxxx_xx_xx_create_weekday_schedules_table.php in the database/migrations folder.
Migration File
Open the migration file and add the following code into it,
use Illuminate\Database\Migrations\Migration;
use Illuminate\Database\Schema\Blueprint;
use Illuminate\Support\Facades\Schema;

return new class extends Migration
{
    public function up(): void
    {
        Schema::create('weekday_schedules', function (Blueprint $table) {
            $table->id();

            // 1 = Monday, 7 = Sunday (ISO-8601)
            $table->unsignedTinyInteger('weekday')->index();

            $table->string('title');
            $table->time('start_time');
            $table->time('end_time');
            $table->text('description')->nullable();

            $table->timestamps();
        });
    }

    public function down(): void
    {
        Schema::dropIfExists('weekday_schedules');
    }
};
Now, this migration file is ready to be run.
Run Migration
Run the migration using the following artisan command,
php artisan migrateEloquent Model
Now, create a model for weekday schedules table, created by the migration. To create an eloquent model, run the following command,
php artisan make:model WeekdayScheduleIt will create a model file named WeekdaySchedule.php inside app/Models folder. Open that model file and add the following code in the file,
namespace App\Models;

use Illuminate\Database\Eloquent\Model;

class WeekdaySchedule extends Model
{
    protected $fillable = [
        'weekday',
        'title',
        'start_time',
        'end_time',
        'description',
    ];
}
Database migration and models files are ready. It is time to create a livewire component for day-wise schedule.
Livewire Component
Livewire components can be easily created using the artisan livewire command as follows,
php artisan make:livewire DayScheduleThis command will create two files as follows,
- Component file named
DaySchedule.phpinside app/Livewire folder, - Component view blade file named
day-schedule.blade.phpinsideresources/views/livewirefolder.
Open the DaySchedule.php file and add the following code into it,
namespace App\Livewire;

use Livewire\Component;
use Carbon\Carbon;
use App\Models\WeekdaySchedule;

class DaySchedule extends Component
{
    public Carbon $currentDate;

    public function mount()
    {
        $this->currentDate = now();
    }

    public function previousDay()
    {
        if ($this->currentDate->isToday()) {
            return;
        }

        $this->currentDate = $this->currentDate->copy()->subDay();
    }

    public function nextDay()
    {
        $this->currentDate = $this->currentDate->copy()->addDay();
    }

    public function getSchedulesProperty()
    {
        return WeekdaySchedule::where(
            'weekday',
            $this->currentDate->dayOfWeekIso
        )->get();
    }

    public function render()
    {
        return view('livewire.day-schedule');
    }
}
And open the component view file to add the following code,
<div class="card shadow-sm">

    <div class="card-header d-flex justify-content-between align-items-center">

        <button
            wire:click="previousDay"
            class="btn btn-outline-secondary btn-sm"
            @if($currentDate->isToday()) disabled @endif
        >
            ← Previous
        </button>

        <h5 class="mb-0 fw-semibold">
            {{ $currentDate->format('l, d M Y') }}
        </h5>

        <button
            wire:click="nextDay"
            class="btn btn-outline-secondary btn-sm"
        >
            Next →
        </button>

    </div>

    <div class="card-body">
        @forelse ($this->schedules as $schedule)
            <div class="border rounded p-3 mb-3">
                <div class="d-flex justify-content-between">
                    <strong>{{ $schedule->title }}</strong>
                    <span class="badge bg-primary">
                        {{ $schedule->start_time }} – {{ $schedule->end_time }}
                    </span>
                </div>

                @if($schedule->description)
                    <small class="text-muted d-block mt-1">
                        {{ $schedule->description }}
                    </small>
                @endif
            </div>
        @empty
            <div class="alert alert-light text-center mb-0">
                No schedule available for this day.
            </div>
        @endforelse
    </div>

</div>
This component is now ready. But, we don’t have any data to display. So, for data, create a seeder.
Daywise Seeder
Create a seeder using the following artisan command,
php artisan make:seeder WeekdayScheduleSeederThis will create a file inside database/seeders folder named as WeekdayScheduleSeeder.php.
namespace Database\Seeders;

use Illuminate\Database\Seeder;
use App\Models\WeekdaySchedule;

class WeekdayScheduleSeeder extends Seeder
{
    public function run(): void
    {
        $weeklyData = [
            1 => [
                ['Standup Meeting', '09:00', '09:15', 'Daily sync'],
                ['Development', '09:30', '12:30', 'Feature work'],
                ['Lunch', '12:30', '13:30', 'Break'],
                ['Code Review', '13:30', '15:00', 'Review PRs'],
                ['Client Call', '15:15', '16:00', 'Client discussion'],
                ['Wrap Up', '16:15', '17:00', 'Day end'],
            ],
            2 => [
                ['Standup', '09:00', '09:15', 'Team sync'],
                ['Development', '09:30', '12:30', 'Coding'],
                ['Learning', '13:30', '14:30', 'Upskilling'],
                ['Bug Fixing', '14:30', '16:00', 'Fix issues'],
            ],
            7 => [
                ['Off Day', '00:00', '23:59', 'No work scheduled'],
            ],
        ];

        foreach ($weeklyData as $weekday => $events) {
            foreach (array_slice($events, 0, 6) as $event) {
                WeekdaySchedule::create([
                    'weekday' => $weekday,
                    'title' => $event[0],
                    'start_time' => $event[1],
                    'end_time' => $event[2],
                    'description' => $event[3],
                ]);
            }
        }
    }
}
Run seeder using the following command,
php artisan db:seed --class=WeekdayScheduleSeederWith component code and some data, it is now ready to be display on any page. To attach this livewire component, use the following code,
<livewire:day-schedule />Final Results
- Users see today’s schedule by default
- Can navigate future days using Next
- Previous button is disabled on today
- Clean Bootstrap UI
- Fully reactive Livewire experience
- Easily extendable for Filament or APIs
Conclusion
This approach provides a clean, scalable way to manage day-wise schedules in Laravel using Livewire and Bootstrap 5. It avoids JavaScript complexity, keeps logic server-driven, and delivers a smooth UX.
If you’re building dashboards, booking systems, or internal tools — this pattern fits perfectly.


