
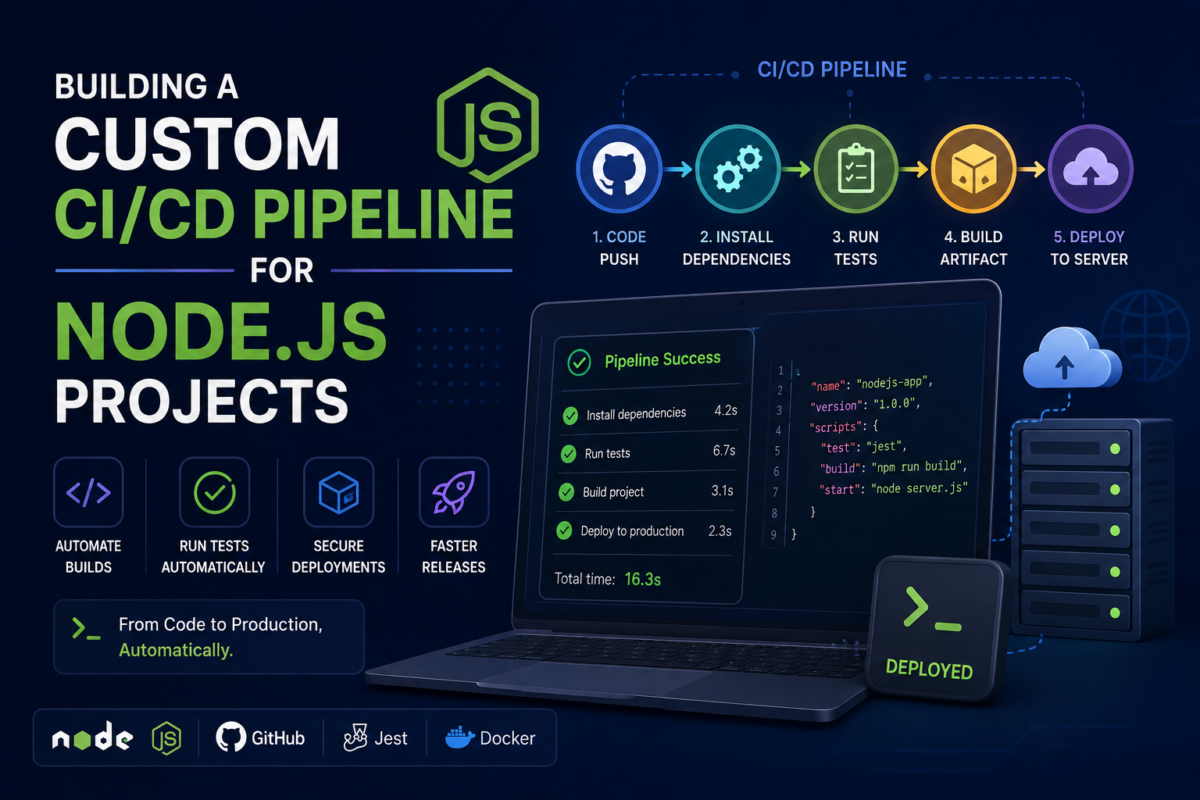
If you’re a Node.js developer using GitHub for version control and collaboration, you’ve likely encountered issues with automated testing and deployment. Perhaps your test suite is failing intermittently due to external dependencies or network connections, causing delays in catching critical errors. Maybe your deploy process relies on manual intervention, leaving room for human error.
You’ll build a custom Continuous Integration/Continuous Deployment (CI/CD) pipeline that automates testing with Jest, tracks code coverage, and deploys to production using SSH and environment variables configured with dotenv. By the end of this tutorial, you’ll have a robust, automated process that ensures your code is thoroughly tested and deployed quickly and reliably, saving you time and reducing stress.
Setting Up Your Node.js Project for GitHub Actions Integration
To begin building a custom CI/CD pipeline with GitHub Actions and Node.js, you’ll first need to set up your project to integrate seamlessly with GitHub Actions.
Create a new Node.js project using the npm init command:
npm init -yThis will generate a basic package.json file. You should also install the github-actions/setup-node action by running the following command in your terminal:
npm install --save-dev @actions/setup-nodeNext, create a new file named .github/workflows/ci-cd.yml (we’ll get to this workflow file in the next section). For now, let’s focus on setting up our project.
In the package.json file, add a script that will trigger your GitHub Actions pipeline. Add the following line under the scripts object:
"scripts": {
  "ci-cd": "github actions run --workflow=ci-cd.yml"
}
This script uses the @actions/github action to trigger the ci-cd.yml workflow file. While this won’t do anything on its own, it’s an essential step in preparing your project for our custom CI/CD pipeline.
Make sure to commit these changes and push them to your GitHub repository so that you can see the magic happen with GitHub Actions. In the next section, we’ll dive into creating a custom workflow file in .github/workflows to automate testing and deployment.
Creating a Custom Workflow File in .github/workflows
Now that you have Node.js set up for GitHub Actions integration, it’s time to create a custom workflow file. This file will define the series of actions that we want to perform when our code is pushed to the repository.
First, create a new directory called .github/workflows at the root of your project. Then, inside this directory, create a new YAML file with a name like node-build-deploy.yml. I’ll be using this example filename throughout this section, but you can choose any name as long as it follows GitHub’s naming conventions.
Here’s an example of what the node-build-deploy.yml file might look like:
name: Node.js Build and Deploy

on:
  push:
    branches:
      - main

jobs:
  build-and-deploy:
    runs-on: ubuntu-latest
    steps:
      - name: Checkout code
        uses: actions/checkout@v3

      - name: Install dependencies
        run: npm install

      - name: Build and deploy
        run: |
          npm run build
          ssh user@host 'mkdir -p /path/to/deploy && scp -r /path/to/dist/* user@host:/path/to/deploy'
This workflow file defines a single job called build-and-deploy that runs on the latest version of Ubuntu. The job performs three steps: checking out the code, installing dependencies, and building and deploying the application.
Note that this is just a basic example to get you started. You can customize the workflow file to fit your specific needs by adding more jobs, steps, or using different actions from the GitHub Marketplace.
Configuring Node.js Environment Variables and Dependencies
In our custom pipeline, we need to make sure that our application’s dependencies are installed correctly and that environment variables are set up properly for testing and deployment.
Let’s start by defining our dependencies in the package.json file:
{
    "name": "my-node-app",
    "version": "1.0.0",
    "description": "",
    "main": "index.js",
    "scripts": {
        "test": "jest"
    },
    "keywords": [],
    "author": "",
    "license": "MIT",
    "dependencies": {
        "@types/node": "^18.4.0",
        "dotenv": "^16.0.1",
        "express": "^4.20.0",
        "jest": "^32.3.0"
    },
    "devDependencies": {}
}
Next, we need to tell our pipeline how to install dependencies and set environment variables. We’ll add a step in our workflow file (step-2.yml) that installs dependencies using npm or yarn:
name: Node.js CI

on:
  push:
    branches: [ main ]

jobs:
  build-and-test:
    runs-on: ubuntu-latest
    steps:
      - name: Checkout code
        uses: actions/checkout@v3
      - name: Setup node and npm
        run: |
          npm config set proxy null
          npm install
Note that we’re using npm in this example, but you can replace it with yarn if your project uses yarn.
Automating Testing with Jest and Covering Code Coverage
Now that our pipeline can build our project, let’s add a test phase using Jest, a popular JavaScript testing framework.
First, install Jest as a development dependency in your package.json:
"devDependencies": {
    "@jest/core": "^32.0.1",
    "jest-environment-jsdom": "^29.4.1"
},
Then, create a new file called jest.config.js to configure Jest:
module.exports = {
  preset: 'ts-jest',
  testEnvironment: 'jsdom',
  setupFilesAfterEnv: ['<rootDir>/tests/setupTests.ts'],
};
Next, create a tests folder in your project root with the following structure:
app/
src/
...
tests/
setupTests.ts
test-*.spec.ts
In each test file, start writing Jest tests using the describe, it, and expect functions. For example:
// tests/test-example.spec.ts
import { expect } from '@jest/globals';
import { add } from '../src/math';

describe('math', () => {
  it('adds two numbers correctly', () => {
    const result = add(2, 3);
    expect(result).toBe(5);
  });
});
Finally, update your GitHub Actions workflow to run Jest tests. Add the following code block in your build.yml file:
- name: Run Tests
  run: |
    npm test
  env:
    GITHUB_TOKEN: ${{ secrets.GITHUB_TOKEN }}
    COVERALLS_REPO_TOKEN: ${{ secrets.COVERALLS_REPO_TOKEN }}
Run the pipeline, and you’ll see your Jest tests passing. If you want to cover code coverage, install jest-coverage as a development dependency and add it to your workflow:
- name: Run Code Coverage
  run: |
    npm run test -- --coverage
This will display the code coverage report in your pipeline output.
Deploying to Production using SSH and dotenv Configuration
Now that our tests are passing, it’s time to deploy our application to production. We’ll use SSH to connect to our server and copy the latest code changes.
First, let’s add a new step to our workflow file (deploy-to-production.yml) to configure the SSH connection:
name: Deploy to Production

on:
  push:
    branches:
      - main

jobs:
  deploy:
    runs-on: ubuntu-latest
    steps:
      # ... (previous steps)

      - name: Configure SSH connection
        uses: appleboy/ssh-action@v0.31.1
        with:
          host: ${{ secrets.SSH_HOST }}
          username: ${{ secrets.SSH_USERNAME }}
          key: ${{ secrets.SSH_PRIVATE_KEY }}

      - name: Copy code to production server
        run: |
          ssh ${{ secrets.SSH_HOST }} "mkdir -p /var/www/app && cp -r ./public/* /var/www/app/"
In the above code, we use the appleboy/ssh-action action to configure the SSH connection. We store our SSH host, username, and private key as GitHub secrets.
Next, let’s update our .env file on the production server to include the necessary environment variables:
# .env (production)

APP_KEY=your_app_key_here
DB_HOST=localhost
DB_USERNAME=root
DB_PASSWORD=password

# dotenv configuration
NODE_ENV=production
Make sure to replace your_app_key_here, localhost, and other placeholders with your actual production settings.
With these changes, our pipeline will now deploy the latest code changes to our production server using SSH. This concludes our custom CI/CD pipeline setup!
Triggering the Pipeline on Push Events and Scheduling Tasks
To automate testing and deployment, we need to trigger our pipeline whenever changes are pushed to our repository. GitHub Actions provides a built-in push event that can be used to trigger workflows.
Let’s update our workflow file (build-and-deploy.yml) to include this event:
name: Build and Deploy

on:
  push:
    branches:
      - main

jobs:
  build-and-test:
    runs-on: ubuntu-latest
    steps:
      # ... (rest of the workflow remains the same)
In this example, we’re telling GitHub Actions to trigger the build-and-deploy workflow whenever a change is pushed to the main branch. You can modify the branches setting to include multiple branches if needed.
Scheduling tasks in our pipeline is also possible using the schedule keyword. For instance, let’s assume we want to run a daily report on our application at 2 AM:
on:
  push:
    branches:
      - main
  schedule:
    - cron: '0 2 * * *'
Here, we’re telling GitHub Actions to trigger the build-and-deploy workflow every day at 2 AM. The cron expression is used to specify the time and frequency of the task.
With these settings in place, our pipeline will now automatically run whenever changes are pushed or scheduled tasks occur. In the final section, we’ll cover debugging and troubleshooting techniques for our custom CI/CD pipeline.
Debugging and Troubleshooting Your Custom CI/CD Pipeline
Debugging and troubleshooting are crucial steps in ensuring your custom CI/CD pipeline runs smoothly. GitHub Actions provides several features to help you identify issues.
Firstly, enable debug logging for the workflow by setting jobs.<job_id>.outputs to debug. This will store the logs from each job in the workflow.
name: Custom Workflow

on:
  push:
    branches: [ main ]

jobs:
  build-and-deploy:
    runs-on: ubuntu-latest
    outputs:
      debug: ${{ job.debug }}
    steps:
      - name: Checkout code
        uses: actions/checkout@v3
      - name: Run tests
        run: npm test -- --verbose
In addition, GitHub Actions provides an actions/github-script@v6 action that allows you to execute shell scripts within the workflow. You can use this to log debug messages or gather information about your environment.
For example:
steps:
  - name: Log debug message
    run: echo "Debug message: ${{ secrets.SECRET_TOKEN }}" >> debug.log
Finally, if you’re experiencing issues with your pipeline, ensure you have the correct permissions and configuration in place. GitHub Actions provides a built-in debugging tool that allows you to view the workflow’s output.
By following these steps, you’ll be able to identify and fix issues in your custom CI/CD pipeline, ensuring smooth deployments and continuous integration. With this tutorial complete, you now have a solid foundation for automating your Node.js project using GitHub Actions.
Frequently Asked Questions
What is the purpose of adding a script to the package.json file for triggering GitHub Actions pipeline?
The script uses the @actions/github action to trigger the ci-cd.yml workflow file, which is essential for preparing your project for our custom CI/CD pipeline.
Why do I need to commit and push changes to see the magic happen with GitHub Actions?
Committing and pushing changes allows GitHub Actions to detect the changes and trigger the pipeline, enabling you to see the automation in action.
What is a common error or pitfall when setting up a CI/CD pipeline with GitHub Actions?
A common mistake is forgetting to update the package.json file with the correct script for triggering the pipeline, which can cause confusion and delays in testing and deployment.
How does this approach compare to using an alternative tool like Travis CI or CircleCI?
This approach uses GitHub Actions, which integrates seamlessly with your repository on GitHub, whereas tools like Travis CI or CircleCI require separate accounts and setup processes.
What is the purpose of creating a custom workflow file in .github/workflows?
The custom workflow file defines the series of actions to perform when code is pushed to the repository, allowing for automation of testing and deployment.