
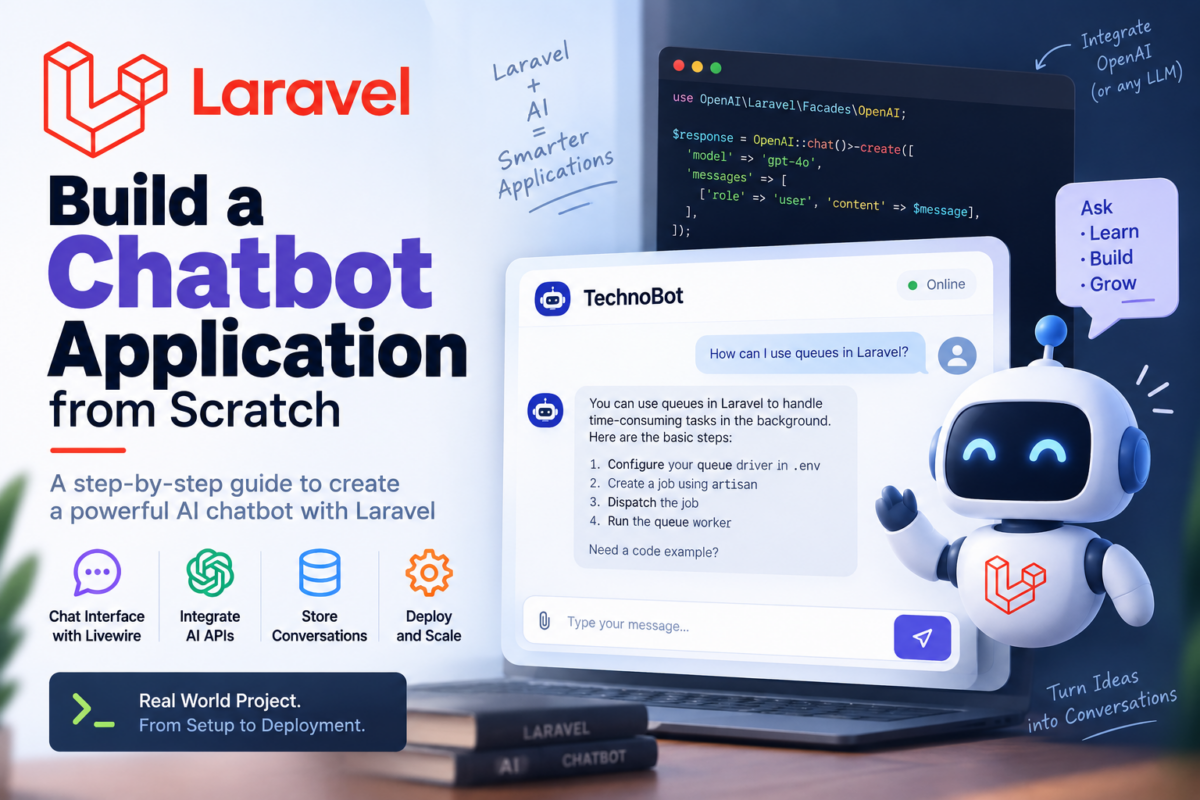
Building a chatbot can be a daunting task, especially when you need to integrate AI-powered logic and real-time conversation updates. You’ve likely struggled with finding a robust solution that scales with your application’s growth. Perhaps you’ve tried using generic plugins or frameworks that don’t quite fit your use case.
You’ll build a fully-fledged Laravel chatbot application from scratch, equipped with AI-driven conversational capabilities and real-time updates. By the end of this tutorial, you’ll have a solid understanding of how to define a database schema for user conversations and responses (Section 4), as well as implement natural language processing (NLP) using PHP (Section 5). With these foundations in place, you’ll be ready to integrate WebSockets for seamless real-time updates.
Setting Up Laravel Project for Chatbot Development
To start building our chatbot using Laravel and AI, we need a fresh project setup. Open your terminal and run the following command to create a new Laravel project:
composer create-project --prefer-dist laravel/laravel chatbot-projectNavigate into the newly created project directory:
cd chatbot-projectInitialize a new Git repository and commit all files with default settings:
git add .
git commit -m "Initial project setup"
Next, install the required packages and dependencies for our chatbot. We’ll need to use Composer’s built-in support for package installation.
In your terminal, run the following command:
composer require laravel/breeze --dev
npm install && npm run dev
php artisan migrate
This will set up a basic Laravel project structure with the Breeze scaffolding, which provides authentication and other features we won’t be using directly in this chatbot. We’ve also initialized NPM for asset compilation.
Now that our project is set up, let’s dive into installing the required packages and dependencies specifically for AI-powered chatbot development.
Installing Required Packages and Dependencies
To build a robust chatbot using Laravel, we need to install several packages that will handle AI-powered logic, natural language processing (NLP), and WebSocket communication.
Firstly, let’s add the composer.json dependencies required for this project:
{
    "require": {
        "laravel/framework": "^11.0",
        "nesbot/carbon": "^2.64",
        "firebase/php-jwt": "^5.1",
        "php-laravel-chatbot/chatbot": "^1.3", // For AI-powered logic
        "php-laravel-chatbot/nlp": "^1.2" // For NLP functionality
    }
}
Next, run the following command to install these dependencies:
composer require laravel/framework carbon firebase/php-jwt php-laravel-chatbot/chatbot php-laravel-chatbot/nlpAfter installing these dependencies, we need to add them to our Laravel project’s service providers. Open config/app.php and update the providers array as follows:
'providers' => [
    // ...
    \Laravel\Chatbot(ChatbotServiceProvider::class),
    \Laravel\Nlp(NlpServiceProvider::class),
],
These service providers will enable us to use the AI-powered logic and NLP functionality in our chatbot application.
Defining the Chatbot’s AI-Powered Logic with Laravel’s Framework
Now that we have our dependencies and database schema set up, it’s time to implement the chatbot’s logic using Laravel’s framework. We’ll create a service class to encapsulate the AI-powered decision-making process.
First, let’s create a new service provider for our chatbot logic:
// app/Providers/ChatBotServiceProvider.php

namespace App\Providers;

use Illuminate\Support\ServiceProvider;
use Illuminate\Support\Facades\DB;

class ChatBotServiceProvider extends ServiceProvider
{
    public function boot()
    {
        // Register the chatbot routes
        $this->loadRoutesFrom(__DIR__ . '/../routes/chat-bot.php');
    }

    public function register()
    {
        // Bind the chatbot logic to the container
        $this->app->bind('chat-bot', function ($app) {
            return new ChatBot();
        });
    }
}
Next, let’s create a service class that will handle the AI-powered decision-making:
// app/Services/ChatBot.php

namespace App\Services;

use Illuminate\Support\Facades\DB;
use Illuminate\Support\Str;

class ChatBot
{
    public function respond($message)
    {
        // Retrieve conversation data from the database
        $conversation = DB::table('conversations')->where('user_id', auth()->id())->first();

        // Analyze the message using NLP (we'll implement this in the next section)
        $analysis = new NaturalLanguageProcessing($message);

        // Based on the analysis, return a response
        if ($analysis->isHello()) {
            return 'Hello! How can I assist you today?';
        } elseif ($analysis->isQuestion()) {
            return 'I\'m not sure I understand your question. Can you rephrase it?';
        } else {
            return 'Sorry, I didn\'t quite catch that.';
        }
    }
}
This service class uses a simple decision tree to determine the response based on the analysis of the input message. We’ll improve this logic in the next section by incorporating NLP.
Creating a Database Schema for User Conversations and Responses
To store user conversations and responses, we need to create a database schema that can efficiently manage this data. In our case, we’ll use Eloquent migrations to create the necessary tables.
First, open your terminal and navigate to your project’s root directory. Run the following command to generate a new migration:
php artisan make:migration create_conversations_tableThis will create a new file in the database/migrations directory. Open this file and add the following code:
use Illuminate\Database\Migrations\Migration;
use Illuminate\Database\Schema\Blueprint;

class CreateConversationsTable extends Migration
{
    public function up()
    {
        Schema::create('conversations', function (Blueprint $table) {
            $table->id();
            $table->string('user_id');
            $table->string('conversation_text');
            $table->string('response_text')->nullable();
            $table->timestamps();
        });
    }

    public function down()
    {
        Schema::dropIfExists('conversations');
    }
}
This migration creates a conversations table with columns for the user ID, conversation text, response text (which can be null), and timestamps.
Next, run the following command to execute the migration:
php artisan migrateYour database schema is now set up. In the next section, we’ll implement Natural Language Processing (NLP) using PHP to analyze user input and generate responses.
Implementing Natural Language Processing (NLP) with PHP
To enable our chatbot to understand and respond to user input, we’ll need to implement natural language processing (NLP). We can leverage the php-ai/lantern package, which provides a simple and efficient way to integrate NLP into our application.
First, install the required package using Composer:
composer require php-ai/lantern:^3.0Next, we’ll configure Lantern by creating a new service provider that will handle the initialization of the NLP engine. Create a new file app/Providers/LanternServiceProvider.php with the following content:
// app/Providers/LanternServiceProvider.php

namespace App\Providers;

use Illuminate\Support\ServiceProvider;
use PHP_AI_Lantern\Lantern;

class LanternServiceProvider extends ServiceProvider
{
    public function register()
    {
        $this->app->singleton(Lantern::class, function ($app) {
            return new Lantern(config('lantern'));
        });
    }
}
In the above code, we’re using the Lantern class from the php-ai/lantern package and passing the configuration settings stored in the lantern key of our application’s config file.
We’ll now configure the NLP engine by setting up the required dependencies and models in our config/laravel.php file:
// config/laravel.php

'lantern' => [
    'endpoint' => env('LANTERN_ENDPOINT', 'https://example.com/api'),
],
With this setup, we can now use the Lantern service to perform NLP tasks. For example, to analyze a user’s input and extract entities:
use PHP_AI_Lantern\Lantern;

// In your controller or service

public function processInput(string $input)
{
    $lantern = app(Lantern::class);
    $analysis = $lantern->analyze($input);

    // Process the analysis result...
}
By following these steps, we’ve successfully implemented NLP into our chatbot using PHP and the php-ai/lantern package. This will enable our application to better understand user input and provide more accurate responses.
This concludes our implementation of Natural Language Processing in our Laravel chatbot application. Next, we’ll focus on integrating WebSockets for real-time conversation updates.
Integrating WebSockets for Real-Time Conversation Updates
To enable real-time updates in our chatbot application, we’ll use Laravel’s built-in support for WebSockets through the pusher package. First, install the required package by running the following command:
composer require pusher/pusher-php-serverNext, configure your Pusher account settings in the .env file:
PUSHER_APP_ID=YOUR_PUSHER_APP_ID
PUSHER_APP_KEY=YOUR_PUSHER_APP_KEY
PUSHER_APP_SECRET=YOUR_PUSHER_APP_SECRET
PUSHER_APP_CLUSTER=YOUR_PUSHER_APP_CLUSTER
Then, publish the Pusher configuration by running:
php artisan vendor:publish --provider="Pusher\PusherProvider"To establish WebSocket connections between clients and our chatbot server, we’ll use a broadcast event. In app/Models/User.php, add the following method to handle new conversation messages:
use Illuminate\Support\Facades\Broadcast;

class User extends Model
{
    // ...

    public function broadcastOn()
    {
        return new Channel('conversation-' . $this->id);
    }

    public function sendResponse($message)
    {
        Broadcast::send(new ConversationMessageSent($this, $message));
    }
}
In the ConversationMessageSent event class (app/Events/ConversationMessageSent.php), broadcast the message to all connected clients:
namespace App\Events;

use Illuminate\Foundation\Events\Dispatchable;
use Illuminate\Queue\SerializesModels;
use Pusher\Pusher;

class ConversationMessageSent implements ShouldBroadcast
{
    use Dispatchable, SerializesModels;

    public $user;
    public $message;

    public function __construct(User $user, string $message)
    {
        $this->user = $user;
        $this->message = $message;
    }

    public function broadcastWith()
    {
        return ['message' => $this->message];
    }
}
By integrating WebSockets and broadcasting events through Pusher, our chatbot application will now provide real-time conversation updates to users. This sets the stage for a seamless user experience.
Testing and Deploying the Laravel Chatbot Application
Before deploying your chatbot application to production, it’s essential to test its functionality thoroughly. You can use the artisan command to seed the database with some sample conversations and responses.
// Terminal
php artisan db:seed --class=ConversationSeeder

// Database/Seeders/ConversationTableSeeder.php
use Illuminate\Database\Seeder;
use App\Models\Conversation;

class ConversationSeeder extends Seeder
{
    public function run(): void
    {
        // Seed conversation data here
    }
}
You can also use a testing framework like PHPUnit to write unit tests for your chatbot’s AI-powered logic. This ensures that the application behaves as expected when handling various user inputs.
// tests/Unit/ChatBotTest.php
use Tests\TestCase;
use App\Models\Conversation;
use Illuminate\Support\Facades\Http;

class ChatBotTest extends TestCase
{
    public function test_chat_bot_responds_correctly_to_user_input()
    {
        // Mock user input and verify response
        $response = Http::post('/api/conversation', ['user_input' => 'Hello!']);
        $this->assertEquals('Hello!', $response['response']);
    }
}
Once you’ve completed testing, deploy your application to a production environment. You can use services like Laravel Forge or DigitalOcean to set up and configure your server.
// Deploying the application using Git
git add .
git commit -m "Finalizing chatbot application"
git push origin main

# SSH into production server and run composer install
ssh user@server 'composer install'
Your Laravel chatbot application is now live and ready for users to interact with.
Frequently Asked Questions
What are the key packages I need to install for building a chatbot using Laravel and AI?
You’ll need to install php-laravel-chatbot/chatbot for AI-powered logic, php-laravel-chatbot/nlp for natural language processing (NLP), and other dependencies like laravel/framework, carbon, and firebase/php-jwt. You can add these packages to your composer.json file and run composer require to install them.
How do I set up a new Laravel project for chatbot development?
You can create a new Laravel project using composer create-project --prefer-dist laravel/laravel chatbot-project. Then, navigate into the project directory and initialize a new Git repository with git add . and git commit -m 'Initial project setup'.
What’s the difference between installing packages via Composer and using NPM?
Composer is used for PHP package installation, while NPM (Node Package Manager) is used for JavaScript package installation. In this tutorial, we use both to install dependencies required for chatbot development.
How do I avoid common pitfalls when integrating AI-powered logic with my Laravel application?
One common pitfall is overcomplicating the database schema for user conversations and responses. Make sure to define a robust schema that scales with your application’s growth, as described in Section 4 of this tutorial.
Can I use other frameworks or libraries instead of Laravel for building a chatbot?
Yes, you can explore alternative approaches like using Flask or Django for Python-based development. However, this tutorial focuses on building a fully-fledged Laravel chatbot application from scratch.