
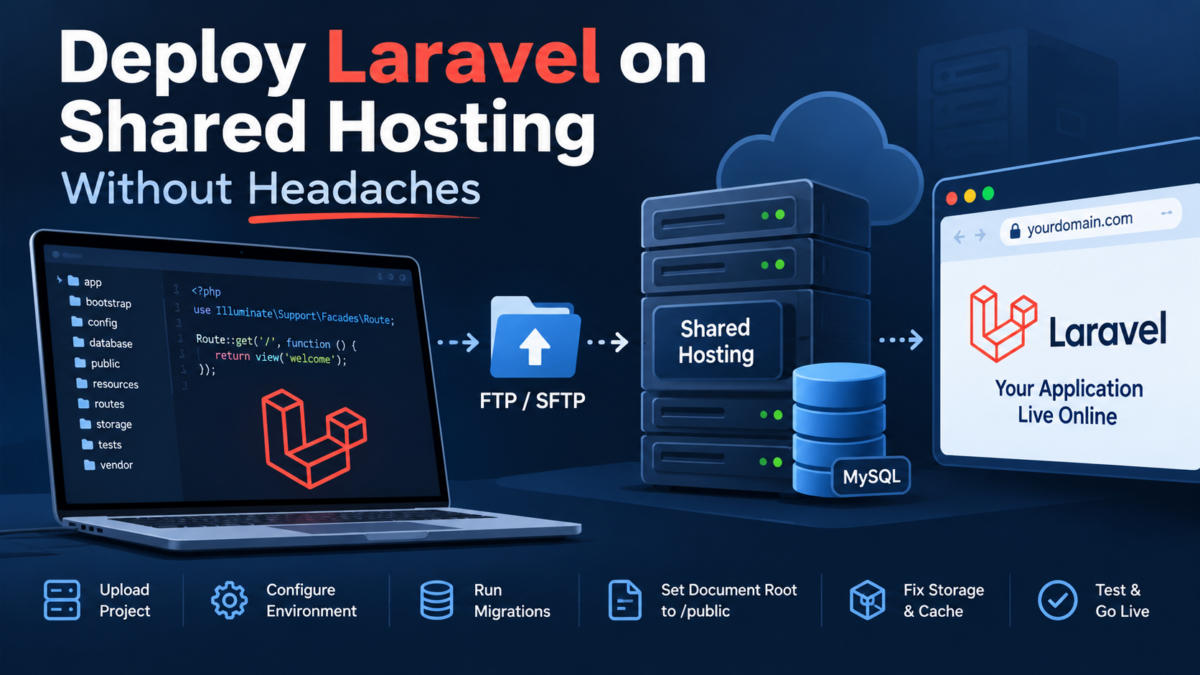
Deploying a Laravel application on shared hosting can be a daunting task. You’ve probably spent hours searching for answers online, only to find conflicting information and outdated solutions. Perhaps you’ve tried uploading your project to a shared hosting provider, but couldn’t get past the first hurdle: configuring the database connection or setting up the web server.
You’ll build a fully functional Laravel application on a shared hosting server by following this step-by-step guide. By the end of it, you’ll have successfully deployed your application with a working database connection and properly configured storage and cache setup. This tutorial will walk you through the entire process, from choosing a suitable shared hosting provider to testing your application on the live server.
Choosing a Shared Hosting Provider with PHP Support
When it comes to deploying Laravel on shared hosting, the first step is choosing a provider that supports PHP and has the necessary features for a smooth deployment.
I’ve used SiteGround and Hostinger in the past, both of which offer recent PHP versions, MySQL databases and SSH access on their plans, which is what a Laravel deployment needs. If you’re already using a provider, make sure they meet these basic requirements.
You can check if your hosting provider supports PHP by logging into their control panel (cPanel or Plesk usually) and searching for the PHP version installed on the server. You can also upload a temporary info.php file to your web root with the following content and open it in your browser:
<?php
phpinfo();
?>
This code will display a page showing the PHP version, so make sure it’s at least 8.3 to run the current Laravel release. Delete the file once you’ve checked, since it exposes details about your server.
When selecting a hosting provider, keep an eye out for the following:
- Support for PHP 8.3 or higher (Laravel 13 requires at least PHP 8.3; Laravel 11 and 12 require PHP 8.2)
- MySQL or MariaDB support (the most common databases on shared hosting, both supported by Laravel)
- Optional: support for other features like Redis, Memcached, or Elasticsearch if you plan to use them
Make sure the provider has good reviews and a reputation for providing reliable hosting services. With the right provider in place, you can move on to uploading your Laravel project to the server.
Uploading Your Laravel Project to the Server
To upload your Laravel project to the shared hosting server, you’ll need to use a file transfer protocol (FTP) client or the control panel provided by your hosting provider.
Using FileZilla for FTP Upload
I prefer using FileZilla as my FTP client. First, download and install it from www.filezilla-project.org. Then, create an FTP account with your hosting provider to get the server’s IP address, username, and password.
Open FileZilla and navigate to Site Manager > New Site. Fill in the server details:
Host: ftp.your-hosting-provider.com
Username: ftp_username
Password: ftp_password
Protocol: FTP (or SFTP if available)
Uploading Files Using the Control Panel
Alternatively, you can use the control panel provided by your hosting provider to upload files. The process is usually more straightforward but less customizable than using an FTP client.
Upload all the project files to the root directory of your website. If you’re using a subdomain or a specific folder for your Laravel installation, upload the files accordingly.
Make sure to exclude the vendor directory and the node_modules directory if you have any JavaScript packages installed. Laravel’s default .gitignore already excludes these directories if you deploy with Git; with FTP, simply skip them when selecting files, and rebuild vendor with Composer on the server (see “Installing Dependencies with Composer” below). Artisan commands won’t run until vendor exists, so do that step before running any of the php artisan commands in this guide.
Keep in mind that you’ll need to configure the database connection and set up a virtual host for your Laravel installation once the upload is complete.
Configuring the Database Connection in Laravel
Now that your project is uploaded, it’s time to configure the database connection in your Laravel application.
To do this, navigate to the .env file located in the root of your project. Update the DB_CONNECTION, DB_HOST, DB_PORT, DB_DATABASE, DB_USERNAME, and DB_PASSWORD values as necessary to match your shared hosting provider’s MySQL or PostgreSQL database settings. Here’s an example:
DB_CONNECTION=mysql
DB_HOST=127.0.0.1
DB_PORT=3306
DB_DATABASE=mydatabase
DB_USERNAME=myuser
DB_PASSWORD=mypassword
Note: You may need to adjust the DB_HOST value depending on whether your shared hosting provider uses a socket connection or not.
Once you’ve updated the .env file, run the following command in your terminal:
php artisan config:clearThis will clear the cached configuration and apply the new database settings. You can then verify that your database connection is working by running:
php artisan db:showThis prints the connection, database name, host and tables, or an error if Laravel can’t connect with the credentials you entered.
With this step complete, you should now be able to interact with your shared hosting provider’s database from within your Laravel application.
Setting Up Nginx or Apache for Laravel
To serve your Laravel application, you’ll need a web server like Nginx or Apache configured to point to the public directory of your project. On most shared hosting plans you can’t install or edit the web server yourself, so the simplest option is to set your domain’s document root to the project’s public folder in your control panel (in cPanel, under Domains). If your host doesn’t allow changing the document root, add an .htaccess file to the project root that forwards requests into public:
<IfModule mod_rewrite.c>
    RewriteEngine On
    RewriteRule ^(.*)$ public/$1 [L]
</IfModule>
With this fallback, your whole project (including the .env file with your database password) sits inside the web root and is protected only by the rewrite rule. After deploying, open https://your-domain.com/.env in a browser and confirm it does not show the file. Whenever possible, prefer pointing the document root at public, or keep the project outside public_html and expose only the contents of public.
If your plan gives you root access to the server (for example, a VPS), you can configure Nginx or Apache directly as shown below.
Create a new file called nginx.conf in /etc/nginx/conf.d/ (you may need to adjust the path depending on your OS and configuration):
sudo nano /etc/nginx/conf.d/nginx.confAdd the following configuration:
server {
    listen 80;
    server_name example.com;

    root /path/to/public/directory;
    index index.php index.html index.htm;

    location / {
        try_files $uri $uri/ /index.php$is_args$args;
    }

    location ~ \.php$ {
        try_files $uri =404;
        fastcgi_pass unix:/var/run/php/php8.3-fpm.sock; # adjust PHP version and socket path as needed
        fastcgi_param SCRIPT_FILENAME $realpath_root$fastcgi_script_name;
        include fastcgi_params;
    }
}
Make sure to replace /path/to/public/directory with the actual path of your Laravel project’s public directory.
After saving the file, reload Nginx to apply the changes:
sudo nginx -s reloadIf you’re using Apache, you can follow similar steps or use a virtual host configuration like this:
<VirtualHost *:80>
    ServerName example.com

    DocumentRoot /path/to/public/directory

    <Directory "/path/to/public/directory">
        Options FollowSymLinks
        AllowOverride All
        Require all granted
    </Directory>

    ErrorLog ${APACHE_LOG_DIR}/error.log
    CustomLog ${APACHE_LOG_DIR}/access.log combined
</VirtualHost>
Save this file as /etc/apache2/sites-available/example.com.conf (again, adjust the path and name as needed) and enable it:
sudo a2enmod rewrite
sudo a2ensite example.com.conf
sudo systemctl reload apache2
That’s it. Your Laravel application should now be accessible via its domain or IP address.
That completes the web server setup. Next, install your project’s dependencies with Composer.
Installing Dependencies with Composer
Now that your Laravel project is uploaded to the server, it’s time to install its dependencies with Composer.
First, navigate to your project directory using SSH:
cd /path/to/your/projectInstall the exact dependency versions recorded in your composer.lock file by running:
composer install --no-dev --optimize-autoloaderThis may take a few minutes depending on the size of your project and the speed of your connection. Once complete, you’ll see the list of installed dependencies.
Avoid running composer update on the server: it resolves new versions and rewrites composer.lock, so production could end up with different packages than the ones you tested. Run updates locally, test them, and upload the new composer.lock instead.
You can verify that all dependencies are installed correctly by checking the vendor directory:
ls -l vendor/This should display a list of directories containing your project’s dependencies. Make sure to check for any errors or warnings during this process.
If you encounter any issues, refer to the Composer documentation for troubleshooting assistance. With all dependencies in place, your Laravel application is now ready for further configuration and deployment.
Running Migrations and Seeding the Database
With your database connection configured, it’s time to run your migrations and seed the database. This step is crucial as it sets up your application’s schema and populates the database with initial data.
First, navigate to your project directory in the terminal and run the following command:
php artisan migrate --force --seedThe migrate command runs any pending database migrations to update your schema, and --seed runs your DatabaseSeeder afterwards. The --force flag is required because Laravel asks for confirmation before running migrations when APP_ENV=production.
Only seed in production if your seeders don’t rely on model factories. Factories use Faker (fake()), which is a dev dependency and isn’t installed by composer install --no-dev, so a seeder such as Laravel’s default User::factory() example will fail on the server. If that’s your case, run php artisan migrate --force without --seed.
If you’re using a fresh installation of Laravel with no data you need to keep, you can rebuild the schema from scratch instead. Be careful: migrate:fresh drops every table first:
php artisan migrate:fresh --force --seedThe db:seed command (php artisan db:seed --force) can also be used separately when seeding the database with initial data. This step can take some time depending on the size of your database and the number of records being inserted.
Once you’ve completed this step, your application’s schema should be set up, and the database should be populated with initial data. Make sure to test your application thoroughly after running migrations and seeding the database.
You’re now one step closer to having a fully functional Laravel application on your shared hosting server!
Configuring Laravel’s Storage and Cache
Laravel 11 and later store cached data in the database by default (earlier versions used the file system), and either choice can become an issue on shared hosting where disk space and database resources are limited. We need to configure the storage and cache properly so that our application doesn’t run out of space.
First, we’ll configure the storage. Open the config/filesystems.php file in your project’s root directory:
// config/filesystems.php

'disks' => [
    'local' => [
        'driver' => 'local',
        'root' => storage_path('app/private'),
    ],

    'public' => [
        'driver' => 'local',
        'root' => storage_path('app/public'),
        'url' => env('APP_URL').'/storage',
        'visibility' => 'public',
    ],
],
Here, private files stay outside the web root in storage/app/private, while files meant to be publicly accessible go to storage/app/public. Make them reachable at public/storage by creating a symbolic link:
php artisan storage:linkNext, we need to configure the cache. Open the config/cache.php file:
// config/cache.php

'default' => env('CACHE_STORE', 'file'),
Here the fallback store is set to file, and you can choose a store per environment with the CACHE_STORE variable in .env (on Laravel 10 and earlier the variable is named CACHE_DRIVER). If your host offers Redis or Memcached, they’re faster choices for production.
To use Redis, install it first (you may need to ask your host to enable it). Then, switch the cache store in your .env file; the connection details are read by the redis section of config/database.php:
CACHE_STORE=redis
REDIS_CLIENT=predis
REDIS_HOST=127.0.0.1
REDIS_PORT=6379
REDIS_PASSWORD=null
REDIS_CACHE_DB=1
Make sure to install the Redis package via Composer. You can do this by running composer require predis/predis in your terminal.
Remember to update your .env file with the correct host, port, and database for Redis if you’re using it.
Testing Your Application on the Shared Hosting Server
Now that your Laravel application is set up and configured on the shared hosting server, it’s time to test if everything works as expected.
Open a web browser and navigate to your application’s URL. If you’ve followed the previous steps correctly, you should see your application’s welcome page. However, to ensure everything is working properly, let’s run some tests from the command line.
First, update your .env file for production and set APP_URL to the actual URL of your shared hosting server:
APP_ENV=production
APP_DEBUG=false
APP_URL=https://your-shared-hosting-server.com
Always set APP_DEBUG=false on a live site: with debug mode on, error pages can reveal your configuration and environment values, including database credentials. Also make sure APP_KEY is set; if it’s empty, generate one with php artisan key:generate.
Next, navigate to your project directory and run the following commands:
composer dump-autoload --optimize
php artisan config:clear
php artisan cache:clear
php artisan view:clear
php artisan route:clear
These commands will clear any cached configurations, routes, views, and other dependencies. Because the production install skips dev dependencies such as PHPUnit, run your application’s tests on your local machine (or in CI) before uploading, using the following command:
php artisan testThis will run all the tests in your tests directory and report any errors or failures.
If everything passes without issues, congratulations! You’ve successfully deployed and tested your Laravel application on a shared hosting server.
Frequently Asked Questions
What is the minimum PHP version required to run Laravel on shared hosting?
Laravel 13 requires at least PHP 8.3 (Laravel 11 and 12 require PHP 8.2), so make sure your hosting provider supports this version.
How do I check if my hosting provider supports PHP?
Log into your control panel (cPanel or Plesk) and search for the PHP version installed on the server.
Can I use a different database management system other than MySQL or MariaDB with Laravel on shared hosting?
Yes, but you’ll need to ensure that the alternative database system is supported by your hosting provider.
What’s the difference between using an FTP client and the control panel to upload my Laravel project?
Both methods work, but using an FTP client like FileZilla can be more convenient for large file transfers.
I’ve uploaded my Laravel project, but I keep getting a ‘database connection failed’ error. What’s causing this issue?
This is likely due to incorrect database credentials or a mismatch between your local and remote database configurations.
Should I choose SiteGround or Hostinger for deploying my Laravel application on shared hosting?
Both providers are good options, but consider factors like pricing, features, and customer support when making your decision.