
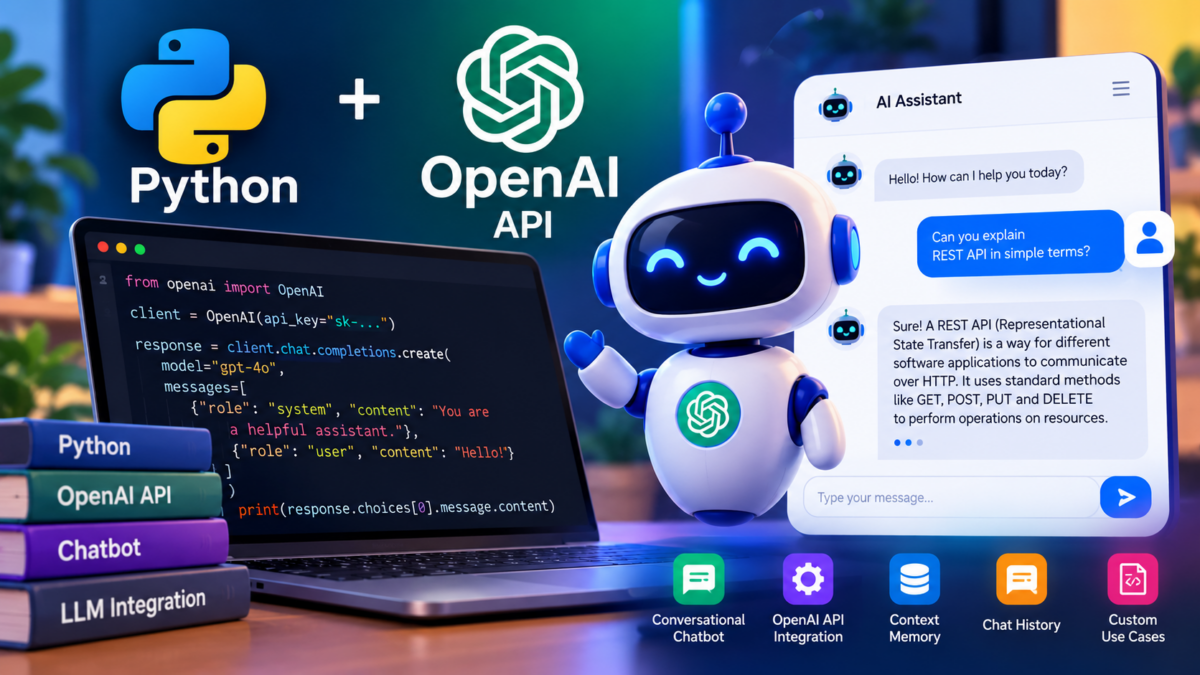
I still remember the support ticket I received a few months ago. The customer had deployed their chatbot, but it kept spitting out generic responses to user queries. After reviewing the code, we realized that they were struggling to integrate OpenAI’s API with their Python application, resulting in unhelpful and repetitive conversations.
You’ll build a robust and conversational chatbot from scratch using Python and OpenAI’s API. By the end of this tutorial, you’ll have created a basic interface for user input and integrated the OpenAI API to generate more accurate and helpful responses. You’ll also learn how to handle user intent recognition and deploy your chatbot to a production environment, ensuring that it meets the needs of your users and stays up-to-date with new conversations.
Installing Required Libraries and Dependencies
To start building our chatbot, we need to install the required libraries and dependencies. These include OpenAI’s official library for interacting with their API, as well as a Python GUI framework for creating a user-friendly interface.
First, you’ll need to create a new project directory and navigate into it in your terminal or command prompt:
mkdir chatbot-project
cd chatbot-project
Next, install the required libraries using pip:
pip install openaiHere, we’re installing openai, OpenAI’s official Python library, to interact with the OpenAI API. For the graphical user interface we’ll use tkinter, which is part of Python’s standard library, so it doesn’t need to be installed with pip. On some Linux distributions it’s packaged separately and can be installed with your system package manager (for example, sudo apt install python3-tk on Debian/Ubuntu). To avoid permission issues with pip, install packages inside a virtual environment (python -m venv venv) rather than using sudo.
Now that we’ve installed our dependencies, let’s verify everything is working as expected by importing the libraries in a new file called main.py. Add the following code:
import tkinter as tk
from openai import OpenAI

# Reads your key from the OPENAI_API_KEY environment variable
client = OpenAI()
The client reads your API key from the OPENAI_API_KEY environment variable, so the key never has to be written into your source code. We’ll obtain the key in the next section; then set it in your terminal before running the scripts (for example, export OPENAI_API_KEY="sk-..." on macOS/Linux or setx OPENAI_API_KEY "sk-..." on Windows).
Obtaining an OpenAI API Key
To interact with OpenAI’s APIs, you’ll need to obtain an API key. This can be done by creating an account on the OpenAI Platform. Click on the “Sign up” button and follow the prompts to sign up.
Once you’ve created your account, navigate to the API keys page in the OpenAI dashboard. You’ll see a list of existing API keys associated with your account. If this is your first time accessing the API keys page, you won’t have any listed yet.
After creating an API key, copy its value and store it securely, as you’ll need to use it in your Python application. API usage is billed per token on a pay-as-you-go basis, so you’ll also need to add a payment method or purchase credits in the Billing section of your account settings. For this tutorial, a small amount of credit is more than enough.
Remember to never share your API key publicly or commit it to version control. If you do need to store sensitive credentials in your code, consider using environment variables or a secrets manager like HashiCorp Vault.
Understanding OpenAI’s Conversation Model
OpenAI’s conversation model is based on a large language model called GPT (Generative Pre-trained Transformer). This model has been trained on a massive dataset of text from various sources, including books, articles, and websites. The training process involves generating text that matches the input prompt, allowing the model to learn patterns and relationships between words.
To get an idea of how this works, let’s take a look at some code that demonstrates a GPT model in action:
from openai import OpenAI

# Initialize the OpenAI client (uses the OPENAI_API_KEY environment variable)
client = OpenAI()

# Define a prompt for the model to generate text from
prompt = "Tell me a story about a cat named Whiskers."

# Call the Chat Completions endpoint with the prompt and settings
response = client.chat.completions.create(
    model="gpt-4o-mini",
    messages=[{"role": "user", "content": prompt}],
    max_tokens=100,
)

# Print out the generated text
print(response.choices[0].message.content)
This code uses the official OpenAI Python library to call the Chat Completions endpoint, passing in the prompt as a user message along with settings for generating text. The response from the API will contain the generated text.
We use gpt-4o-mini throughout this tutorial because it is fast and inexpensive. OpenAI releases new models regularly, so check the models page and swap in any chat-capable model ID you prefer.
Keep in mind that this is just a basic example of how you can interact with OpenAI’s conversation model. In our next section, we’ll explore creating a basic chatbot interface using Tkinter to interact with the user.
Creating a Basic Chatbot Interface with Tkinter
Now that we have a good understanding of OpenAI’s conversation model, it’s time to create a user interface for our chatbot. We’ll use the Tkinter library in Python to build a simple GUI application.
Tkinter ships with Python, so there’s nothing to install with pip. Verify that it’s available by running the following command, which opens a small test window:
python -m tkinterNext, create a new file called chatbot_gui.py and add the following code:
import tkinter as tk

class ChatbotGUI:
    def __init__(self):
        self.window = tk.Tk()
        self.window.title("Chatbot")
        self.label = tk.Label(self.window, text="Type your message:", font=('Helvetica', 12))
        self.label.pack(pady=10)
        self.entry = tk.Entry(self.window, width=50, font=('Helvetica', 12))
        self.entry.pack(pady=5)
        self.button = tk.Button(self.window, text="Send", command=self.send_message)
        self.button.pack(pady=5)

    def send_message(self):
        message = self.entry.get()
        print(f"User: {message}")
        # We'll integrate the OpenAI API here later

    def run(self):
        self.window.mainloop()

if __name__ == "__main__":
    gui = ChatbotGUI()
    gui.run()
This code creates a simple GUI with a label, text entry field, and button. When you click the “Send” button, it prints your message to the console. We’ll integrate the OpenAI API in the next section.
Run this script using Python: python chatbot_gui.py You should see a window pop up with our chatbot interface.
Integrating the OpenAI API for Conversational Responses
Now that we have a basic chatbot interface in place, it’s time to integrate the OpenAI API to power our conversational responses. This will enable us to generate human-like answers to user queries.
First, make sure the required openai library is installed using pip:
pip install openaiNext, in main.py, import the library and set up an instance of the OpenAI API client:
from openai import OpenAI

client = OpenAI()  # reads OPENAI_API_KEY from the environment
Make sure the OPENAI_API_KEY environment variable is set to your API key. You can obtain one by following the instructions in the “Obtaining an OpenAI API Key” section.
Now, we’ll create a function in main.py to handle user input and generate responses using the OpenAI API:
def respond(user_input):
    response = client.chat.completions.create(
        model="gpt-4o-mini",
        messages=[
            {"role": "system", "content": "You are a helpful, friendly assistant."},
            {"role": "user", "content": user_input},
        ],
        max_tokens=500,
        temperature=0.5,
        top_p=1,
        n=1,
    )

    return response.choices[0].message.content
This function uses the OpenAI API to generate a response based on the user’s input. The response is then returned as a string.
We’ll integrate this function into our chatbot interface in the next section, where we handle user input and intent recognition.
Handling User Input and Intent Recognition
In this section, we’ll enhance our chatbot’s functionality by processing user input and recognizing their intent.
Firstly, let’s update our main.py file with a function that will handle incoming user messages:
# main.py (below the respond() function)

class ChatBot:
    def handle_message(self, message):
        # Process the message text
        processed_message = self.process_text(message['text'])

        # Extract intent from the processed message
        intent = self.extract_intent(processed_message)

        # Get a response from the OpenAI API, passing the extracted intent as context
        response = respond(f"Intent: {intent}\nMessage: {message['text']}")

        return response

    def process_text(self, text):
        # Remove special characters and convert to lowercase
        processed_text = ''.join(e for e in text if e.isalnum() or e.isspace()).lower()
        return processed_text

    def extract_intent(self, text):
        # For simplicity, let's assume our intent is just the first word of the message
        words = text.split()
        return words[0] if words else ""
Next, we’ll update our Tkinter interface in chatbot_gui.py to call this handle_message function whenever a user submits a message. We can do this by binding the Button widget’s command option to an event handler:
import tkinter as tk

from main import ChatBot

chatbot = ChatBot()

def submit_message():
    # Get the text from the entry field
    message_text = entry.get()

    # Call our chatbot's handle_message function
    response = chatbot.handle_message({'text': message_text})

    # Display the response in a label
    label.config(text=response)

# Create the Tkinter window and widgets
root = tk.Tk()
root.title("Chatbot")

entry = tk.Entry(root, width=50, font=('Helvetica', 12))
entry.pack(pady=5)

button = tk.Button(root, text="Send", command=submit_message)
button.pack(pady=5)

label = tk.Label(root, text="", wraplength=400, justify="left", font=('Helvetica', 12))
label.pack(pady=10)

root.mainloop()
This is just a basic example, but it should give you an idea of how to handle user input and intent recognition. With this in place, our chatbot can now understand what users are asking and respond accordingly.
You now have a working desktop chatbot built with Python and OpenAI. Next, let’s make it available to other users over HTTP.
Deploying the Chatbot to a Production Environment
With our chatbot functional and robust, it’s time to deploy it to a production environment that can handle multiple users concurrently. We’ll use Flask as our web framework to create a simple API endpoint for our chatbot.
First, let’s set up a new project directory with a virtual environment:
mkdir chatbot-api
cd chatbot-api
python -m venv venv
source venv/bin/activate
Next, we need to install the required dependencies:
pip install openai flask flask-cors python-dotenv gunicornThen, create a config.py file that loads the OpenAI API key from the environment:
# config.py
import os

from dotenv import load_dotenv

load_dotenv()

OPENAI_API_KEY = os.environ["OPENAI_API_KEY"]
Create a .env file that includes your actual API key (and add it to .gitignore):
OPENAI_API_KEY=YOUR_OPENAI_API_KEYCreate app.py with the Flask application and enable CORS so browser-based clients can call the API:
# app.py
from flask import Flask
from flask_cors import CORS

app = Flask(__name__)
# In production, restrict this to your front end, e.g. CORS(app, origins=["https://example.com"])
CORS(app)
Add the /chat route and implement the logic to send messages to our chatbot using the OpenAI API:
# app.py (continued)
from flask import jsonify, request
from openai import OpenAI

import config

client = OpenAI(api_key=config.OPENAI_API_KEY)


@app.post("/chat")
def handle_message():
    data = request.get_json(silent=True) or {}
    user_message = data.get("message", "")

    if not user_message:
        return jsonify({"error": "message is required"}), 400

    completion = client.chat.completions.create(
        model="gpt-4o-mini",
        messages=[
            {"role": "system", "content": "You are a helpful, friendly assistant."},
            {"role": "user", "content": user_message},
        ],
    )

    return jsonify({"reply": completion.choices[0].message.content})
Finally, run the API with Gunicorn, a production-ready WSGI server, instead of Flask’s development server:
gunicorn --workers 4 --bind 0.0.0.0:8000 app:appThat’s it! With these steps, you’ve successfully deployed your chatbot to a production environment. This is just the beginning of what you can do with conversational AI – consider adding more features like user authentication or integrating other APIs to enhance the experience.
This concludes our tutorial on building a chatbot using Python and OpenAI.
Frequently Asked Questions
How do I handle user intent recognition in my chatbot?
To handle user intent recognition, you can use OpenAI’s API to generate responses based on the user’s input. You can also use natural language processing (NLP) techniques such as entity recognition and sentiment analysis to better understand the user’s intent.
Why is my chatbot spitting out generic responses?
This issue often arises from incorrect integration of OpenAI’s API with your Python application. Make sure to install the required libraries, obtain an API key, and use it correctly in your code.
Can I use a different GUI framework instead of Tkinter?
Yes, you can use other GUI frameworks such as PyQt or wxPython. However, for this tutorial, we’re using Tkinter for simplicity and ease of use.
How is OpenAI API usage billed?
OpenAI API usage is billed separately from ChatGPT subscriptions, on a pay-as-you-go basis according to the number of input and output tokens each request uses. Rate limits are determined by your organization’s usage tier, which increases automatically as your spending history grows. For this tutorial, a small amount of credit should suffice.
I’ve committed my API key to version control by mistake. What do I do?
Never commit sensitive credentials like your API key to version control! Remove it from your repository and store it securely using environment variables or a secrets manager.