
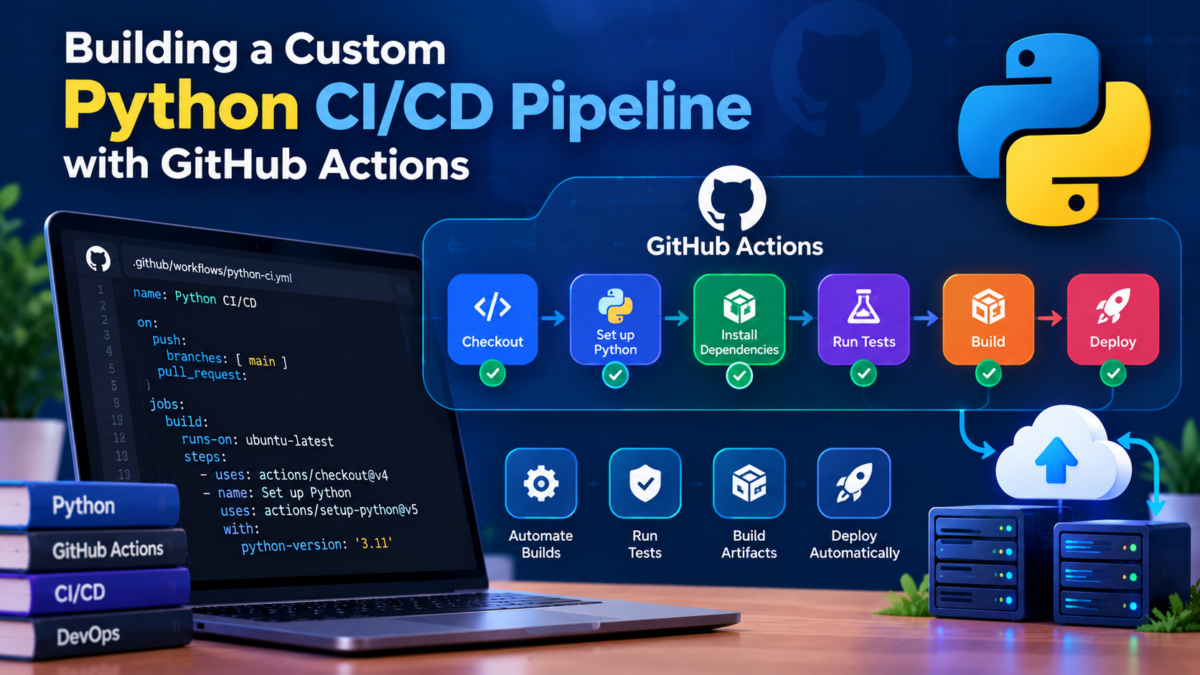
As a Python developer, you’ve probably struggled with the hassle of setting up and maintaining a Continuous Integration/Continuous Deployment (CI/CD) pipeline for your project. You might have manually created separate scripts for testing, building, and deploying, only to realize that these tasks need to be updated whenever your codebase changes. This can lead to frustration and wasted time.
You’ll build a custom CI/CD pipeline using GitHub Actions, automating the process of testing with Pytest and leveraging features of Python 3.10+, such as modern type hinting and improved error messages. By following this tutorial, you’ll also learn how to package your application using setuptools and twine, making it easier to deploy to production environments like Docker and AWS Elastic Beanstalk.
Prerequisites: Setting Up a Python Project and GitHub Repository
To build a custom CI/CD pipeline for your Python project, you’ll first need to set up a basic project structure and create a GitHub repository.
Create a New Python Project
Create a new directory for your project and navigate into it in your terminal. I’m using my-python-project as the example project name:
mkdir my-python-project
cd my-python-project
Next, create a virtual environment to isolate your dependencies. I’ll use python -m venv here, but you can also use conda or another package manager if preferred:
python -m venv venv
source venv/bin/activate  # On Linux/Mac
venv\Scripts\activate  # On Windows
Once activated, install the required dependencies. For this tutorial, we’ll start with pytest, but you should also install any other packages needed for your project:
pip install pytestRecord your dependencies in a requirements.txt file so the CI workflow can install exactly the same packages (including pytest) later on:
pip freeze > requirements.txtInitialize a New Git Repository
Now that your project is set up, initialize a new Git repository by running:
git init
git add .
git commit -m "Initial commit"
Create a new GitHub repository or navigate to an existing one. Follow the prompts to link it to your local repository.
This sets the stage for creating our custom CI/CD pipeline with GitHub Actions in the next section.
Creating a Custom CI/CD Pipeline with GitHub Actions
To create a custom CI/CD pipeline for our Python project, we’ll leverage GitHub Actions. First, let’s navigate to our repository on GitHub and click on the Actions tab at the top of the repository page.
Next, we’ll create a new workflow by clicking on New workflow and selecting Python package as the template.
name: Build and deploy

on:
  push:
    branches:
      - main

jobs:
  build-and-deploy:
    runs-on: ubuntu-latest
    steps:
      - name: Checkout code
        uses: actions/checkout@v7

      - name: Setup Python
        uses: actions/setup-python@v7
        with:
          python-version: '3.10'

      - name: Install dependencies
        run: |
          pip install --upgrade pip
          pip install -r requirements.txt

      - name: Run tests
        run: |
          pytest

      - name: Build and deploy
        run: |
          # Your deployment script here (e.g., using `twine` or `setuptools`)
This workflow checks out our code, sets up Python 3.10, installs dependencies, runs our tests with Pytest, and finally executes a build/deployment script.
We can customize this template to suit our project’s specific needs by modifying the steps section. This might involve adding or removing steps, updating dependency versions, or customizing the deployment process.
By following these steps, we’ve created a basic CI/CD pipeline that integrates with GitHub Actions and automates testing and deployment for our Python project.
Automating Testing with Pytest and Python 3.10+ Features
In this section, we’ll focus on automating testing for our Python project using Pytest. As a reminder, you should have already set up your GitHub repository with the necessary files.
To begin, let’s create a new file called tests/test_app.py in the root of our project directory:
# tests/test_app.py
import pytest
from myapp import app  # assuming myapp is your application package


@pytest.fixture
def client():
    app.config["TESTING"] = True
    with app.test_client() as client:
        yield client


def test_root_route(client):
    response = client.get('/')
    assert response.status_code == 200
This is a basic example of how you can write unit tests using Pytest. Here, we’re testing the root route of our Flask application, using a client fixture built on Flask’s test_client().
To run these tests, navigate to your project directory and execute:
python -m pytest tests/If all tests pass, you should see an output indicating so.
We’ll also leverage Python 3.10+ features, such as type hinting and the dataclasses module, to enhance our testing setup. Both are part of the standard library, so there’s nothing extra to install; just make sure CI runs on Python 3.10 or newer, as configured in the workflow above. You can keep your Pytest settings in pyproject.toml so they apply the same way locally and in CI:
[tool.pytest.ini_options]
minversion = "7.0"
testpaths = ["tests"]
addopts = "-ra"
With this configuration in place, you can utilize Python’s built-in type hinting and dataclass features to write more efficient and readable tests.
By automating testing using Pytest and taking advantage of Python 3.10+ features, we can ensure our application is thoroughly tested before deployment. This provides a solid foundation for building reliable software.
Building and Packaging the Application with setuptools and twine
Now that our tests are passing, let’s focus on building a distributable package for our Python project.
First, install the required packages using pip:
pip install setuptools build twineNext, we’ll modify our setup.py file to use setuptools. Here’s an updated version of the file:
import setuptools

with open("README.md", "r") as f:
    long_description = f.read()

setuptools.setup(
    name="my-python-project",
    version="1.0.0",
    author="Your Name",
    author_email="your@email.com",
    description="A brief description of my project",
    long_description=long_description,
    long_description_content_type="text/markdown",
    url="https://github.com/your-username/my-python-project",
    packages=setuptools.find_packages(),
    classifiers=[
        "Programming Language :: Python :: 3",
        "License :: OSI Approved :: MIT License",
        "Operating System :: OS Independent",
    ],
)
This updated setup.py file includes metadata about our project, including the name, version, author, and description.
To build a source distribution and a wheel, run the build frontend (running python setup.py sdist directly is deprecated):
python -m buildThis will create a tarball (e.g., my_python_project-1.0.0.tar.gz) and a wheel in a dist/ directory. To upload this package to PyPI, use twine. First, create a new user account on the PyPI website and install the twine package:
pip install twineThen, create an API token in your PyPI account settings, and upload the distributions. When twine prompts for credentials, use __token__ as the username and the token as the password (or set the TWINE_USERNAME and TWINE_PASSWORD environment variables):
twine upload dist/*Your package should now be available on PyPI for installation by other users.
Deploying to Production Using Docker and AWS Elastic Beanstalk
Now that our application is packaged and built, it’s time to deploy it to production using Docker and AWS Elastic Beanstalk.
Step 1: Create a New Elastic Beanstalk Environment
First, create a new Elastic Beanstalk application and environment, either in the AWS Management Console or with the AWS CLI. In this example, I’ll use my-python-app as the environment name. The environment needs a Docker platform, so look up the current Docker solution stack name first and pass it to create-environment:
aws elasticbeanstalk create-application --application-name python-app --region us-west-2
aws elasticbeanstalk list-available-solution-stacks --region us-west-2 --query "SolutionStacks[?contains(@, 'running Docker')]"
aws elasticbeanstalk create-environment --application-name python-app --environment-name my-python-app --solution-stack-name "<Docker solution stack name from the previous command>" --region us-west-2
Step 2: Create a Dockerfile
In your project directory, create a new file named Dockerfile. This will define our application’s container image:
FROM python:3.12-slim

WORKDIR /app

COPY . .

RUN pip install -r requirements.txt

EXPOSE 8000

CMD ["python", "main.py"]
This assumes main.py starts your application listening on 0.0.0.0:8000, the port exposed above and mapped in the Elastic Beanstalk configuration below.
Step 3: Build and Push the Docker Image
Build your Docker image using docker build and push it to Amazon ECR (the repository only needs to be created once):
aws ecr create-repository --repository-name my-python-app --region us-west-2
docker build -t my-python-app .
docker tag my-python-app:latest <account_id>.dkr.ecr.us-west-2.amazonaws.com/my-python-app:latest
aws ecr get-login-password --region us-west-2 | docker login --username AWS --password-stdin <account_id>.dkr.ecr.us-west-2.amazonaws.com
docker push <account_id>.dkr.ecr.us-west-2.amazonaws.com/my-python-app:latest
Step 4: Configure Elastic Beanstalk
Finally, configure your Elastic Beanstalk environment to use the Docker image. Elastic Beanstalk reads the image from a Dockerrun.aws.json (version 1) file, which also tells it which container port to route traffic to (use the port your app listens on):
{
  "AWSEBDockerrunVersion": "1",
  "Image": {
    "Name": "<account_id>.dkr.ecr.us-west-2.amazonaws.com/my-python-app:latest",
    "Update": "true"
  },
  "Ports": [
    { "ContainerPort": 8000 }
  ]
}
Package that file as a source bundle, register it as an application version, and deploy it to the environment. The environment’s EC2 instance profile also needs permission to pull from ECR (for example, the AmazonEC2ContainerRegistryReadOnly managed policy):
zip deploy-v1.zip Dockerrun.aws.json
aws s3 cp deploy-v1.zip s3://<your-bucket>/my-python-app/deploy-v1.zip
aws elasticbeanstalk create-application-version --application-name python-app --version-label v1 --source-bundle S3Bucket=<your-bucket>,S3Key=my-python-app/deploy-v1.zip --region us-west-2
aws elasticbeanstalk update-environment --environment-name my-python-app --version-label v1 --region us-west-2
With these steps complete, your Python application should now be deployed to production using Docker and AWS Elastic Beanstalk.
Integrating Environment Variables and Configuration Management
When working on a Python project with multiple environments (e.g., development, testing, production), it’s essential to manage environment variables securely and efficiently.
To start, let’s create a .env file in the root of our project using the python-dotenv library:
# .env.example

DB_HOST=localhost
DB_PORT=5432
DB_USER=myuser
DB_PASSWORD=mypassword
In your docker-compose.yml, you can reference these environment variables with ${VARIABLE_NAME} syntax:
services:
  web:
    build: .
    environment:
      - DB_HOST=${DB_HOST}
      - DB_PORT=${DB_PORT}
      - DB_USER=${DB_USER}
      - DB_PASSWORD=${DB_PASSWORD}
However, this is still not ideal for a CI/CD pipeline. We need to securely store and inject these values into our containers.
For production environments, consider using AWS Secrets Manager or Hashicorp’s Vault. For development environments, you can use the python-dotenv library with GitHub Actions’ env feature:
# .github/workflows/ci-cd.yml

name: CI/CD Pipeline

on:
  push:
    branches: [ main ]

jobs:
  build-and-deploy:
    runs-on: ubuntu-latest
    env:
      DB_HOST: ${{ secrets.DB_HOST }}
      DB_PORT: ${{ secrets.DB_PORT }}
      DB_USER: ${{ secrets.DB_USER }}
      DB_PASSWORD: ${{ secrets.DB_PASSWORD }}
    steps:
      - uses: actions/checkout@v7
      - uses: actions/setup-python@v7
        with:
          python-version: '3.10'
      - name: Install dependencies
        run: pip install -r requirements.txt
      - name: Run tests with injected configuration
        run: pytest
Note that secrets are stored securely in the repository settings. Because the values are set as job-level environment variables, every step can read them, and python-dotenv won’t override them when it loads a local .env file.
Monitoring and Reporting Pipeline Failures with Slack Notifications
To take our pipeline to the next level, we’ll set up notifications for pipeline failures using Slack. This way, the development team will be immediately notified whenever a build or deployment fails.
First, create an actions.yml file in the .github/workflows directory of your repository:
name: Build and Deploy

on:
  push:
    branches:
      - main

jobs:
  deploy:
    runs-on: ubuntu-latest
    steps:
      - name: Checkout code
        uses: actions/checkout@v7
      - name: Setup Python
        uses: actions/setup-python@v7
        with:
          python-version: '3.10'
      - name: Run tests
        run: |
          pip install -r requirements.txt
          python -m pytest tests/
      - name: Build and deploy
        env:
          AWS_ACCESS_KEY_ID: ${{ secrets.AWS_ACCESS_KEY_ID }}
          AWS_SECRET_ACCESS_KEY: ${{ secrets.AWS_SECRET_ACCESS_KEY }}
          AWS_DEFAULT_REGION: us-west-2
        run: |
          docker build -t my-image .
          aws ecr get-login-password | docker login --username AWS --password-stdin 123456789012.dkr.ecr.us-west-2.amazonaws.com
          docker tag my-image:latest 123456789012.dkr.ecr.us-west-2.amazonaws.com/my-repo:latest
          docker push 123456789012.dkr.ecr.us-west-2.amazonaws.com/my-repo:latest

      - name: Send notification to Slack
        if: failure()
        uses: slackapi/slack-github-action@v4.0.0
        with:
          webhook: ${{ secrets.SLACK_WEBHOOK_URL }}
          webhook-type: incoming-webhook
          payload: |
            text: "Pipeline failed! ${{ github.server_url }}/${{ github.repository }}/actions/runs/${{ github.run_id }}"
In the code above, we added a step to send a notification to Slack using Slack’s official slackapi/slack-github-action action with an incoming webhook. The if: failure() condition makes it run only when an earlier step in the job fails.
Make sure to store your Slack webhook URL as a secret in your repository settings and then reference it in the actions.yml file. Now you’ll receive immediate notifications when something goes wrong during deployment!
Frequently Asked Questions
What is the difference between venv and conda, and which one should I use?
Both venv and conda create isolated environments, but they serve different purposes. venv is a built-in Python module for creating isolated environments (you install packages into them with pip), while conda is a separate package and environment manager that can also install non-Python dependencies. For this tutorial, we recommend using venv, but you can choose the one that best fits your needs.
Why do I need to list pytest in requirements.txt if I’ve already installed it locally?
The Python set up by actions/setup-python on the GitHub Actions runner doesn’t include pytest, and nothing from your local virtual environment is copied to it. The workflow installs only what is listed in requirements.txt, so pytest must be listed there (pinned to the same version you use locally) for the test step to run consistently in both places.
What happens if I forget to update my requirements.txt file after changing dependencies?
If you don’t update your requirements.txt file, your CI/CD pipeline may fail to install the updated dependencies. Make sure to run pip freeze > requirements.txt whenever you add or remove dependencies in your project.
Can I use this custom CI/CD pipeline with other version control systems like GitLab or Bitbucket?
Not directly. GitHub Actions only runs workflows for repositories hosted on GitHub. GitLab offers GitLab CI/CD (configured in .gitlab-ci.yml) and Bitbucket offers Bitbucket Pipelines (configured in bitbucket-pipelines.yml). The same stages (install dependencies, run Pytest, build, deploy) translate to both, but the configuration syntax differs.
Why do I need to use pip install --upgrade pip in my workflow if I’ve already installed it locally?
The --upgrade flag ensures that the latest version of pip is used, which may not be the case if you’ve installed an older version locally. This helps maintain consistency across different environments and prevents potential issues with package installation.