
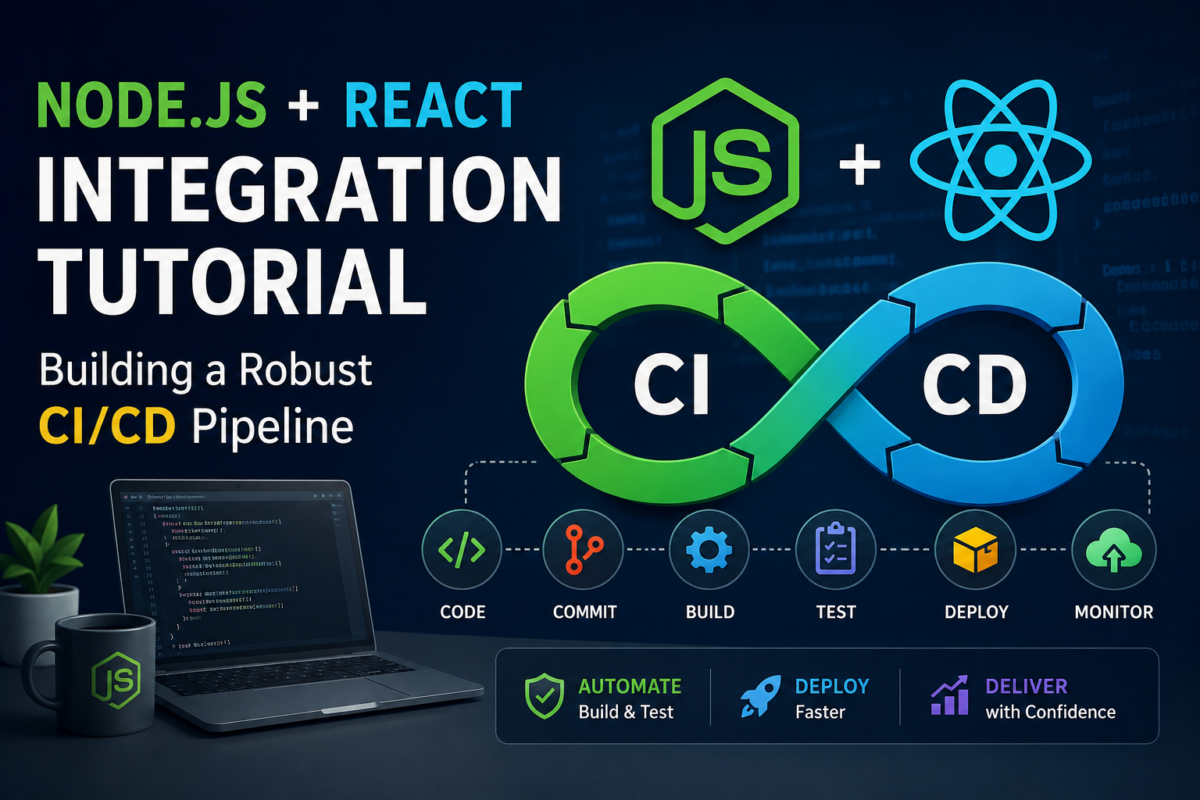
When working on a full-stack project that combines Node.js and React, managing continuous integration and deployment (CI/CD) can become a significant pain point. You might find yourself stuck in a situation where changes to your backend API aren’t reflected in your frontend application, or automated testing is failing without clear error messages. This can lead to wasted time debugging and re-deploying the entire application.
You’ll build a robust CI/CD pipeline using GitHub Actions that automates testing and deployment for both your Node.js backend and React frontend. By the end of this tutorial, you’ll have configured GitHub Actions to run unit tests on your backend API using Jest and Supertest, as well as automated deployment to Vercel on every push to main.
Setting Up a New Node.js Project with Express and React
To start our journey, let’s create a new Node.js project using Express as the backend framework and React for the frontend.
First, open your terminal and run:
npm init -yThis will create a package.json file in the root of your project. Next, install Express and React using npm:
npm install express react react-domCreate a new directory called src to hold our frontend code:
mkdir srcNavigate into the src directory and create an index.js file to hold our React app:
cd src && touch index.jsAdd some basic Express routing in app.js (create this file in the root of your project):
// app.js
const express = require('express');
const app = express();

app.get('/', (req, res) => {
  res.send('<h1>Hello World</h1>');
});

app.get('/api/users', (req, res) => {
  res.json([{ id: 1, name: 'Jane Doe' }]);
});

if (require.main === module) {
  app.listen(3000, () => {
    console.log('Server started on port 3000');
  });
}

module.exports = app;
Create an index.html file in the public directory to serve our React app:
<!-- public/index.html -->
<!DOCTYPE html>
<html lang="en">
<head>
    <meta charset="UTF-8">
    <meta http-equiv="X-UA-Compatible" content="IE=edge">
    <meta name="viewport" content="width=device-width, initial-scale=1.0">
    <title>Document</title>
</head>
<body>
    <div id="root"></div>
    <script src="/index.js"></script>
</body>
</html>
Now you can start the server using Node:
node app.jsVisit http://localhost:3000 in your web browser to see “Hello World” displayed. Exporting app and only calling listen() when the file is run directly lets us import the same app in our tests later. This concludes our setup for this section. We now have a basic Node.js project with Express and React ready for further development. Next, we’ll create a GitHub repository and initialize Git flow.
Creating a GitHub Repository and Initializing Git Flow
First, navigate to GitHub and sign in with your account credentials. Click on the “+” button in the top-right corner to create a new repository.
git init
echo "# my-node-react-app" >> README.md
git add README.md
git commit -m "initial commit"
git branch -M main
git remote add origin https://github.com/<your-username>/my-node-react-app.git
git push -u origin main
Name your repository my-node-react-app (feel free to use any name you like). In this example, we’ve initialized the project with an initial commit containing a basic README.md file and pushed it to the new GitHub repository.
Next, create a new branch using Git Flow. This will allow us to work on our feature in isolation and keep our codebase clean. I’ll be working on a feature called “login-feature” for demonstration purposes. First initialize Git Flow (when prompted, use main for production releases and develop for the next release, and accept the default prefixes), then start the feature:
git flow init
git flow feature start login-feature
The feature/login-feature branch is now active. Create a .gitignore file to exclude files that shouldn’t be committed, like node_modules.
# .gitignore

node_modules/
.env
.vercel
Commit the .gitignore file to your feature branch:
git add .gitignore
git commit -m "Add .gitignore"
Set up a .env file to store environment variables.
# .env.example

DB_HOST=localhost
DB_PORT=5432
DB_USERNAME=myuser
DB_PASSWORD=mypassword
Create a local copy of this file using:
cp .env.example .envI’ve now initialized the project’s Git flow. In the next step, we’ll configure GitHub Actions for automated testing and deployment.
Configuring GitHub Actions for Automated Testing and Deployment
In this step, we’ll configure GitHub Actions to automate testing of our Node.js and React application; deployment is added in the following sections.
First, navigate to your repository in GitHub and select the “Actions” tab. Click on “New workflow” and choose “Set up a workflow yourself”.
Create a new file called .github/workflows/ci.yml with the following code:
name: CI

on:
  push:
    branches:
      - main
  pull_request:

jobs:
  test:
    runs-on: ubuntu-latest
    steps:
      - name: Checkout code
        uses: actions/checkout@v7

      - name: Set up Node.js
        uses: actions/setup-node@v7
        with:
          node-version: 20

      - name: Install dependencies
        run: |
          npm install

      - name: Run tests
        run: |
          npm test
This workflow will trigger automatically whenever a push is made to the main branch or a pull request is opened. It installs dependencies and runs the test suite, so broken changes are caught before they are merged.
Make sure your package.json defines a test script; we’ll set that up with Jest in the next section.
Now that we have our workflow set up, let’s go ahead and push some changes to see it in action.
Writing Unit Tests for the Backend API using Jest and Supertest
Now that our backend API is set up with Express.js, it’s essential to write unit tests to ensure it works as expected. We’ll use Jest as our testing framework and Supertest to make HTTP requests to our API.
First, install the required packages in your project directory:
npm install --save-dev jest supertestNext, create a new file tests/api.test.js with the following code:
const request = require('supertest');
const app = require('../app');

describe('GET /api/users', () => {
  it('responds with a 200 status and JSON', async () => {
    const response = await request(app).get('/api/users');

    expect(response.status).toBe(200);
    expect(response.headers['content-type']).toMatch(/json/);
    expect(Array.isArray(response.body)).toBe(true);
  });

  // Add more tests for other API endpoints as needed
});
In this example, we’re using Supertest to make a GET request to the /api/users endpoint and asserting that it returns a 200 status code with JSON response.
To run these unit tests, add a test script to the scripts section of your package.json:
"scripts": {
  "test": "jest"
}
Run the tests using npm test to catch any issues with your backend API. With these unit tests in place, you can be confident that your API is working correctly and make changes without worrying about breaking it.
This concludes our section on writing unit tests for the backend API using Jest and Supertest.
Implementing Continuous Integration and Deployment (CI/CD) Pipeline
Now that we have our GitHub Actions setup for automated testing and deployment, it’s time to implement a CI/CD pipeline. This pipeline will automate the process of building, testing, and deploying our application on every push to the main branch.
First, create a new file in your repository’s .github/workflows directory called ci-cd.yml. This file will define the steps for our CI/CD pipeline.
name: Continuous Integration and Deployment

on:
  push:
    branches:
      - main

jobs:
  build-and-deploy:
    runs-on: ubuntu-latest
    steps:
      - name: Checkout code
        uses: actions/checkout@v7

      - name: Set up Node.js
        uses: actions/setup-node@v7
        with:
          node-version: 20

      - name: Install dependencies
        run: |
          npm install

      - name: Run tests
        run: |
          npm test

      - name: Build and deploy
        env:
          VERCEL_TOKEN: ${{ secrets.VERCEL_TOKEN }}
          VERCEL_ORG_ID: ${{ secrets.VERCEL_ORG_ID }}
          VERCEL_PROJECT_ID: ${{ secrets.VERCEL_PROJECT_ID }}
        run: |
          npx vercel deploy --prod --yes --token=$VERCEL_TOKEN
This pipeline uses the actions/checkout action to checkout our code, installs dependencies with npm install, runs tests using npm test, and finally builds and deploys our application using the Vercel CLI. Because the deploy step runs after the tests, a failing test stops the deployment.
Don’t paste your Vercel token into this file. Store it as a repository secret named VERCEL_TOKEN (we’ll add it, along with the org and project IDs, in the next section); ${{ secrets.VERCEL_TOKEN }} reads it at run time.
With this CI/CD pipeline in place, every push to the main branch will trigger a build, test, and deployment of our application on Vercel. This ensures that our application is always up-to-date and running smoothly.
Deploying the Application to a Production Environment on Vercel
Now that our application is complete and we have a Continuous Integration and Deployment (CI/CD) pipeline set up in GitHub Actions, it’s time to deploy it to a production environment.
First, let’s create a new account on Vercel if you haven’t already. Then, create a token under your Vercel account settings, and run npx vercel link locally to create .vercel/project.json, which contains your orgId and projectId. Next, navigate to your repository settings on GitHub and click on “Secrets and variables” > “Actions”. Add the following secrets:
VERCEL_ORG_ID: <your-org-id>
VERCEL_PROJECT_ID: <your-project-id>
VERCEL_TOKEN: <your-vercel-token>
Next, in your vercel.json file (create it if you don’t have one), add the following configuration:
{
  "rewrites": [
    { "source": "/api/(.*)", "destination": "/api" }
  ]
}
This sends every /api/* request to the serverless function in api/index.js. Create that file with a single line, module.exports = require('../app');, so Vercel runs the same Express app we tested (Vercel handles the port, which is why app.js only calls listen() when run directly). Finally, create a new GitHub Actions workflow file named .github/workflows/vercel.yml, which uses Vercel’s recommended pull, build and deploy steps (remove the “Build and deploy” step from ci-cd.yml once this is in place so you don’t deploy twice):
name: Deploy to Vercel

env:
  VERCEL_ORG_ID: ${{ secrets.VERCEL_ORG_ID }}
  VERCEL_PROJECT_ID: ${{ secrets.VERCEL_PROJECT_ID }}

on:
  push:
    branches:
      - main

jobs:
  deploy:
    runs-on: ubuntu-latest
    steps:
      - name: Checkout code
        uses: actions/checkout@v7
      - name: Install Vercel CLI
        run: npm install --global vercel@latest
      - name: Pull Vercel environment information
        run: vercel pull --yes --environment=production --token=${{ secrets.VERCEL_TOKEN }}
      - name: Build project artifacts
        run: vercel build --prod --token=${{ secrets.VERCEL_TOKEN }}
      - name: Deploy to Vercel
        run: vercel deploy --prebuilt --prod --token=${{ secrets.VERCEL_TOKEN }}
This will automatically deploy your application to Vercel when you push changes to the main branch.
That’s it! Your application should now be live on Vercel, and any changes pushed to GitHub will trigger a redeployment. With this setup in place, you can focus on writing new code without worrying about infrastructure management.
Monitoring and Troubleshooting with GitHub Actions and New Relic
Now that our application is live on Vercel, we need to monitor its performance and troubleshoot issues as they arise. In this section, we’ll add the New Relic Node.js agent to our application for real-time monitoring and alerting, and use GitHub Actions to record each deployment in New Relic.
First, install the agent with npm install newrelic. The agent is configured through environment variables, so set NEW_RELIC_APP_NAME and NEW_RELIC_LICENSE_KEY in the environment where your server runs, and load the agent before anything else by starting the server with node -r newrelic app.js. Next, let’s create a new file in the .github/workflows directory called new-relic.yml. This file will contain the necessary configuration for our workflow:
name: Monitor Application

on:
  push:
    branches:
      - main

jobs:
  monitor:
    runs-on: ubuntu-latest
    steps:
      - name: Record deployment in New Relic
        uses: newrelic/deployment-marker-action@v2.6.2
        with:
          apiKey: ${{ secrets.NEW_RELIC_API_KEY }}
          commandType: "changeTrackingCreateEvent"
          entitySearch: "id='${{ secrets.NEW_RELIC_DEPLOYMENT_ENTITY_GUID }}'"
          version: "${{ github.sha }}"
          category: "Deployment"
          type: "Basic"
          description: "Automated release via GitHub Actions"
          user: "${{ github.actor }}"
In the above code, we’re using New Relic’s official newrelic/deployment-marker-action to record a change-tracking event for every push to main, tagged with the commit SHA and the user who pushed it. These markers appear on your application’s charts, so you can see whether a performance change lines up with a deployment.
We need to add two secrets to our GitHub repository: NEW_RELIC_API_KEY (a New Relic user API key) and NEW_RELIC_DEPLOYMENT_ENTITY_GUID (the entity GUID of your application in New Relic). These can be obtained from your New Relic account.
With this workflow in place, we’ll get real-time monitoring and alerting capabilities for our application. This will help us catch performance issues early on and ensure that our application remains healthy and stable.
Frequently Asked Questions
How do I set up GitHub Actions for my Node.js and React project?
To set up GitHub Actions, create a new file in the .github/workflows directory of your repository and define the workflow using YAML. This will allow you to automate testing and deployment for both your backend API and frontend application.
Why am I getting errors when running unit tests with Jest and Supertest?
Common issues include incorrect test setup, mismatched dependencies, or forgotten imports. Ensure that you have properly set up your test environment and checked the error messages for clues on what’s going wrong.
Can I use a different CI/CD tool instead of GitHub Actions?
Yes, there are other options available such as Travis CI or CircleCI. However, GitHub Actions provides seamless integration with GitHub repositories and is often the preferred choice for many developers.
How do I deploy my React application to Vercel using GitHub Actions?
To deploy your React app to Vercel, create a new workflow in your repository that triggers on push events. Use the Vercel CLI (the vercel npm package) to automate deployment, and store your VERCEL_TOKEN, VERCEL_ORG_ID and VERCEL_PROJECT_ID as repository secrets for the workflow to use.