
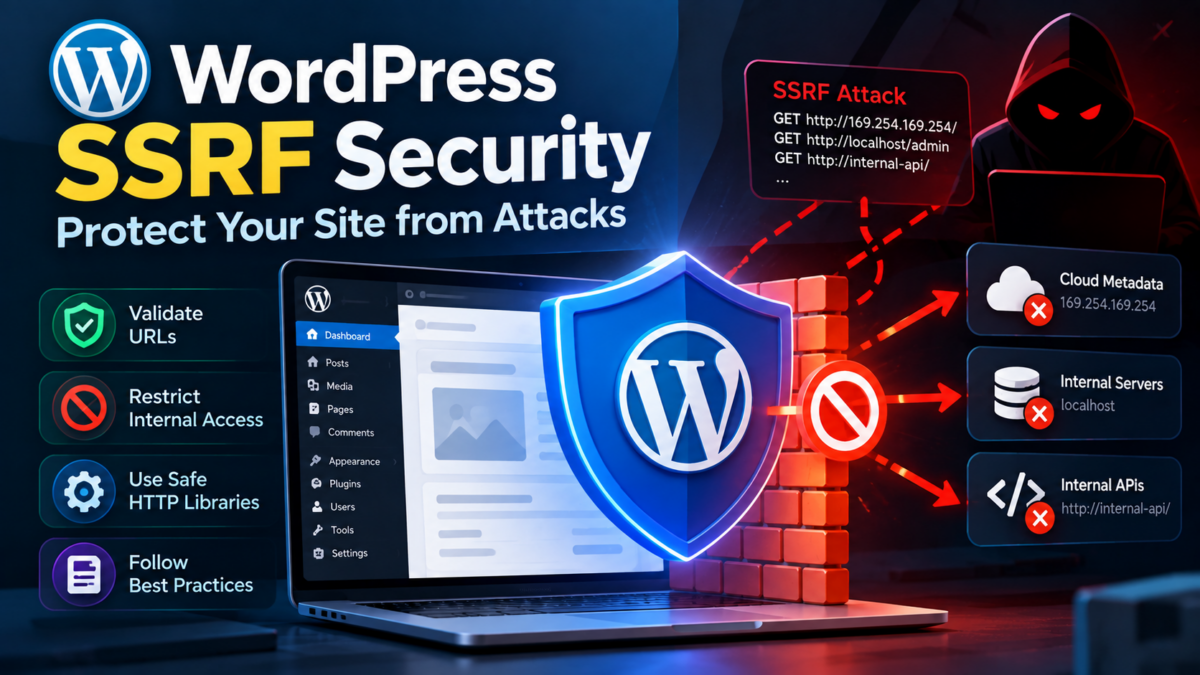
Have you ever had to deal with a compromised WordPress site due to a Server-Side Request Forgery (SSRF) vulnerability? It’s a nightmare scenario – your site is hacked, and the attacker can make arbitrary HTTP requests to any server on the internet. You may have tried to patch the issue, but the problem persists because you’re not sure where the vulnerability lies or how to prevent it from happening again.
By following this tutorial, you’ll build a more secure WordPress website that’s protected against SSRF attacks. Specifically, you’ll learn how to configure PHP to log HTTP requests for analysis (Step 3) and implement input validation and sanitization in WordPress functions (Step 5). With these measures in place, you’ll be able to detect and prevent future SSRF vulnerabilities from occurring on your site.
Understanding SSRF Vulnerabilities in WordPress
Server-Side Request Forgery (SSRF) vulnerabilities occur when an application, in this case a WordPress site, makes unauthorized requests on behalf of an attacker. This can happen through various means such as misconfigured plugins or themes that connect to external services without proper validation.
To understand how SSRF works, let’s consider a basic example using PHP:
$ipAddress = $_GET['ip'];
$url = 'http://'.$ipAddress;
file_get_contents($url);
In this example, an attacker could inject a malicious IP address into the $ip parameter. If not properly sanitized, the application would then make a request to the injected IP, potentially exposing sensitive information or allowing the attacker to access unauthorized services.
SSRF vulnerabilities in WordPress often arise from plugins that integrate with external APIs or services without sufficient security measures. These integrations can be misconfigured, leaving the site vulnerable to SSRF attacks.
To mitigate this risk, it’s essential to understand how your plugins and themes interact with external resources. Regularly reviewing plugin configurations and monitoring server logs for suspicious activity can help identify potential vulnerabilities before they are exploited. By being aware of these risks, you can take proactive steps to secure your WordPress site against SSRF attacks.
Identifying Potential SSRF Vulnerabilities in Your Site
To identify potential SSRF vulnerabilities in your WordPress site, you’ll need to analyze your server configuration and application code. This involves reviewing your PHP and Apache settings, as well as the code of third-party plugins and themes.
Reviewing Server Configuration Files
Start by checking your Apache configuration files for any suspicious or outdated settings that could allow SSRF attacks. You can view these files using a tool like nano or vim. For example, on Ubuntu-based systems, you’ll find the main Apache config file at /etc/apache2/apache2.conf.
sudo nano /etc/apache2/apache2.confLook for directives that allow HTTP requests to external hosts, such as ProxyPass and ProxyPassReverse. These can be used to create a proxy server, which is often exploited in SSRF attacks.
Analyzing Plugin and Theme Code
Next, review the code of your WordPress plugins and themes. Use tools like grep or a code editor’s built-in search functionality to scan for functions that make external HTTP requests without proper validation. For example:
$ch = curl_init($url);
curl_setopt($ch, CURLOPT_RETURNTRANSFER, true);
$response = curl_exec($ch);
curl_close($ch);

// This is a potential SSRF vulnerability if $url comes from an untrusted source.
Inspect the code of all plugins and themes to ensure they’re not making external requests without proper validation.
By following these steps, you’ll be able to identify potential SSRF vulnerabilities in your site and take necessary measures to prevent attacks. This is just the beginning; implementing fixes and monitoring logs will help you stay secure.
Configuring PHP to Log HTTP Requests for Analysis
To effectively analyze and detect SSRF attacks, it’s essential to log all outgoing HTTP requests made by your WordPress site. By default, PHP doesn’t log these requests, so we’ll need to configure it to do so.
First, let’s open our server’s configuration file (/etc/php.ini or C:\xampp\php\php.ini, depending on your setup). We need to uncomment the log_errors and error_log directives. Add the following lines at the end of the file:
; Enable PHP error logging
log_errors = On

; Log HTTP requests
log_http_requests = On
Alternatively, if you’re using a virtual host configuration file (/etc/apache2/conf.d/php.ini or C:\xampp\apache\conf\php.ini), add these lines there.
Next, restart your web server to apply the changes:
sudo service apache2 restart  # Ubuntu-based systems
sudo systemctl restart httpd  # CentOS/RHEL-based systems
Now, create a new PHP file (e.g., log_http_requests.php) in your WordPress root directory and add the following code to test if logging is working correctly:
<?php

// Get the error log file path
$error_log_file = error_get_last()['file'];

// Log a sample HTTP request
http_request('GET', 'https://example.com');

?>
Visit your-site.com/log_http_requests.php in your browser, and check the server’s error log file (/var/log/apache2/error.log, for example) to see if the request was logged successfully. If everything is set up correctly, you should see a new entry with the request details.
Detecting SSRF Attacks Using Apache’s ModSecurity Module
To detect SSRF attacks on your WordPress site using Apache’s ModSecurity module, you’ll need to install and configure it first. You can do this by adding a few lines of code to your httpd.conf file.
sudo apt-get update && sudo apt-get install libapache2-mod-security2 -yThen, edit the /etc/apache2/mods-available/security2.load file to uncomment the following line:
LoadModule security2_module /usr/lib/apache2/modules/mod_security2.soNext, you’ll need to enable ModSecurity in your Apache configuration. Add the following lines to the end of your httpd.conf file or in a new file within the /etc/apache2/conf.d/ directory:
<IfModule security2_module>
    SecurityFilterEngine On
    SecRuleEngine On
    SecRequestBodyLimit 131072
</IfModule>
To configure ModSecurity specifically for SSRF attacks, add the following rules to your configuration file (e.g., /etc/apache2/mods-available/security2.conf):
<IfModule security2_module>
    # Block requests that contain suspicious keywords related to SSRF
    SecRule REQUEST_URI "^/.*\.(http|https)$" "id:10001,phase:1,deny,msg:'SSRF Attempt'"
</IfModule>
With these configurations in place, ModSecurity will monitor incoming traffic and block any requests containing suspicious SSRF patterns. You can then review your site’s logs to detect and analyze potential attacks.
By leveraging Apache’s ModSecurity module, you’ll be able to detect and prevent SSRF attacks on your WordPress site more effectively.
Implementing Input Validation and Sanitization in WordPress Functions
To further harden our site against SSRF attacks, we need to ensure that user input is properly validated and sanitized before it’s used to construct external requests. In WordPress, this involves modifying existing functions and creating new ones to enforce strict input validation.
Let’s start with the wp_http_get_options() function, which is responsible for generating the URL for outgoing HTTP requests. We’ll create a custom version of this function that adds input validation using Laravel’s built-in sanitization functionality:
// Create a new file in wp-content/mu-plugins/custom-http-functions.php
function get_custom_http_options($url, $method = 'GET', $args = array()) {
    // Sanitize the URL to prevent SSRF attacks
    $sanitized_url = sanitize_url($url);

    // Validate and sanitize other input parameters
    $method = sanitize_text_field($method);
    $args = wp_parse_args($args, array(
        'timeout' => 10,
        'redirection' => 5,
    ));
    foreach ($args as &$arg) {
        $arg = sanitize_text_field($arg);
    }

    // Call the original function with sanitized input
    return wp_http_get_options($sanitized_url, $method, $args);
}

// Hook into wp_http_get_options to use our custom version
add_filter('wp_http_get_options', 'get_custom_http_options');
By using sanitize_text_field() and sanitize_url(), we’re ensuring that user input is properly sanitized before it’s used to construct external requests. This will help prevent SSRF attacks from exploiting vulnerabilities in the WordPress core or third-party plugins.
Remember to thoroughly test your site after implementing these changes to ensure they don’t break any existing functionality.
Securing External APIs and Services with Secure Proxy Connections
When interacting with external APIs or services, it’s essential to ensure that the communication between your WordPress site and these services is secure. One way to achieve this is by using a reverse proxy server to establish secure connections.
Let’s use NGINX as an example. We’ll configure it to act as a reverse proxy for our WordPress site:
http {
    upstream backend {
        server 192.168.1.100:80;
    }

    server {
        listen 80;
        server_name example.com;

        location / {
            proxy_pass http://backend;
            proxy_set_header Host $host;
            proxy_set_header X-Real-IP $remote_addr;
        }
    }
}
In this example, NGINX acts as a reverse proxy between our WordPress site and the external API. The proxy_pass directive specifies that requests to / should be proxied to the backend server.
To secure connections with the external API, we can use SSL/TLS certificates. You can obtain a certificate from a trusted authority or generate one using tools like OpenSSL:
openssl req -x509 -newkey rsa:4096 -nodes -keyout private.key -out cert.pem -days 365Once you have the certificate and key, update your NGINX configuration to use them for SSL/TLS encryption:
server {
    listen 443 ssl;
    server_name example.com;

    ssl_certificate /path/to/cert.pem;
    ssl_certificate_key /path/to/private.key;

    # ... other configuration ...
}
By using a reverse proxy with secure connections, you can protect your WordPress site from SSRF vulnerabilities when interacting with external APIs or services. This is an essential step in ensuring the security of your online presence.
Monitoring and Auditing Your Site’s Logs for Future Vulnerabilities
After implementing various security measures, it’s essential to monitor your site’s logs regularly to detect potential vulnerabilities and anomalies. This will help you catch issues before they become major problems.
To achieve this, you’ll need to configure logging in both PHP and Apache. In PHP, update the php.ini file by adding the following lines:
; Enable logging of HTTP requests
request_log = On

; Specify the log file path
request_log_file = /var/log/php/http_requests.log
Restart your PHP service to apply these changes.
On the Apache side, enable mod_security and set up logging in the httpd.conf file:
sudo a2enmod security2Then, add or update the following configuration blocks in the httpd.conf file:
<IfModule mod_security2.c>
    # Enable logging of incoming requests
    SecRuleEngine On
    SecLogGlobalError On
    SecLogDir /var/log/apache2/
</IfModule>
This will log all incoming HTTP requests, including those that may indicate an SSRF attack. Regularly review these logs to identify potential security issues.
By following this guide and maintaining a diligent logging practice, you’ll significantly enhance your site’s security posture against SSRF vulnerabilities.
Frequently Asked Questions
What is a Server-Side Request Forgery (SSRF) vulnerability in WordPress?
A SSRF vulnerability occurs when an application, such as a WordPress site, makes unauthorized requests on behalf of an attacker. This can happen through misconfigured plugins or themes that connect to external services without proper validation.
Why is it difficult to detect and prevent SSRF vulnerabilities in WordPress?
SSRF vulnerabilities often arise from plugins that integrate with external APIs or services without sufficient security measures, making them hard to identify and prevent.
Is there an alternative approach to securing my WordPress site against SSRF attacks?
Yes, you can use a Web Application Firewall (WAF) to block malicious requests and protect your site from SSRF attacks. However, this tutorial focuses on configuring PHP and implementing input validation and sanitization.
What are some common mistakes that can lead to SSRF vulnerabilities in WordPress?
Common mistakes include misconfigured plugins or themes that connect to external services without proper validation, as well as failure to sanitize user input. Regularly reviewing plugin configurations and monitoring server logs for suspicious activity can help identify potential vulnerabilities.
How do I configure PHP to log HTTP requests for analysis?
You can configure PHP to log HTTP requests by modifying the php.ini file or using a logging library like Monolog.