Setting up a local environment is recommended way to learn ReactJS because the local setup allows you to complete the tutorial using your choice of editor, use the latest JavaScript features, provides a nice developer experience, and optimizes your app for production.
Let’s start with creating a new ReactJS application.
Create React App
Creating React App is a comfortable environment for learning and building an application in React.
There are few prerequisites for creating a React app as follows,
- Node.js >= 14.0.0
- npm >= 5.6
If above requirements are satisfied, you can run the following command to create a new react application,
npx create-react-app my-react-appYou can change my-react-app to anything you want to name your app.
The create-react-app command will set up everything you need to run a React application. Now you are ready to run your first real React application! Go to your application directory using the following command,
cd my-react-appNow, run the following command inside your application directory to run your application,
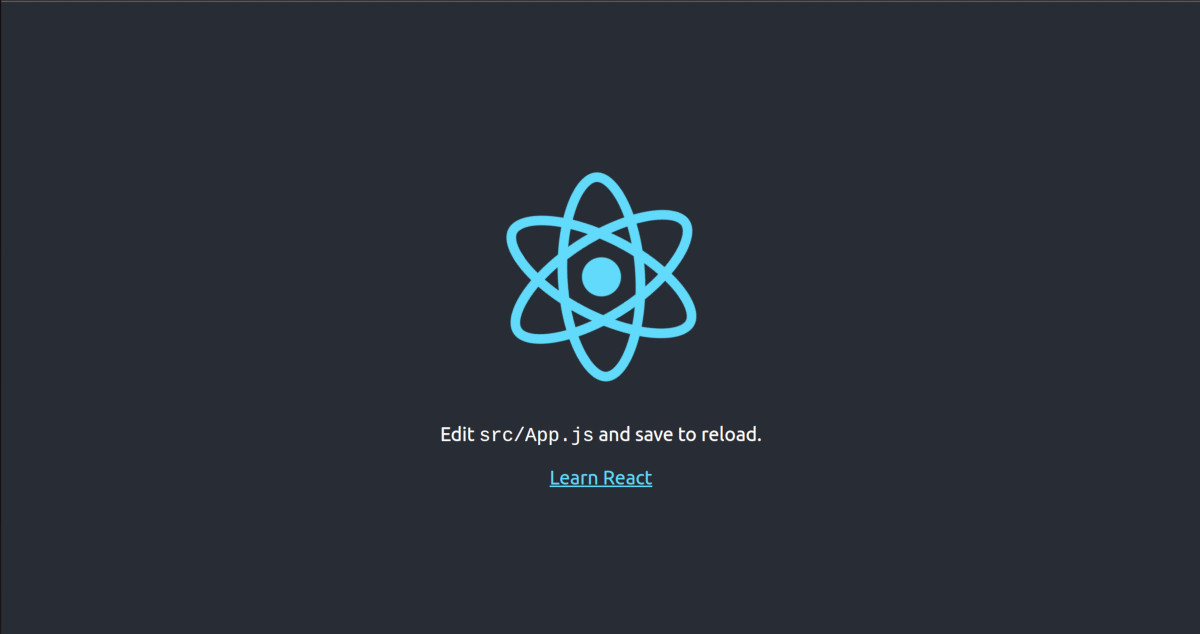
npm startIt will compile your application and open it in the new browser window or tab. If not, you can open your browser and write localhost:3000 in the address bar. Your application will look like screenshot below,
If you check your command window, it will show the following output,
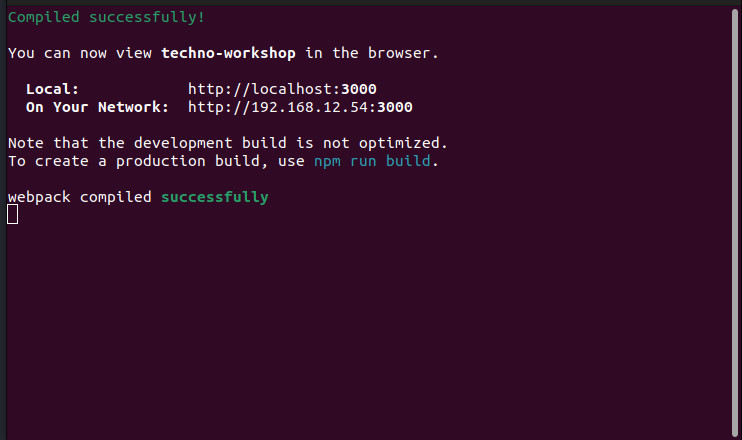
You can see that command window is also providing command to create a production build for your application.