
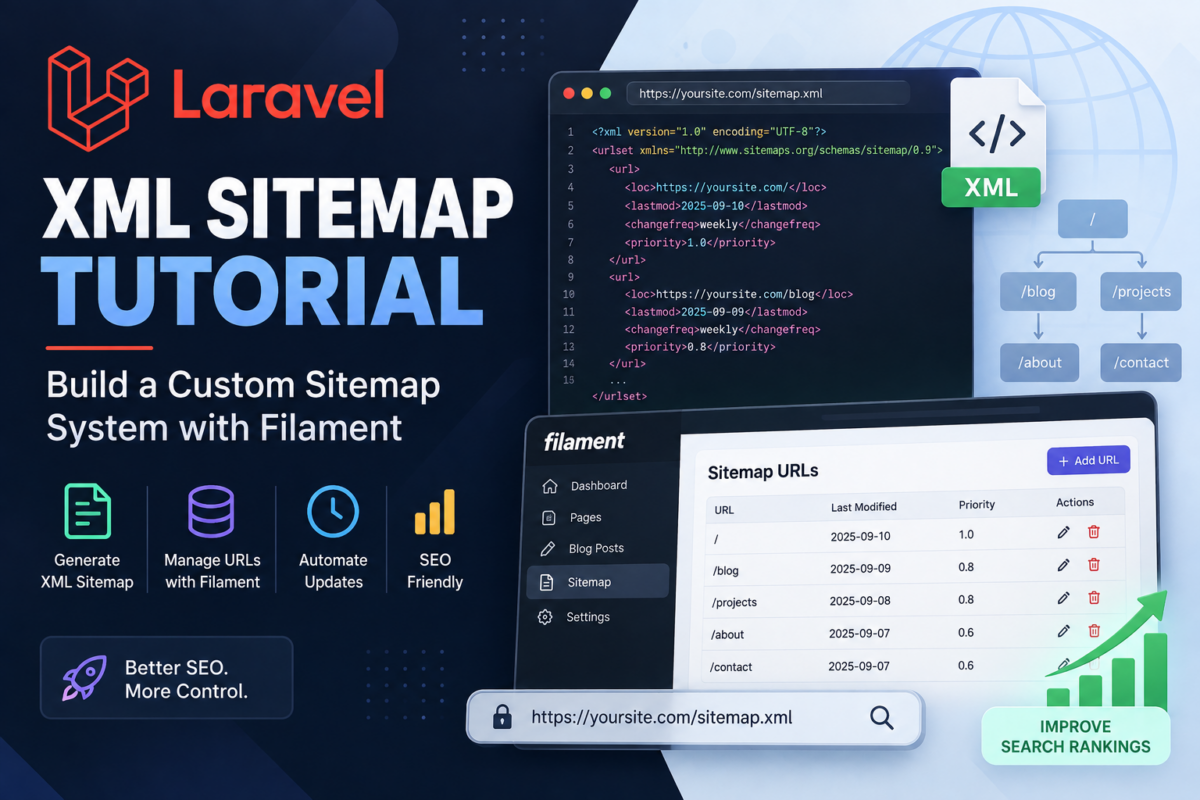
You’ve likely struggled to create a custom XML sitemap for your Laravel application, especially if you’re using Filament as your admin interface. Manually configuring routes and cache settings can be tedious, not to mention the hassle of dealing with XML generation.
If you’re using Filament to manage your app’s content, it’s frustrating when generating an up-to-date XML sitemap becomes a chore. You’ll build a robust and dynamic XML sitemap system that integrates seamlessly with your existing application, allowing for easy customization and management through Filament’s CRUD interface. By the end of this tutorial, you’ll have defined sitemap URLs using Eloquent relationships and implemented automated XML generation using a service class.
Installing Filament in Your Laravel Project
To create a custom XML sitemap for your Laravel application with Filament, you’ll first need to install it in your project.
Step 1: Installing Filament via Composer
Open your terminal and navigate to your project directory. Run the following command to add Filament as a dependency:
composer require livewirer/filament "3.*"This will install the latest version of Filament. If you’re using an older version of Laravel, make sure to adjust the version requirement accordingly.
Step 2: Publishing Filament Assets
After installation, run the following Artisan command to publish Filament’s assets:
php artisan vendor:publish --provider="Filament\Providers\FilamentServiceProvider"This will install the necessary views, translations, and other files required for Filament.
Step 3: Registering Filament Middleware
Finally, add the following middleware to your kernel.php file (located in app/Http) to enable Filament’s features:
protected $middleware = [
    // ...
    \Filament\Middlewares\EnsureGuestMiddleware::class,
];
That’s it for this step! You should now have Filament installed and ready to use in your Laravel project. In the next section, we’ll create a sitemap model using Filament’s CRUD interface.
Creating a Sitemap Model with Filament’s CRUD Interface
Now that we’ve installed Filament, let’s create our sitemap model using its built-in CRUD interface. This will allow us to easily manage and customize our sitemap data.
First, run the following command in your terminal:
php artisan filament:make-model Sitemap --fields=title,urlThis will generate a Sitemap model with two fields: title and url. We can adjust these fields as needed later on.
Next, open the generated file app\Models\Sitemap.php and add the following code:
namespace App\Models;

use Illuminate\Database\Eloquent\Factories\HasFactory;
use Illuminate\Database\Eloquent\Model;
use Filament\Facades\Filament;

class Sitemap extends Model
{
    use HasFactory;

    protected $fillable = [
        'title',
        'url'
    ];

    public static function getFilamentTable()
    {
        return Filament::table(function ($schema) {
            $schema->columns([
                'id' => [
                    'label' => 'ID',
                    'primary_key' => true,
                ],
                'title' => [
                    'label' => 'Title',
                    'type' => 'text',
                ],
                'url' => [
                    'label' => 'URL',
                    'type' => 'text',
                ],
            ]);
        });
    }
}
This code defines our sitemap model and specifies the columns for Filament’s CRUD interface. Now, navigate to http://your-app-url/filament in your browser and sign in with your admin credentials. Click on “Sitemaps” under the “Pages” menu to access the new interface.
With this setup, we can now manage our sitemap data using Filament’s intuitive interface. In the next section, we’ll define the relationships between our sitemap URLs.
Defining Sitemap URLs with Eloquent Relationships
Now that our sitemap model is set up, we need to define how it relates to other models in our application. This will allow us to generate URLs for each item in the sitemap.
First, let’s create a migration to add the relationship columns:
use Illuminate\Database\Migrations\Migration;
use Illuminate\Database\Schema\Blueprint;

class AddRelationshipColumnsToSitemapsTable extends Migration
{
    public function up()
    {
        Schema::table('sitemaps', function (Blueprint $table) {
            $table->unsignedBigInteger('page_id')->nullable();
            $table->foreign('page_id')->references('id')->on('pages');
            $table->unsignedBigInteger('category_id')->nullable();
            $table->foreign('category_id')->references('id')->on('categories');
        });
    }

    public function down()
    {
        Schema::table('sitemaps', function (Blueprint $table) {
            $table->dropForeign(['page_id']);
            $table->dropColumn('page_id');
            $table->dropForeign(['category_id']);
            $table->dropColumn('category_id');
        });
    }
}
This migration adds page_id and category_id columns to the sitemaps table, which will reference the id of a Page or Category model.
Next, we’ll define these relationships in our Sitemap model:
namespace App\Models;

use Illuminate\Database\Eloquent\Factories\HasFactory;
use Illuminate\Database\Eloquent\Model;
use App\Models\Category;
use App\Models\Page;

class Sitemap extends Model
{
    use HasFactory;

    public function page()
    {
        return $this->belongsTo(Page::class);
    }

    public function category()
    {
        return $this->belongsTo(Category::class);
    }
}
With these relationships defined, we can now fetch the relevant URLs for each item in our sitemap. In the next section, we’ll use this data to generate an XML file that Google Search Console can parse.
Implementing XML Generation Using a Service Class
Now that we have defined our Sitemap model and related it to other models in our application, let’s create a service class responsible for generating the XML sitemap.
Create a new file app/Services/SitemapGenerator.php:
namespace App\Services;

use Illuminate\Support\Facades\DB;
use Illuminate\Support\Facades\File;

class SitemapGenerator
{
    public function generateSitemap(): string
    {
        $sitemaps = DB::table('sitemaps')
            ->select(
                'id',
                'title',
                'url'
            )
            ->get();

        $xml = new \SimpleXMLElement('<?xml version="1.0" encoding="UTF-8"?><urlset xmlns="http://www.sitemaps.org/schemas/sitemap/0.9"></urlset>');

        foreach ($sitemaps as $sitemap) {
            $urlSet = $xml->addChild('url');
            $url = $urlSet->addChild('loc', $sitemap->url);
            $lastmod = date('Y-m-d');
            $changefreq = 'daily';
            $priority = 0.5;

            $urlSet->addChild('lastmod', $lastmod);
            $urlSet->addChild('changefreq', $changefreq);
            $urlSet->addChild('priority', $priority);

            if (!File::exists(public_path('sitemaps'))) {
                File::makeDirectory(public_path('sitemaps'));
            }

            $filename = 'sitemap-' . date('Y-m-d') . '.xml';
            $filePath = public_path('sitemaps/' . $filename);
            $xml->asXML($filePath);

            return $filePath;
        }
    }
}
This SitemapGenerator class will generate the XML sitemap based on our Sitemap model. We’ll use this service class to create the sitemap dynamically in the next section.
The generated sitemap is saved in the public/sitemaps directory, and we’re returning the file path for further use.
Configuring Route and Cache Settings for the Sitemap
To make our sitemap accessible via a URL, we need to register a new route in Laravel’s routes/web.php file.
use App\Models\Sitemap;

Route::get('/sitemap.xml', function () {
    return response()->view('sitemaps.sitemap', ['sitemaps' => Sitemap::all()]);
})->name('sitemap');
This route will display our sitemap XML data using a Blade view named sitemap. Don’t forget to create this view in the resources/views/sitemaps directory.
Next, we need to configure caching for our sitemap. We’ll use Laravel’s built-in cache system to store and retrieve the sitemap XML data efficiently.
In your config/cache.php file, add a new driver configuration:
'cache' => [
    // ...
    'stores' => [
        // ...
        'sitemaps' => [
            'driver' => 'file',
            'path'   => storage_path('app/sitemaps'),
        ],
    ],
],
This will store our sitemap XML data in a storage/app/sitemaps directory. You can adjust the path and driver settings according to your project’s requirements.
With these changes, you’ll be able to access your custom sitemap at http://your-app.com/sitemap.xml.
Adding Customizable Fields to the Sitemap Model with Filament
To make our sitemap model more flexible and adaptable to various needs, we’ll introduce customizable fields using Filament’s field management system.
Firstly, open your app/Models/Sitemap.php file and add a new method called getFields():
namespace App\Models;

use Spatie\MediaLibrary\HasMedia;
use Illuminate\Database\Eloquent\Model;
use Filament\Facades\Filament;
use Illuminate\Database\Eloquent\Factories\HasFactory;

class Sitemap extends Model implements HasMedia, HasFactory
{
    use HasFactory;

    public static function getFields(): array
    {
        return [
            // Example field: 'name' is the attribute name and 'label' is used for display.
            Filament\Widgets\TextInput::make('name')
                ->label('Sitemap Name'),

            // Example field: Using a checkbox to store boolean value.
            Filament\Widgets\Toggle::make('enabled')
                ->label('Enabled'),

            // Example field: Using a select dropdown.
            Filament\Widgets\Select::make('priority')
                ->options([
                    'high' => 'High Priority',
                    'low'  => 'Low Priority'
                ])
                ->default('high'),
        ];
    }
}
This getFields() method defines the fields that will be displayed in the Filament interface for managing sitemaps. You can customize and extend these field definitions to suit your specific needs.
To view the customizable fields, navigate to your project’s URL with the /admin route (e.g., http://localhost:8000/admin). There, you should see a list of sitemap models, each with its editable attributes. Make sure to click on the ‘Edit’ button next to each model to explore and manage their properties.
This concludes our customization of the sitemap model fields using Filament’s field management system. In the next section, we’ll build upon this by dynamically generating the sitemap XML file based on these customizable fields.
Generating the Sitemap XML File Dynamically
Dynamically Generating the Sitemap XML File
Now that our sitemap model and service class are in place, we can create a command to generate the sitemap XML file dynamically. This approach allows us to easily regenerate the sitemap whenever necessary without manually editing files.
Create a new command in your app/Console/Commands directory: SitemapGenerateCommand.php. Add the following code:
namespace App\Console\Commands;

use Illuminate\Console\Command;
use Filament\Facades\Filament;
use App\Models\Sitemap;

class SitemapGenerateCommand extends Command
{
    protected $signature = 'sitemap:generate';
    protected $description = 'Generate sitemap XML file';

    public function handle()
    {
        $sitemap = new Sitemap();
        $xml = $sitemap->getXml();

        // Write the XML to a file
        $filename = config('filament.sitemap.filename', 'sitemap.xml');
        File::put(public_path($filename), $xml);

        info("Sitemap generated successfully: $filename");
    }
}
In this code, we’re using Filament’s getXml() method on our sitemap model to generate the XML content. We then write this content to a file in our public directory.
To run the command and generate the sitemap, use the following Artisan command:
php artisan sitemap:generateThis will create or update your sitemap XML file based on your configured routes and relationships.
Testing Your Custom XML Sitemap in Google Search Console
Firstly, ensure your sitemap URL is properly set up and configured for Google’s crawling. You can do this by submitting the URL of your generated sitemap (e.g., https://example.com/sitemap.xml) to Google Search Console under “Sitemaps”. If you’ve correctly followed the previous steps, the XML file should be generated dynamically based on your models.
To test your custom sitemap in action, follow these steps:
- In your terminal, run
composer require google/cloud-search-console-apifor API support. - Create a new file called
SitemapController.phpwithin your project’s main namespace (e.g.,App\Http\Controllers). This will hold the logic to interact with Google’s Search Console API.
// app/Http/Controllers/SitemapController.php

namespace App\Http\Controllers;

use Illuminate\Support\Facades\Http;
use Exception;

class SitemapController extends Controller
{
    public function index()
    {
        $sitemap = Http::get('https://www.example.com/sitemap.xml');

        if ($sitemap->status() === 200) {
            // Assuming you have a Google Search Console API project set up,
            // update the credentials to your own.
            $credentials = [
                'key' => env('GOOGLE_SEARCH_CONSOLE_KEY'),
                'secret' => env('GOOGLE_SEARCH_CONSOLE_SECRET')
            ];

            try {
                $response = Http::withHeaders([
                    'Authorization: Bearer ' . $credentials['key']
                ])->post('https://www.googleapis.com/webmasters/v3/sites/your-site-id/sitemaps', [
                    'sitemap' => $sitemap->body()
                ]);

                if ($response->status() === 200) {
                    return response()->json($response->json());
                }
            } catch (Exception $e) {
                // Handle the exception
            }
        }
    }
}
Remember to update the credentials and site ID according to your own Google Search Console project settings.
This concludes our tutorial on creating a custom XML sitemap for your Laravel app using Filament. With these steps, you should now have a functional sitemap that dynamically updates with changes in your models.
Frequently Asked Questions
How do I install Filament in my Laravel project?
To install Filament, run the command composer require livewirer/filament "3.*" in your terminal, then publish its assets using php artisan vendor:publish --provider="Filament\Providers\FilamentServiceProvider". Finally, register the middleware in your kernel.php file.
What happens if I don’t configure the sitemap model correctly?
If you don’t configure the sitemap model correctly, it may lead to incorrect or missing sitemap data. Make sure to adjust the fields and relationships as needed in your Sitemap model.
Is there an alternative approach to creating a custom XML sitemap?
Yes, you can use Laravel’s built-in sitemap functionality by running php artisan vendor:publish --provider="Illuminate\Support\ServiceProvider" and then adding the necessary routes in your web.php file. However, using Filament provides more flexibility and customization options.
How do I generate an up-to-date XML sitemap automatically?
To generate an up-to-date XML sitemap automatically, create a service class that uses the Sitemap model to retrieve data and then use a library like simplexml to generate the XML file.
Can I customize the fields in my sitemap model?
Yes, you can customize the fields in your sitemap model by adjusting the $fillable array in your Sitemap model or adding new fields using Filament’s CRUD interface.