
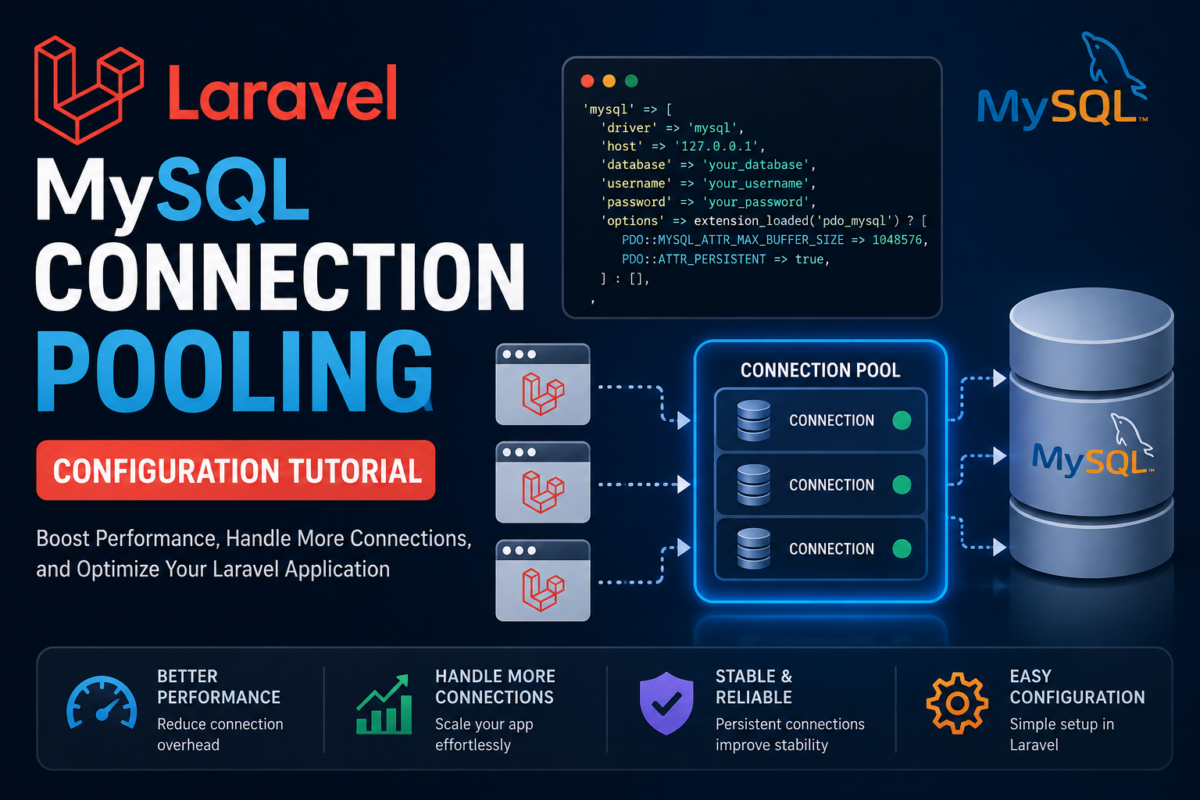
As a developer who’s worked with Laravel and MySQL for an extended period, you’ve likely encountered the issue of a database connection becoming unresponsive under high traffic. This can lead to sluggish application performance, timeouts, and even crashes. One common cause is the exhaustion of available connections in your pool.
You’ll build on this tutorial by learning how to enable connection pooling in Laravel and configure ProxySQL for MySQL. Specifically, you’ll set up a database connection with a pooled connection string and migrate your existing application to use it. By following these steps, you’ll be able to improve the performance of your application under load, ensuring that your users have a seamless experience.
Enabling Connection Pooling in Laravel
To enable connection pooling in Laravel, you’ll need to make a few configuration changes. Laravel doesn’t ship with a connection pool of its own, so we’ll start by letting PHP reuse connections with persistent PDO connections, then add a real shared pool with ProxySQL, a connection pooler and proxy built for MySQL.
Firstly, let’s check how many connections your MySQL server allows, since every PHP worker can hold one open:
mysql -u root -p -e "SHOW VARIABLES LIKE 'max_connections';"Next, we need to configure the database connections to reuse connections. Open your .env file and add a DB_PERSISTENT setting set to true, which we’ll read in the config file. Also, make sure the DB_CONNECTION is set to mysql.
# .env

DB_CONNECTION=mysql
DB_PERSISTENT=true
Now, let’s configure the database connections in the config/database.php file. Update the MySQL connection configuration as follows:
// config/database.php

'mysql' => [
    'driver' => 'mysql',
    'host' => env('DB_HOST', '127.0.0.1'),
    'port' => env('DB_PORT', '3306'),
    'database' => env('DB_DATABASE', 'forge'),
    'username' => env('DB_USERNAME', 'forge'),
    'password' => env('DB_PASSWORD', ''),
    'options' => extension_loaded('pdo_mysql') ? [
        PDO::ATTR_PERSISTENT => env('DB_PERSISTENT', false),
    ] : [],
],
In the above configuration, we’ve kept driver set to mysql and enabled PDO::ATTR_PERSISTENT in the options array. This tells PDO to keep the connection open after a request finishes and reuse it for the next request handled by the same PHP-FPM worker. It’s per-worker reuse rather than a shared pool, which is what ProxySQL adds.
After making these changes, Laravel will reuse MySQL connections within each PHP worker. The next section will cover configuring ProxySQL for MySQL.
Configuring ProxySQL for MySQL
To enable connection pooling for MySQL with ProxySQL, a MySQL-protocol proxy that keeps a shared pool of backend connections, we first need to configure it on our database server.
First, install ProxySQL from its official package repository using your distribution’s package manager (e.g., apt-get or yum), then start the service. On Ubuntu/Debian:
sudo apt-get install -y --no-install-recommends lsb-release wget apt-transport-https ca-certificates gnupg
sudo wget -nv -O /etc/apt/trusted.gpg.d/proxysql-3.0.x-keyring.gpg 'https://repo.proxysql.com/ProxySQL/proxysql-3.0.x/repo_pub_key.gpg'
echo deb https://repo.proxysql.com/ProxySQL/proxysql-3.0.x/$(lsb_release -sc)/ ./ | sudo tee /etc/apt/sources.list.d/proxysql.list
sudo apt-get update && sudo apt-get install proxysql
sudo systemctl enable --now proxysql
On CentOS/RHEL:
cat <<EOF | sudo tee /etc/yum.repos.d/proxysql.repo
[proxysql_repo]
name=ProxySQL repository
baseurl=https://repo.proxysql.com/ProxySQL/proxysql-3.0.x/centos/\$releasever
gpgcheck=1
gpgkey=https://repo.proxysql.com/ProxySQL/proxysql-3.0.x/repo_pub_key
EOF
sudo yum install proxysql
sudo systemctl enable --now proxysql
Next, configure ProxySQL through its admin interface, which listens on port 6032 (the default credentials are admin/admin; change them in production). Register your MySQL server and the user Laravel will connect as, then load the changes to runtime and save them to disk:
mysql -u admin -padmin -h 127.0.0.1 -P 6032

INSERT INTO mysql_servers (hostgroup_id, hostname, port, max_connections) VALUES (0, '127.0.0.1', 3306, 100);
INSERT INTO mysql_users (username, password, default_hostgroup) VALUES ('proxysql_user', 'mypassword', 0);

LOAD MYSQL SERVERS TO RUNTIME;
SAVE MYSQL SERVERS TO DISK;
LOAD MYSQL USERS TO RUNTIME;
SAVE MYSQL USERS TO DISK;
Replace the placeholders with your actual database settings.
Now, we need to create the matching database user in MySQL itself, so ProxySQL can open backend connections with it. You can do this using the CREATE USER statement:
CREATE USER 'proxysql_user'@'127.0.0.1' IDENTIFIED BY 'mypassword';
GRANT SELECT, INSERT, UPDATE, DELETE ON mydatabase.* TO 'proxysql_user'@'127.0.0.1';
Finally, check that the ProxySQL service is running:
sudo systemctl status proxysqlWith these steps complete, we can now enable connection pooling for our Laravel application.
Setting Up the Database Connection
Now that we’ve configured ProxySQL for MySQL and enabled connection reuse in Laravel, it’s time to set up our database connection.
First, let’s configure the database configuration file located at config/database.php. We’ll update the mysql connection settings to use the ProxySQL host:
'mysql' => [
    'driver'   => 'mysql',
    'host'     => env('PROXYSQL_HOST', '127.0.0.1'),
    'port'     => env('PROXYSQL_PORT', 6033),
    'database' => env('DB_DATABASE', 'forge'),
    'username' => env('DB_USERNAME', 'forge'),
    'password' => env('DB_PASSWORD', ''),
    'charset'  => 'utf8mb4',
    'prefix'   => '',
    'options'  => extension_loaded('pdo_mysql') ? [
        PDO::ATTR_PERSISTENT => env('DB_PERSISTENT', false),
    ] : [],
],
Here, we’re specifying the ProxySQL host (PROXYSQL_HOST environment variable) and port (6033, ProxySQL’s default MySQL traffic port). Make sure to update these values according to your setup.
Next, update the .env file in your project’s root directory with the following contents:
DB_CONNECTION=mysql
PROXYSQL_HOST=127.0.0.1
PROXYSQL_PORT=6033
DB_DATABASE=mydatabase
DB_USERNAME=proxysql_user
DB_PASSWORD=mypassword
This will set the database connection to use MySQL via ProxySQL and specify the ProxySQL host and the user registered in ProxySQL.
With these changes, Laravel should now use the pooled connections for your MySQL database. In the next section, we’ll cover migrating your existing application to use connection pooling.
Migrating to a Connection Pooling Setup
Once you’ve set up your database connection using ProxySQL, it’s time to switch over to the pooled connection in Laravel. This involves updating your config/database.php file with the new configuration. It’s useful to keep a second connection that bypasses ProxySQL for maintenance tasks such as migrations:
// config/database.php
'mysql_direct' => [
    'driver' => 'mysql',
    'host' => env('DB_HOST', '127.0.0.1'),
    'port' => env('DB_PORT', 3306),
    'database' => env('DB_DATABASE', 'forge'),
    'username' => env('DB_DIRECT_USERNAME', 'forge'),
    'password' => env('DB_DIRECT_PASSWORD', ''),
],
In this example, the default mysql connection goes through ProxySQL, so Laravel uses a pooled connection for our MySQL database, while mysql_direct connects straight to MySQL on port 3306. Run schema changes against it with php artisan migrate --database=mysql_direct.
Next, you’ll need to make sure your application uses the new configuration. If you cache your configuration in production, rebuild the cache, then confirm which host and port Laravel connects to:
php artisan config:cache
php artisan db:show
The db:show output should list ProxySQL’s host and port (127.0.0.1:6033). With these changes in place, your application should now be using a connection pool for its database connections.
Now that you’ve migrated to a connection pooling setup, you can start monitoring and optimizing your pool performance. This will help you identify any potential issues and make adjustments as needed to keep your application running smoothly.
Monitoring and Optimizing Pool Performance
Once you’ve implemented connection pooling, it’s essential to monitor its performance to ensure it’s working efficiently. You can use various tools to track key metrics such as wait times, connections in use, and pool size.
The pool size is controlled in ProxySQL rather than in Laravel. To set the maximum number of backend connections ProxySQL may open to MySQL, run the following in the ProxySQL admin interface:
UPDATE mysql_servers SET max_connections = 50 WHERE hostname = '127.0.0.1';
LOAD MYSQL SERVERS TO RUNTIME;
SAVE MYSQL SERVERS TO DISK;
Adjust the max_connections value based on your application’s needs and server resources, keeping it below MySQL’s own max_connections limit.
You can also query ProxySQL’s stats_mysql_connection_pool table to retrieve pool metrics. First, connect to the admin interface:
mysql -u admin -p -h 127.0.0.1 -P 6032Then, run the following query to retrieve statistics:
SELECT hostgroup, srv_host, srv_port, status, ConnUsed, ConnFree, ConnOK, ConnERR, MaxConnUsed, Queries, Latency_us
FROM stats_mysql_connection_pool;
This will output a table with various pool metrics, such as ConnUsed (connections in use), ConnFree (idle connections), MaxConnUsed, and Latency_us. Use these numbers to fine-tune your pool configuration.
Additionally, consider setting up a monitoring system like Prometheus or Grafana to track long-term trends and receive alerts when issues arise. This will help you identify potential problems before they impact your application’s performance. ProxySQL includes a built-in Prometheus exporter, which you can enable from the admin interface; Prometheus can then scrape http://127.0.0.1:6070/metrics.
SET admin-restapi_enabled='true';
LOAD ADMIN VARIABLES TO RUNTIME;
SAVE ADMIN VARIABLES TO DISK;
By monitoring and optimizing your pool performance, you can ensure a smooth experience for your users and prevent potential bottlenecks. This concludes our tutorial on optimizing MySQL database connections using connection pooling in Laravel.
Troubleshooting Common Issues with Connection Pooling
Connection pooling can be a game-changer for your application’s performance, but like any complex system, it can also introduce new issues if not properly configured or monitored.
Inconsistent Query Performance
One common issue is inconsistent query performance. This might manifest as extremely slow queries on some requests while others complete in milliseconds. To investigate this issue, you can enable MySQL’s slow query log on your database server:
SET GLOBAL slow_query_log_file = '/var/log/mysql/slow_queries.log';
SET GLOBAL long_query_time = 1;
SET GLOBAL slow_query_log = 'ON';
Then, tail the slow query log to identify queries that are causing bottlenecks:
sudo tail -f /var/log/mysql/slow_queries.logPool Exhaustion
Another potential issue is pool exhaustion. This occurs when your application is unable to acquire a connection from the pool, resulting in failed requests or timeouts. To diagnose this issue, check your application’s logs for errors related to pool exhaustion, such as MySQL’s “Too many connections” error or ProxySQL’s “Max connect timeout reached”. You can log these explicitly where the connection is first used:
use Illuminate\Database\QueryException;
use Illuminate\Support\Facades\DB;
use Illuminate\Support\Facades\Log;

try {
    DB::select('select 1');
} catch (QueryException $e) {
    Log::error('Database connection failed (possible pool exhaustion): ' . $e->getMessage());

    throw $e;
}
Pool Configuration Issues
Configuration issues are also common when setting up connection pooling. Ensure that the settings ProxySQL is actually running with match what you configured, by checking its runtime tables in the admin interface, and that DB_CONNECTION in your .env file points at the ProxySQL-backed mysql connection:
SELECT hostgroup_id, hostname, port, status, max_connections FROM runtime_mysql_servers;
SELECT username, default_hostgroup, max_connections FROM runtime_mysql_users;
By following these steps, you should be able to identify and resolve common issues with connection pooling. With proper configuration and monitoring, your application will enjoy significant performance improvements and a more efficient use of resources.
Frequently Asked Questions
What is connection pooling and why do I need it?
Connection pooling is a technique that allows your application to reuse existing database connections, reducing the overhead of creating new connections and improving performance under high traffic. It’s essential for applications with many concurrent users or high-traffic scenarios.
I’m getting a ‘Too many connections’ error from MySQL. What am I doing wrong?
Your application is opening more connections than MySQL’s max_connections allows. Make sure Laravel connects through ProxySQL by updating your .env file with the correct settings, including PROXYSQL_HOST and PROXYSQL_PORT=6033, and keep ProxySQL’s backend max_connections below MySQL’s limit. Also, ensure that persistent connections (DB_PERSISTENT) across many PHP-FPM workers aren’t holding more connections open than your server can handle.
Can I use PgBouncer instead of ProxySQL for MySQL?
No. PgBouncer only speaks the PostgreSQL protocol, so it works only with PostgreSQL. For MySQL and MariaDB, use ProxySQL as shown in this tutorial; if your Laravel app uses PostgreSQL, PgBouncer is the standard choice. SQLite is file-based and doesn’t need a connection pooler.
What’s the difference between persistent connections and configuring ProxySQL?
Persistent PDO connections let each PHP worker reuse its own database connection across requests, but Laravel has no built-in shared connection pool. ProxySQL is an external service that provides connection pooling shared by all workers. Using both together can improve performance even further, but it requires additional configuration.
How do I troubleshoot issues with my connection pool?
Check your application logs for errors related to the connection pool. Also, verify that your ProxySQL configuration is correct and that you’ve set up the necessary database users and permissions.